The Ultimate 2-Day Zion National Park Itinerary

This 2 Day Itinerary for Zion National Park is designed to help you experience the best of what the park has to offer. As someone who grew up in Salt Lake City but didn’t explore outside the valley until my early twenties, Zion was just the second national park I visited, and it was a game-changer!
If you’re chasing bucket-list adventures, you’ve likely heard of Zion’s “Big Three”. The Narrows (river trekking), Angels Landing (vertical ridge hike), and the East Side (scenic canyon overlooks). While I hadn’t heard of this exact phrasing before, I’ll show you exactly how to tackle all three in just two days, with smart pacing.
In this itinerary guide, I’ll walk you through a day-by-day plan, complete with backup options, top-rated food stops, and where to stay. Ready to make the most of your Zion adventure? Let’s dive in!
2-Day Zion National Park Itinerary
This two-day itinerary is packed with adventure for first-time visitors to Zion National Park! You’ll tackle the park’s legendary “Big Three” hikes while also enjoying scenic viewpoints. I’ve also included personal favorite recommendations for food, lodging, and insider tips to help you plan a seamless, unforgettable trip.
Day 1: Explore Zion Canyon
Start your day early in Zion with a local cafe, followed by a full day of exploring Zion Canyon via the shuttle! Take in the viewpoints, hike to Emerald Pools and Riverside Walk, refuel at the Zion Lodge, and end with dinner in Springdale.
Morning: Zion Shuttle (6:00 AM – 8:00 AM)
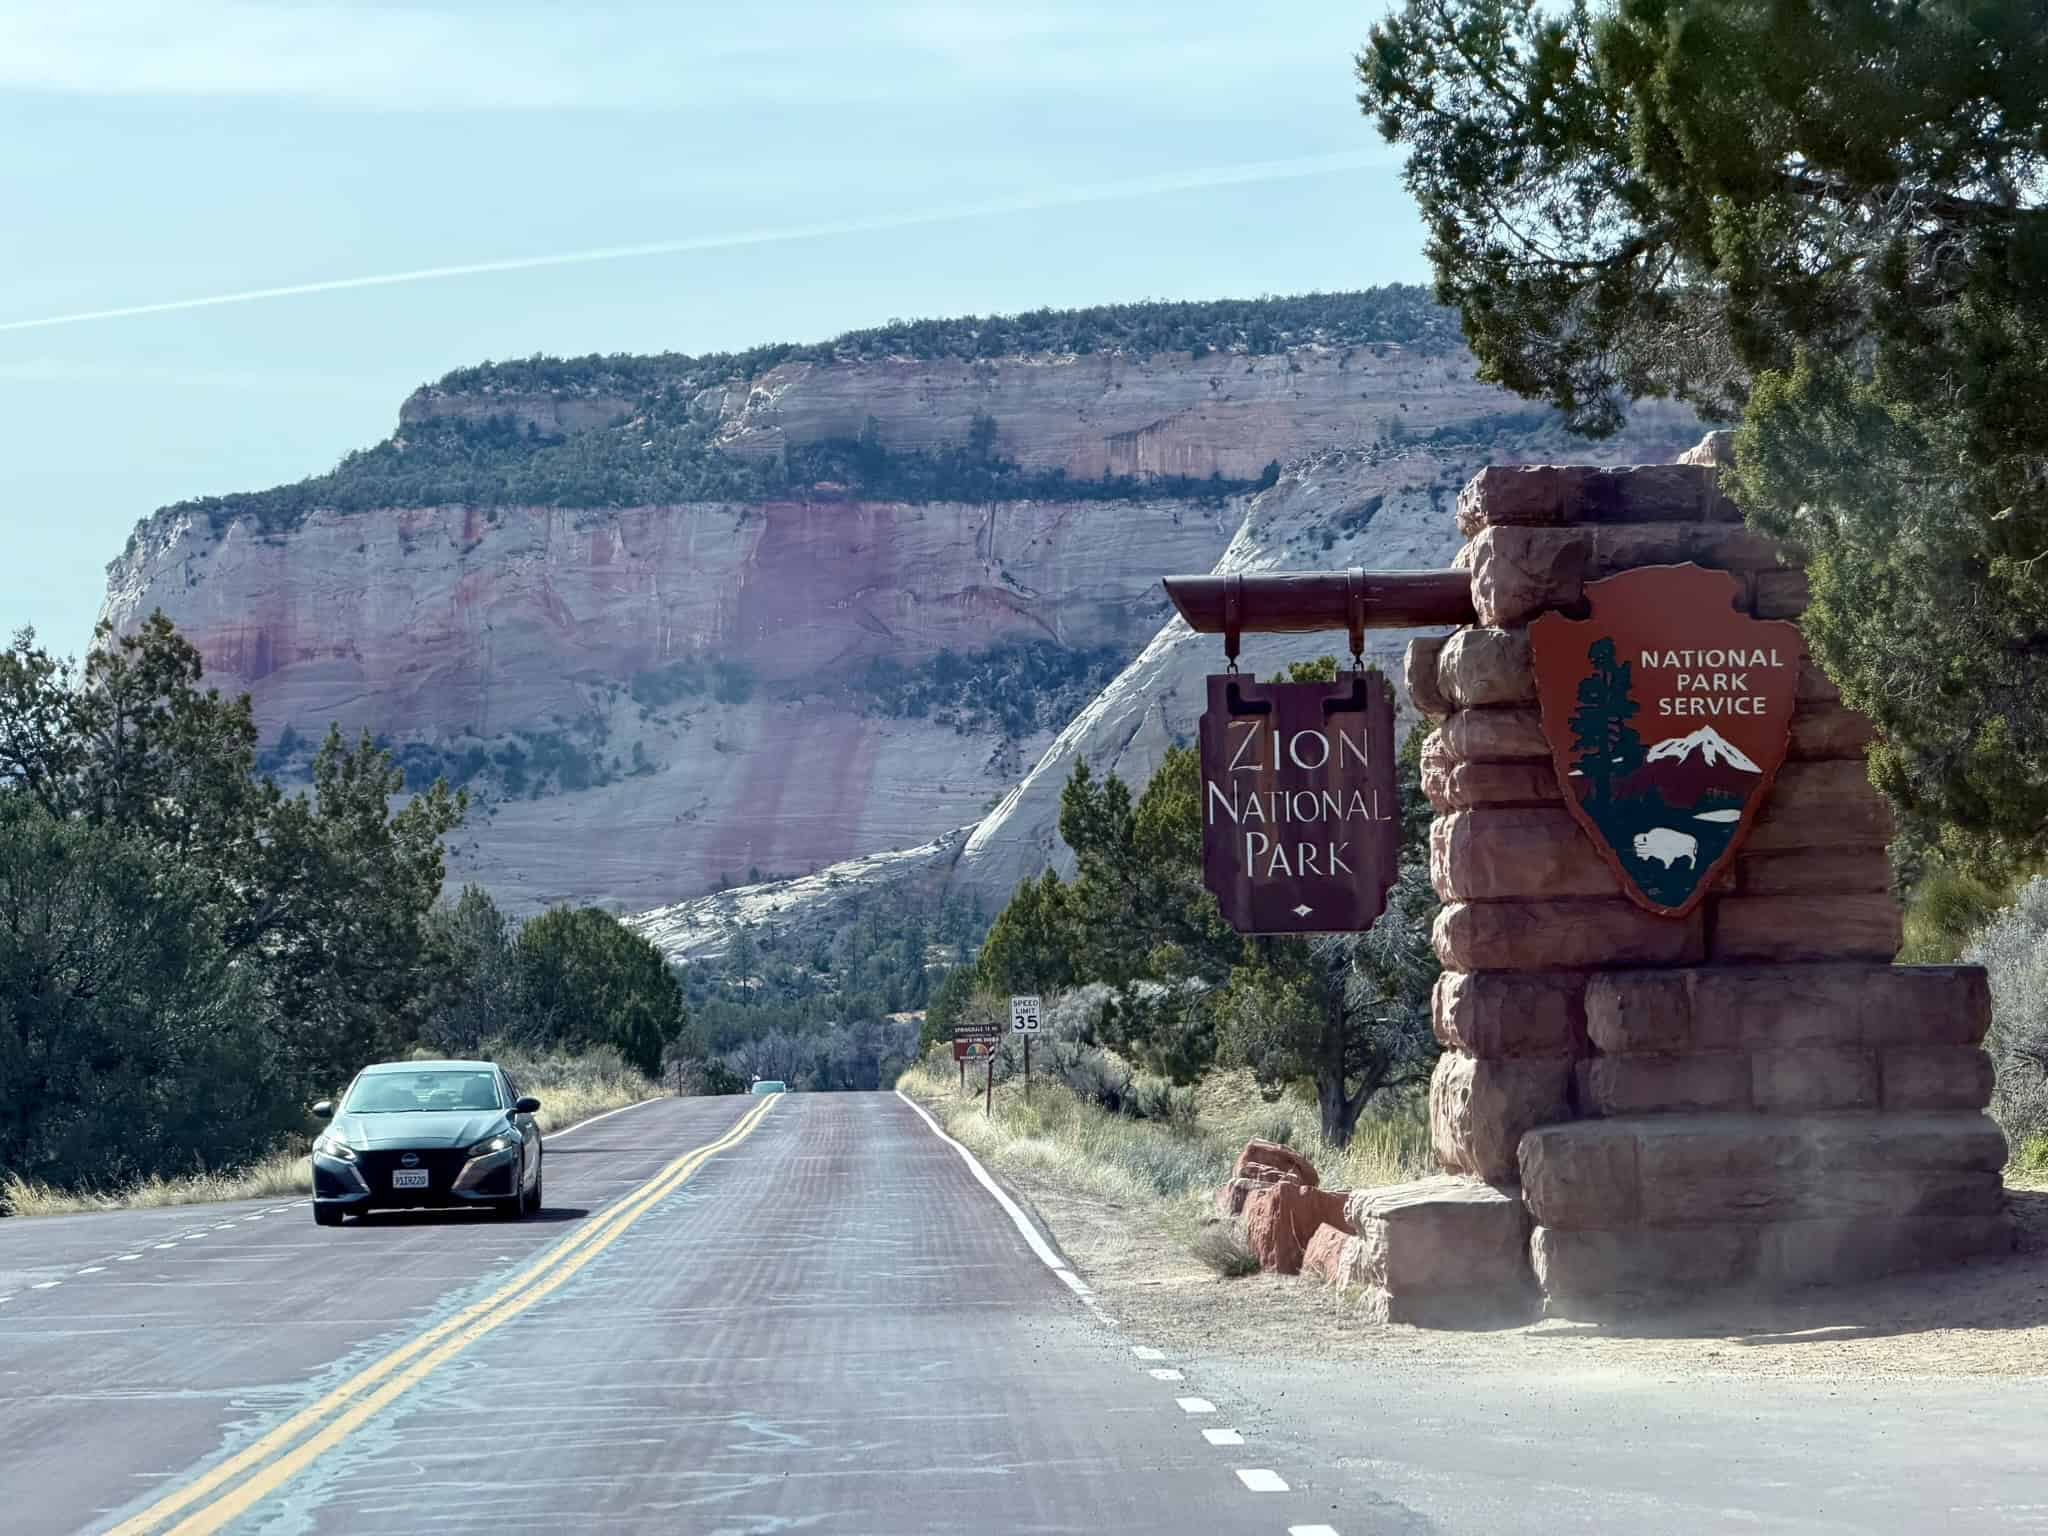
For those already in Zion National Park, I recommend starting your day early to beat the crowds. Enter the park through the southern entrance, pay the fee, and then park at the Zion Canyon Village. From here, take the short walk to the village. I recommend arriving before 7 AM to secure a spot.
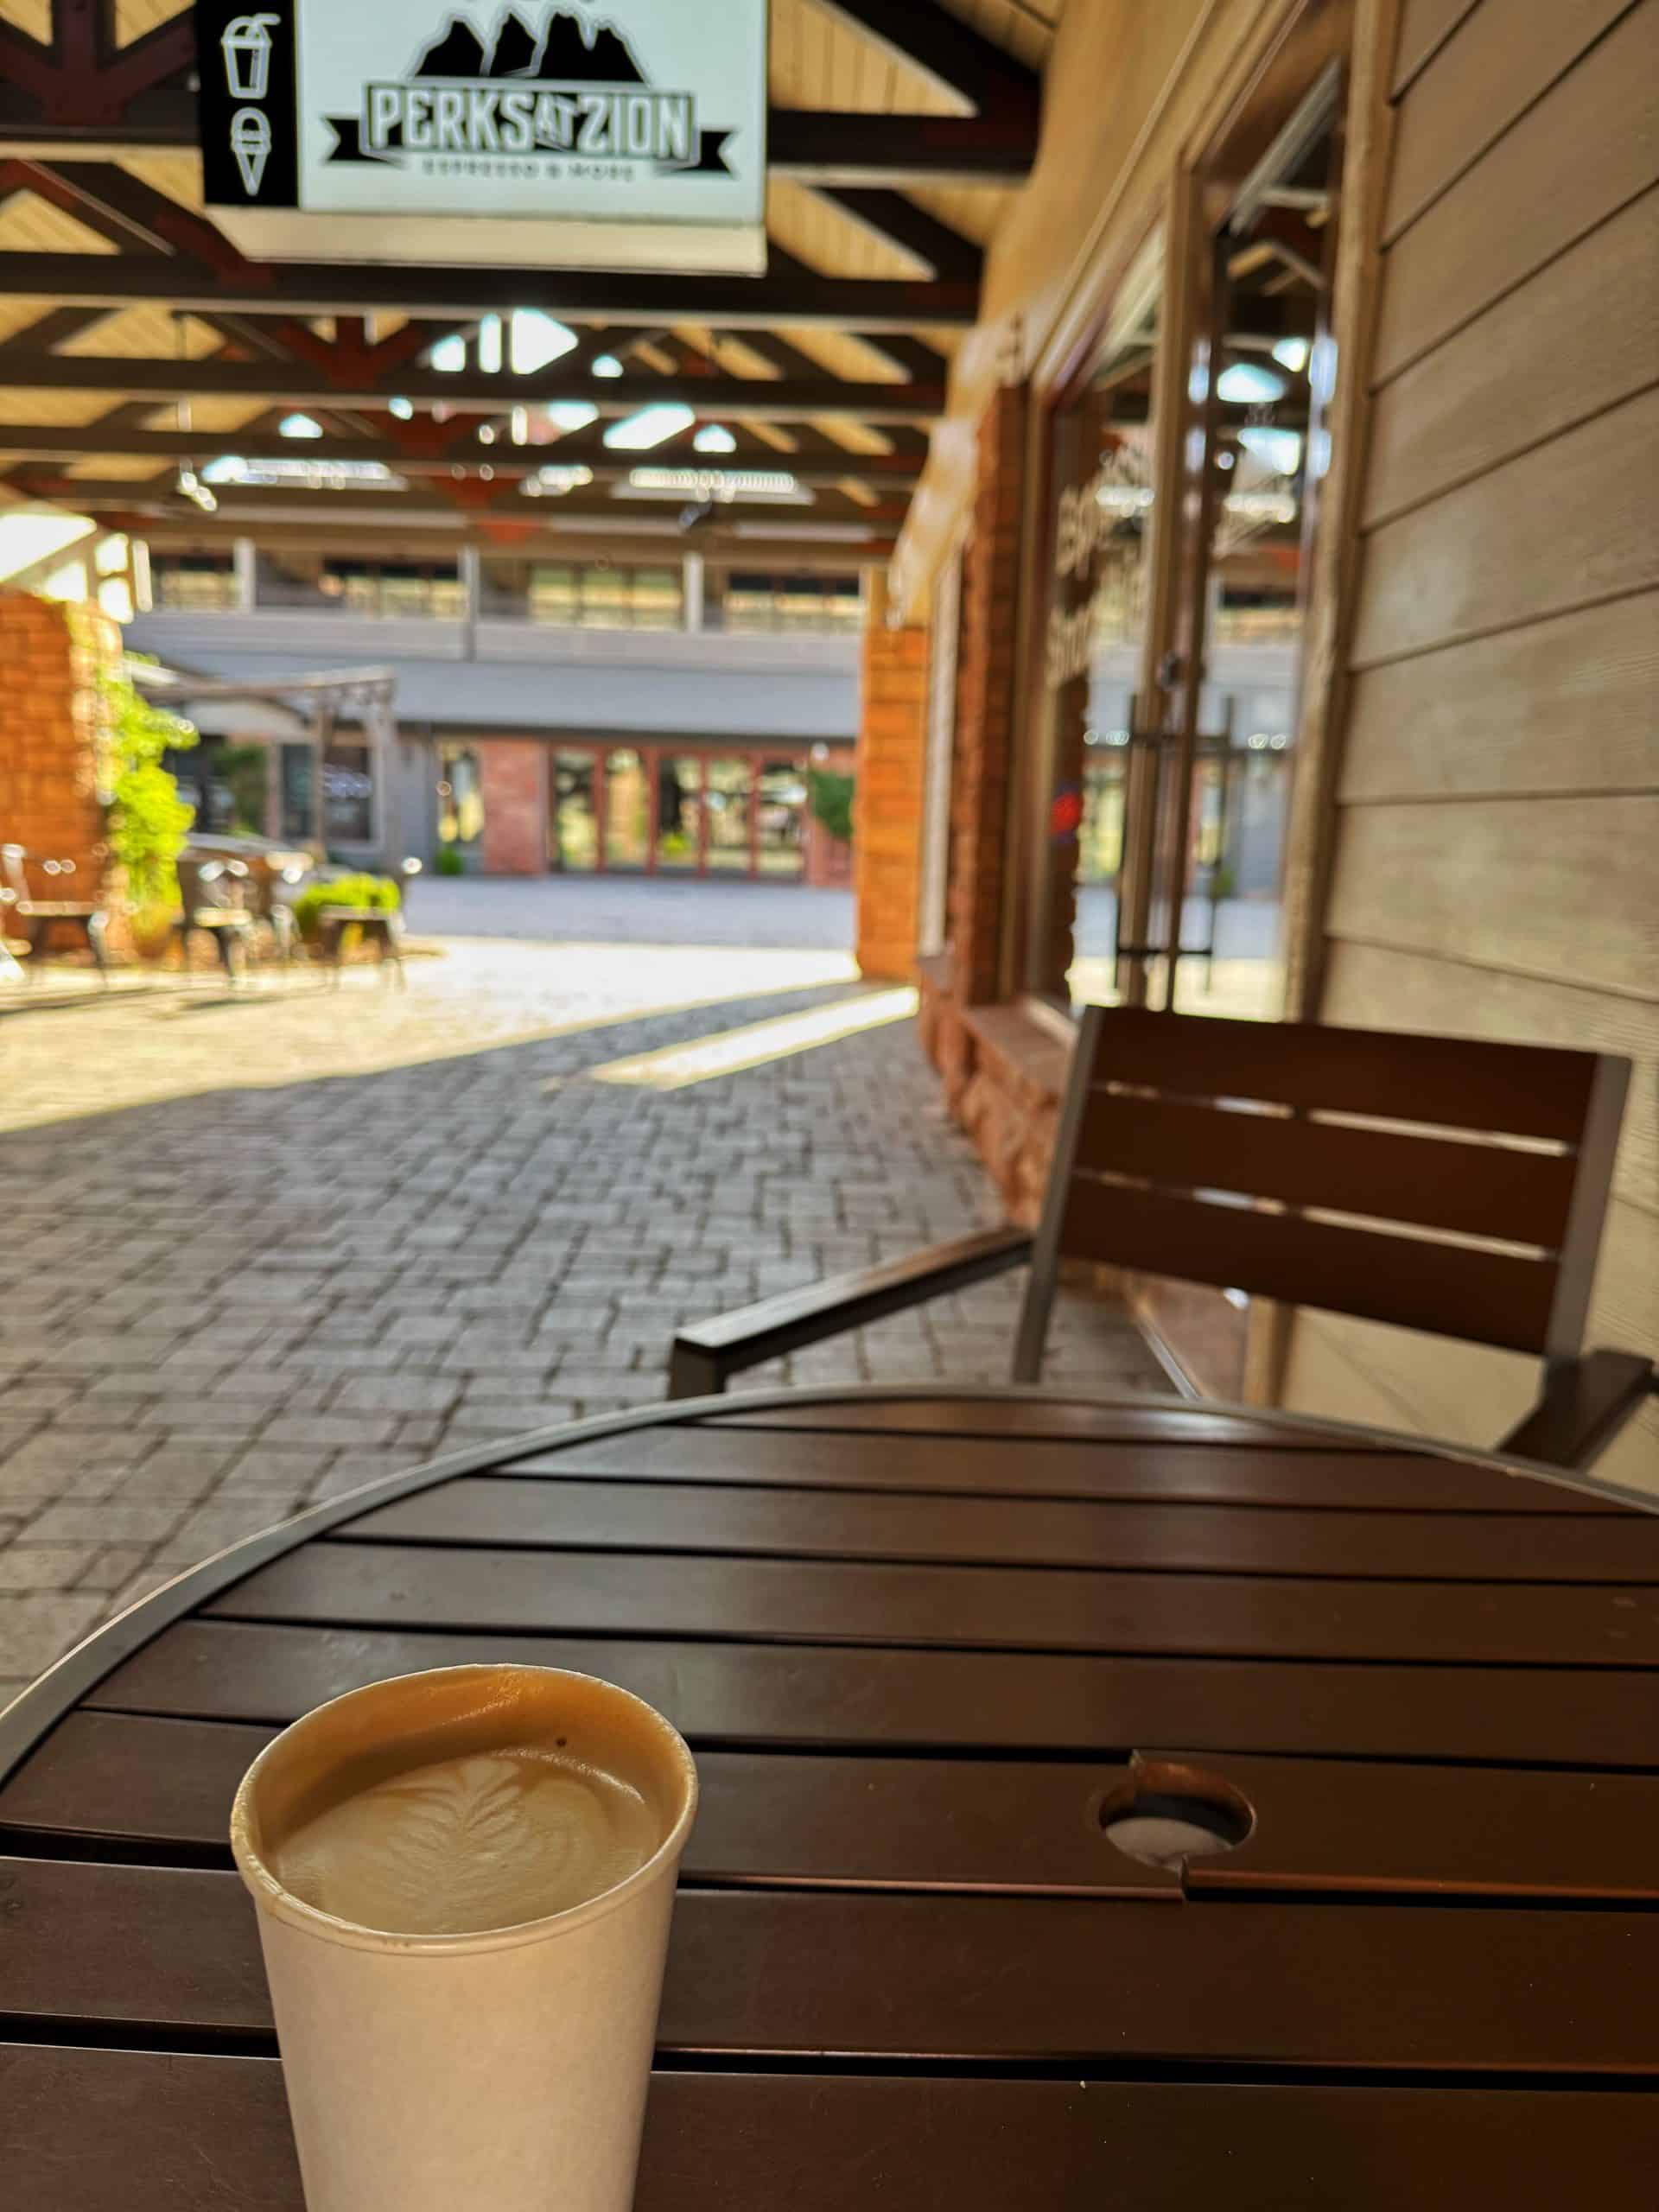
Welcome to Zion Canyon Village, home to gift shops, stores, restaurants, coffee shops, and more! Check out “Perks at Zion” for locally roasted coffee, smoothies, and fresh breakfast bites. Order your favorite flavored latte or a fun seasonal-themed drink.
I tried the pistachio latte in March of 2026, and it was just perfect! Don’t forget to grab the Denver omelet wrap to-go; you won’t regret it.
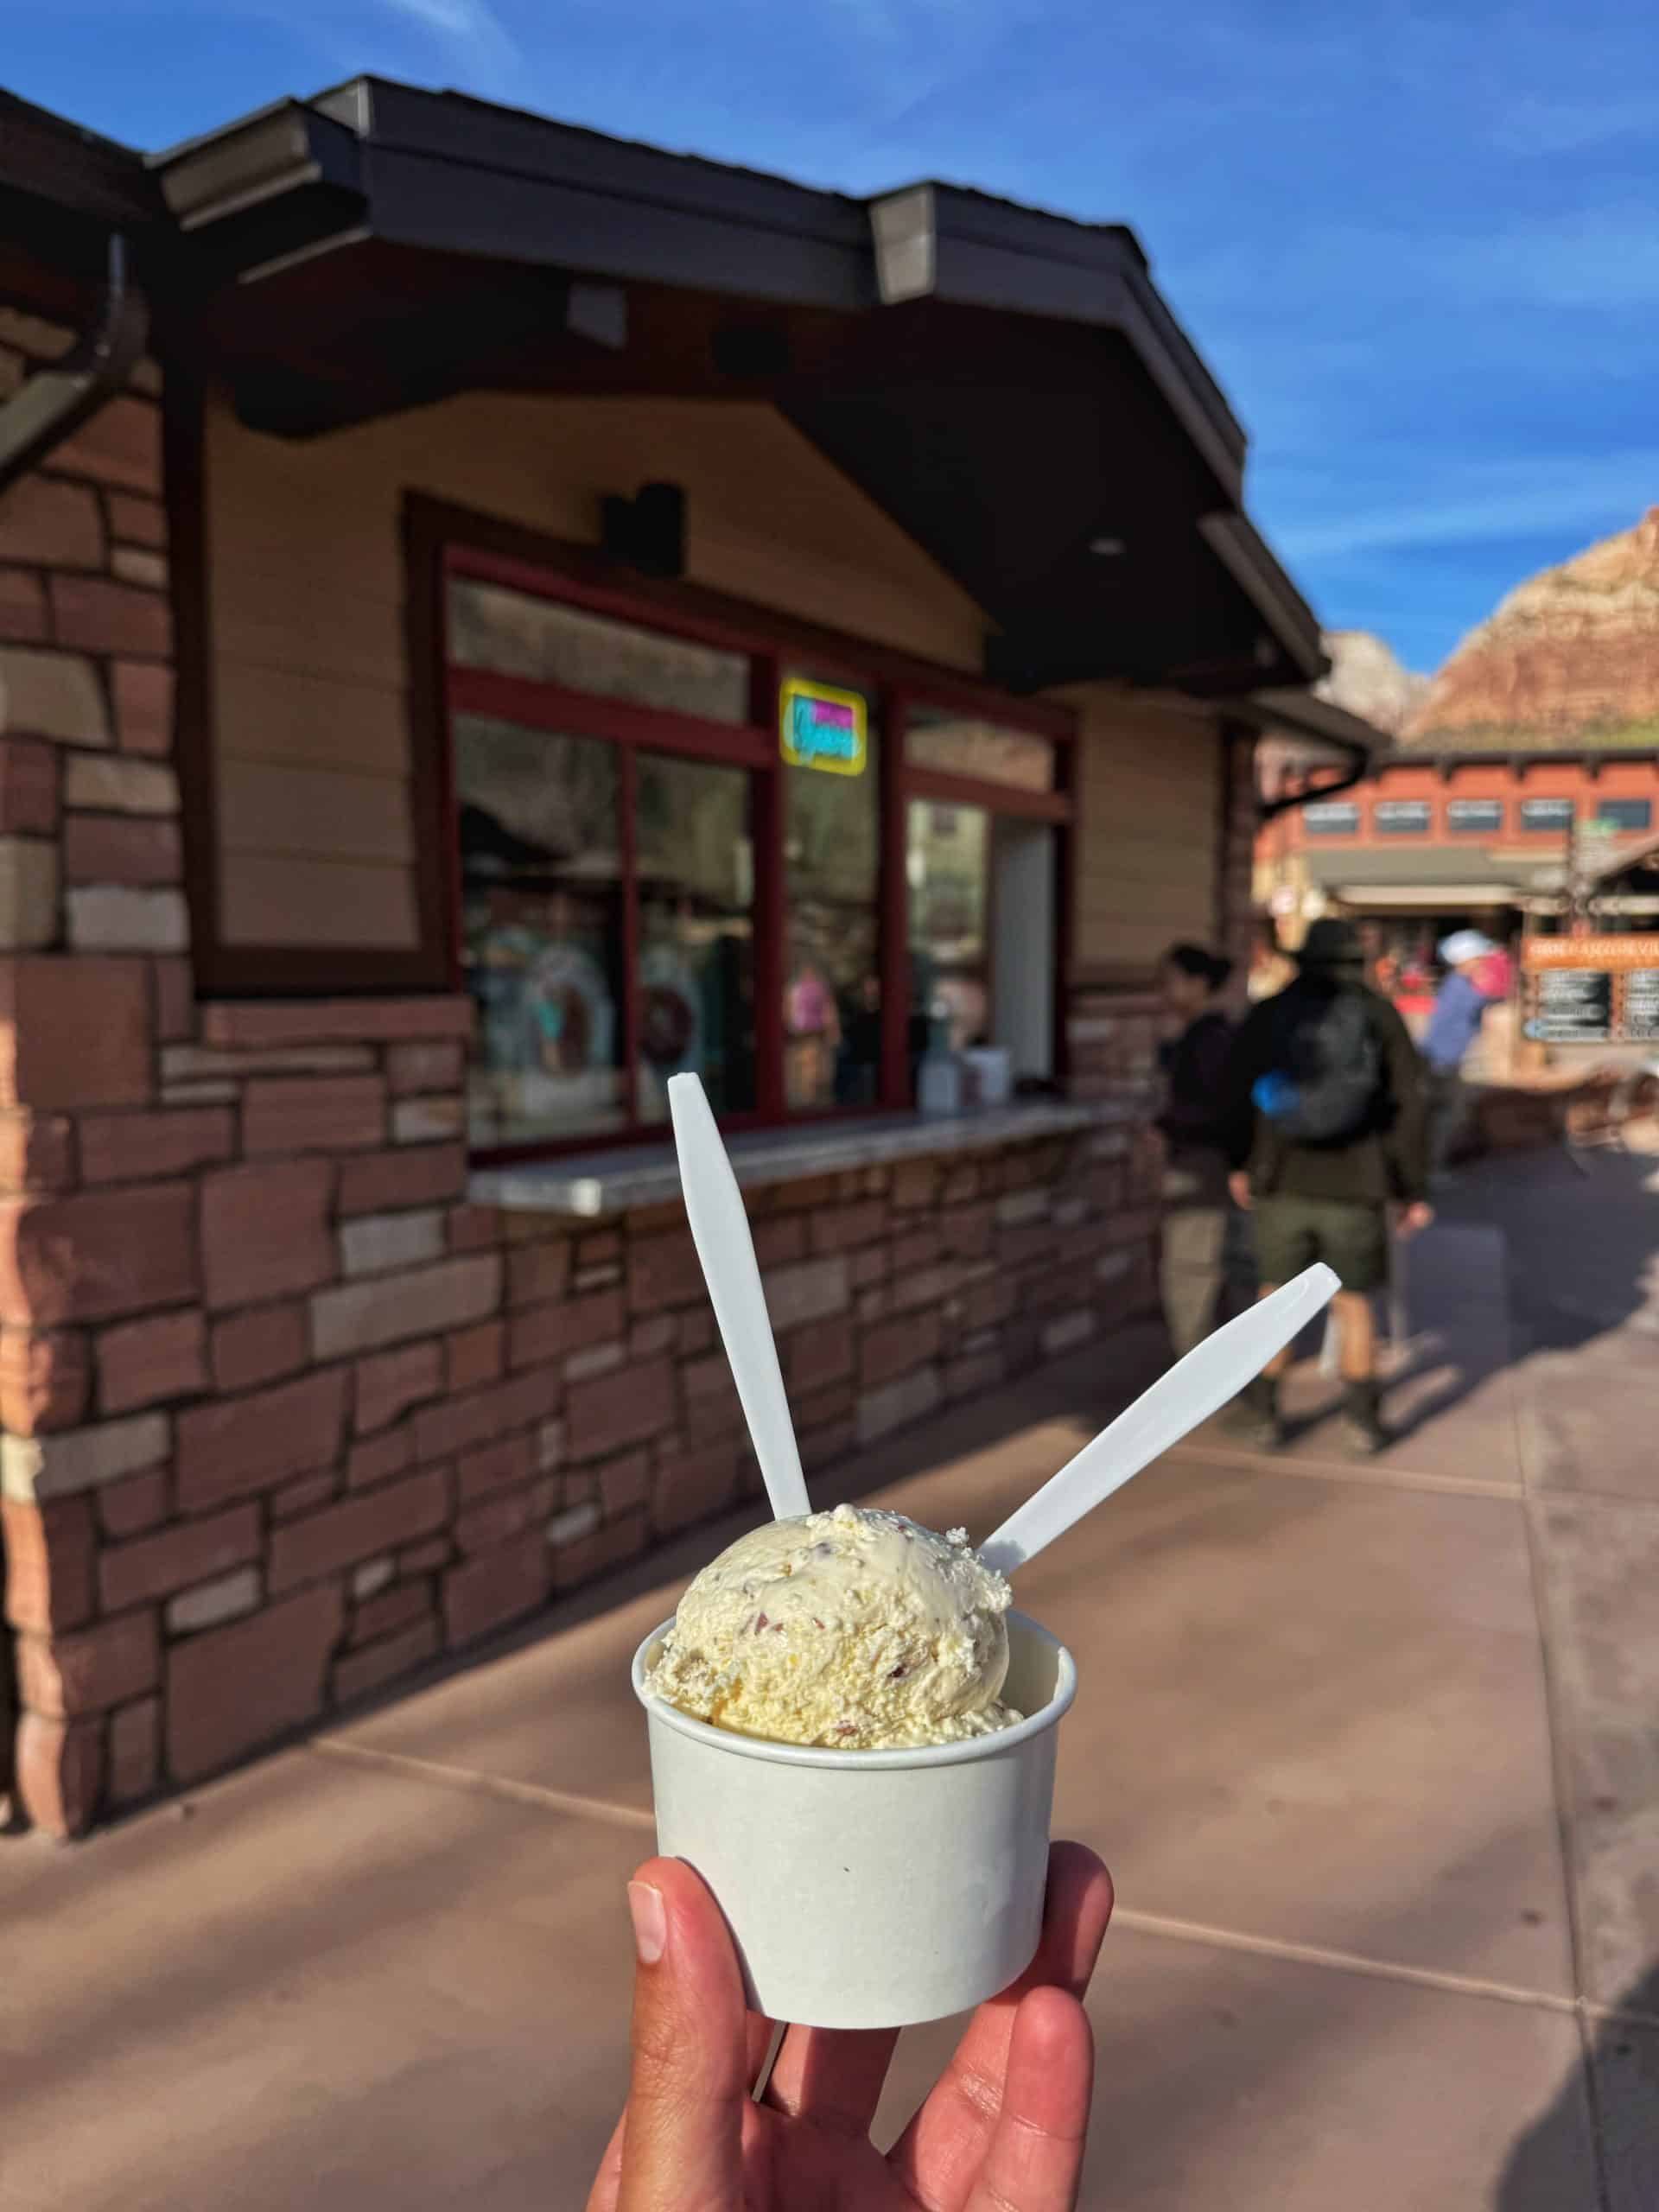
And if you don’t feel guilty about indulging in Gelato for breakfast, don’t miss out on Desert Ice. Although they’re known for their namesake treat, we opted for gelato instead! You can come back here later in the day, but they tend to sell out. I have heard really amazing things about the Desert Ice, so I will have to try it next time!
From here, you will board the Zion shuttle, which also starts at 7 am. You will likely notice crowds lining up already, but it only gets longer as the day goes on.
Afternoon: Hiking (8:00 AM – 4 PM)
This is your introduction to Zion Canyon! I highly recommend sitting back, relaxing, and soaking in the views while enjoying the on-board commentary.
The Zion shuttle system has evolved over the years into a more positive experience! Sure, it doesn’t offer the same freedom as driving, but it’s the best way to handle the sheer number of people visiting the park. I honestly think other popular parks should emulate the Zion shuttle system!
Bonus: I love the recorded commentary on the shuttle that gives you context into the geology and history of the area. I’m quite fond of the Native American name for Zion Canyon: Mukuntuweap, which means “straight canyon.” Try memorizing it during your visit!
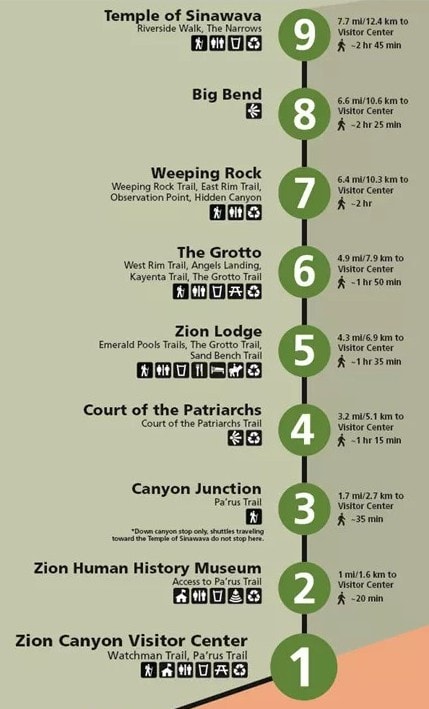
There are nine stops total within Zion Canyon. The first three (Stops 1–3) can be reached on foot via the Pa’rus Trail or by car. However, if you are driving, you’ll need to go east toward the Zion-Mount Carmel Tunnel, as the shuttle heads north into the heart of the canyon, starting at Stop 4.
Stops 4 through 9 are where you’ll find the iconic hikes and viewpoints. For your 2-day Zion Itinerary, I recommend starting at Stop 4, where you will find the Court of the Patriarchs viewpoint: a quick 5-minute walk to an iconic view of Zion’s picturesque sandstone cliffs!
For the more ambitious, walk the opposite direction to the Sand Bench trail, which you can hike one-way to the Zion Lodge (Stop 5). The hike is about 1.5 (2.4 km) one way with 207 ft (63.0 m) of elevation gain and 235.2 ft (71.7 m) of elevation loss, offering a lesser-seen perspective of Zion Canyon.
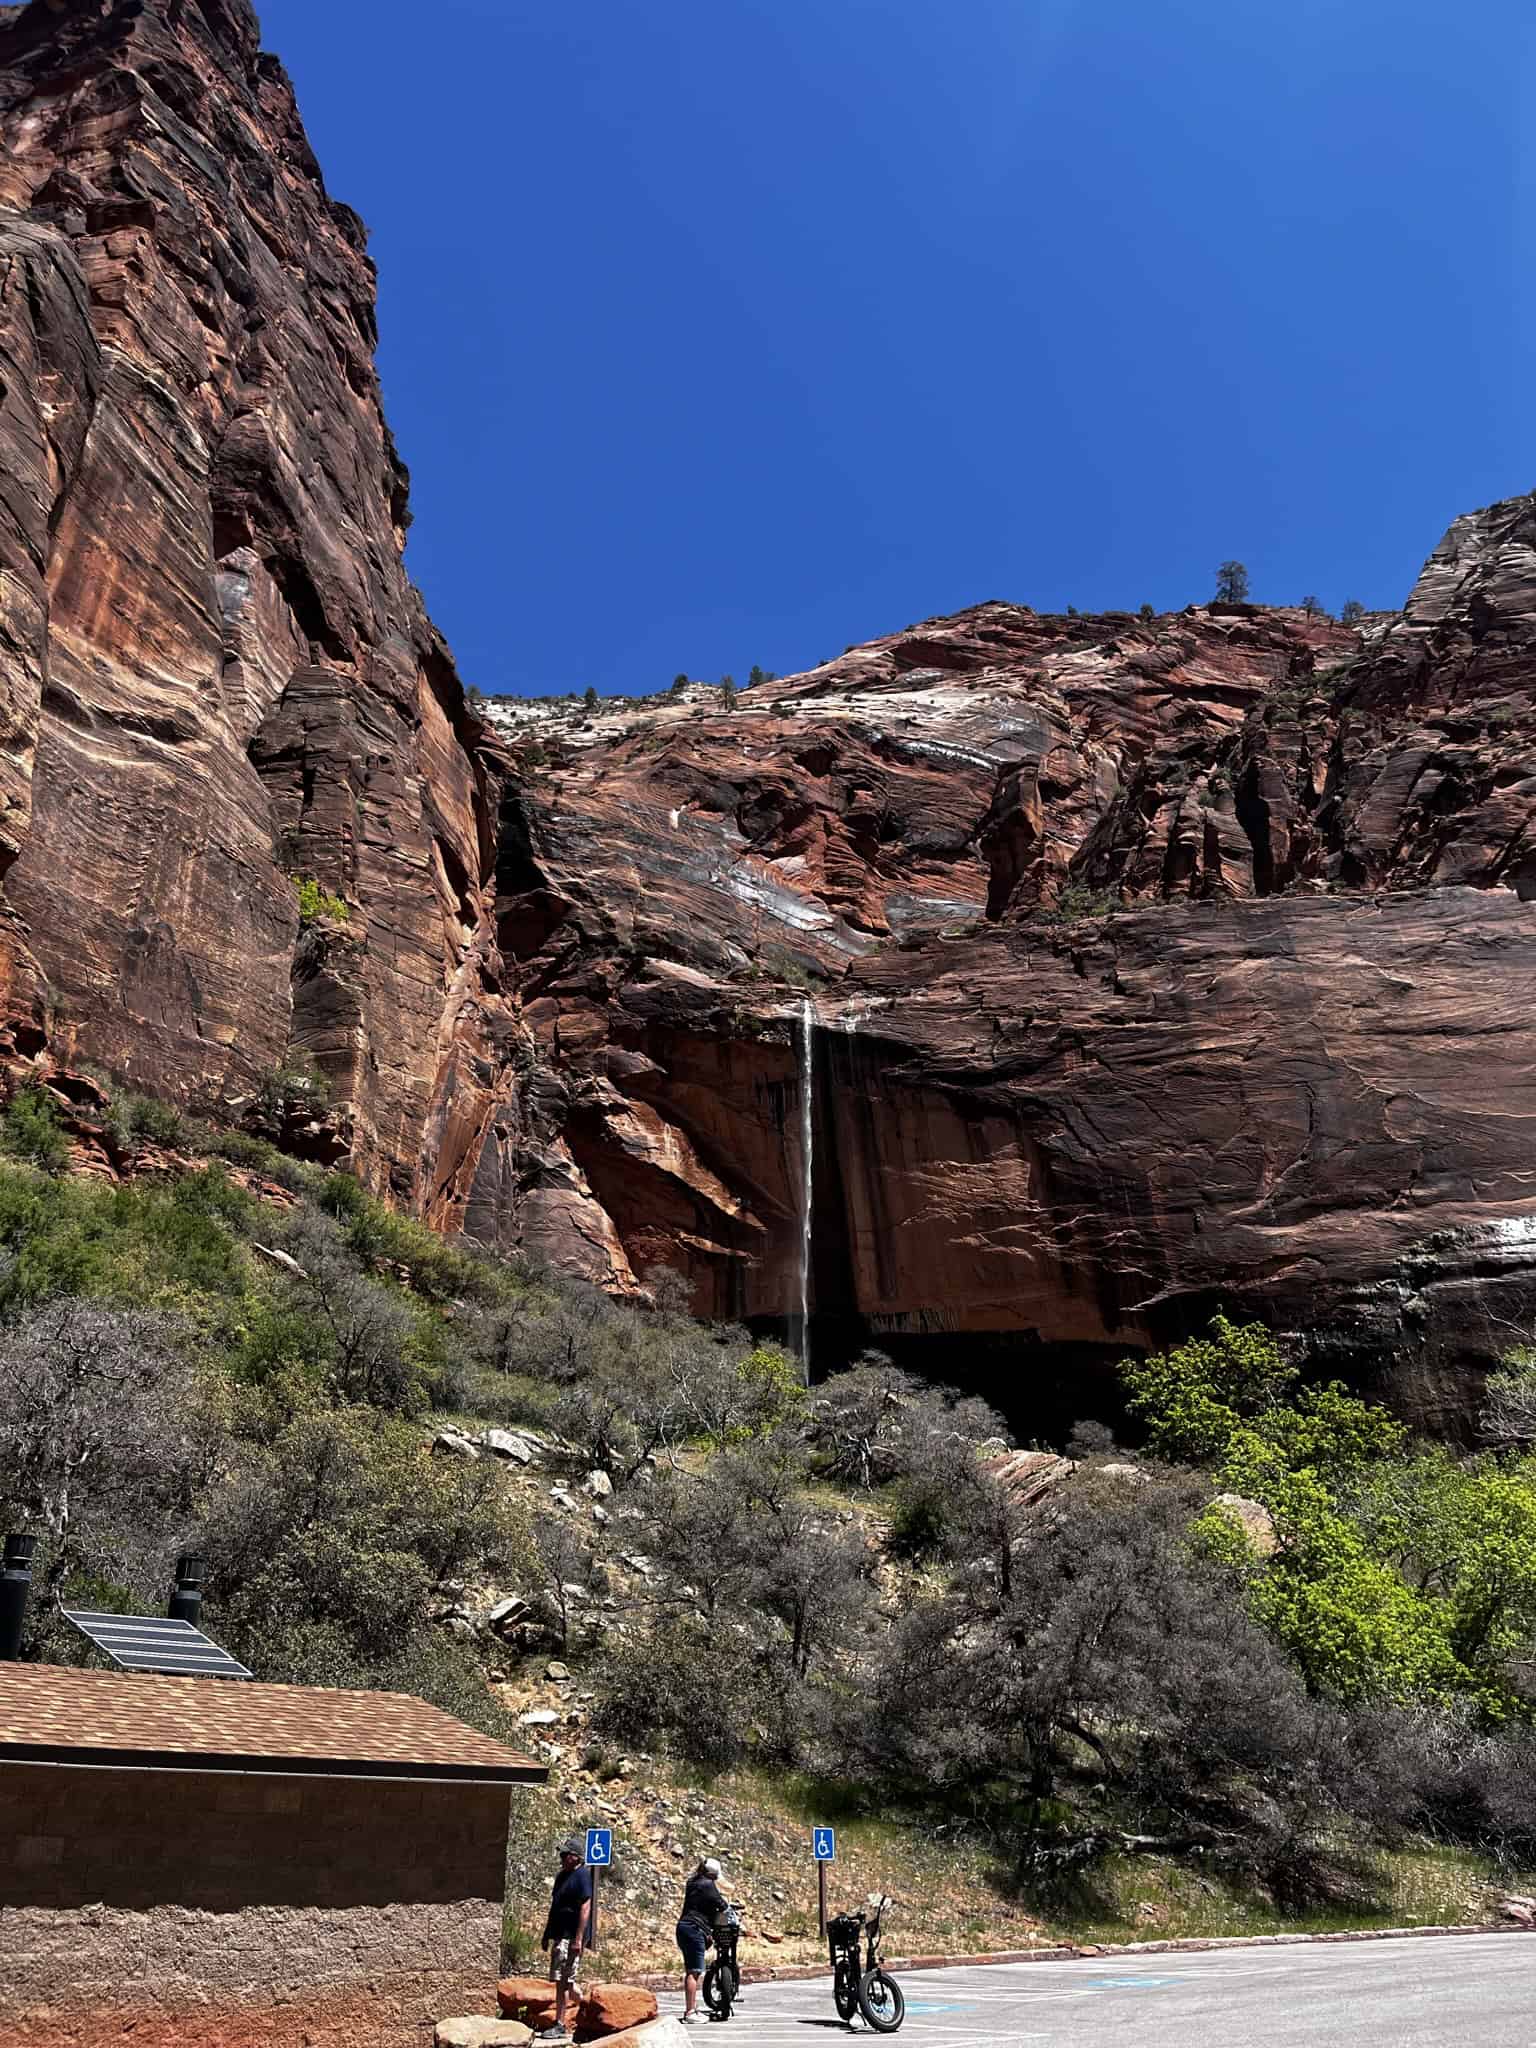
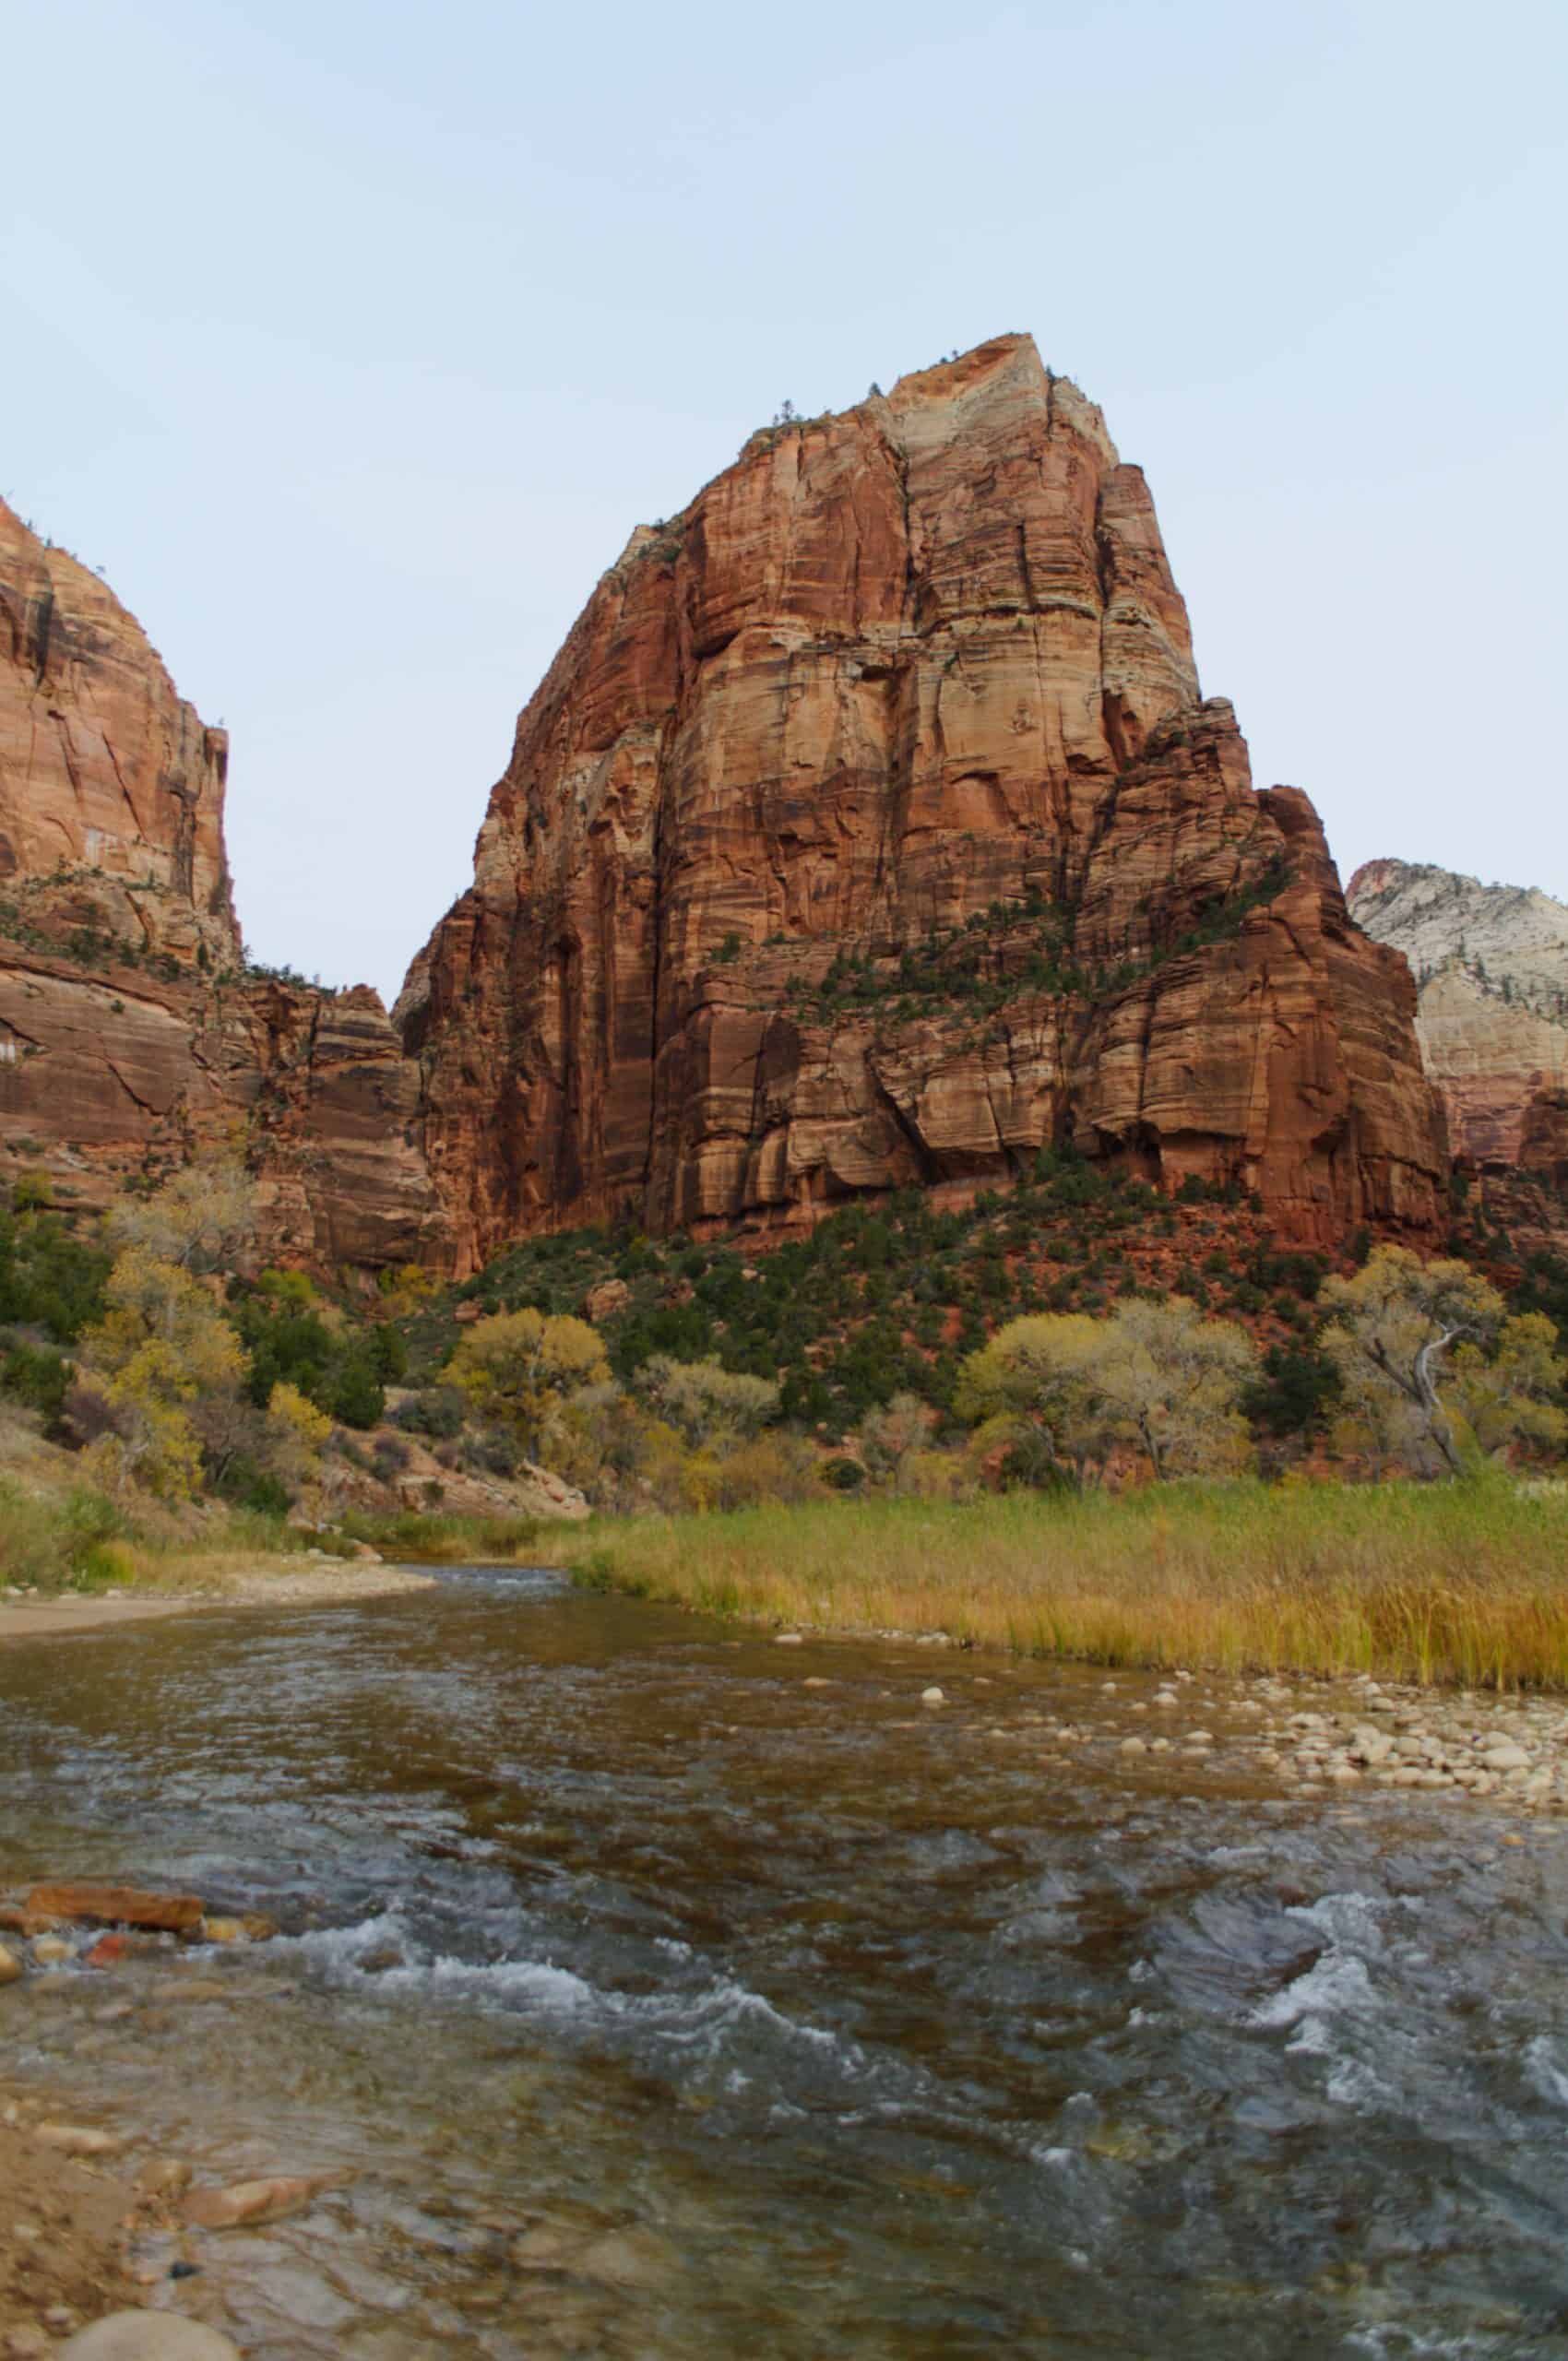
When you arrive at Zion Lodge, check out the Castle Dome Café to refuel for the rest of your day! From there, embark on one of Zion’s most popular hikes, which leads to a tall seasonal waterfall that plunges into a gorgeous, emerald-colored pool.
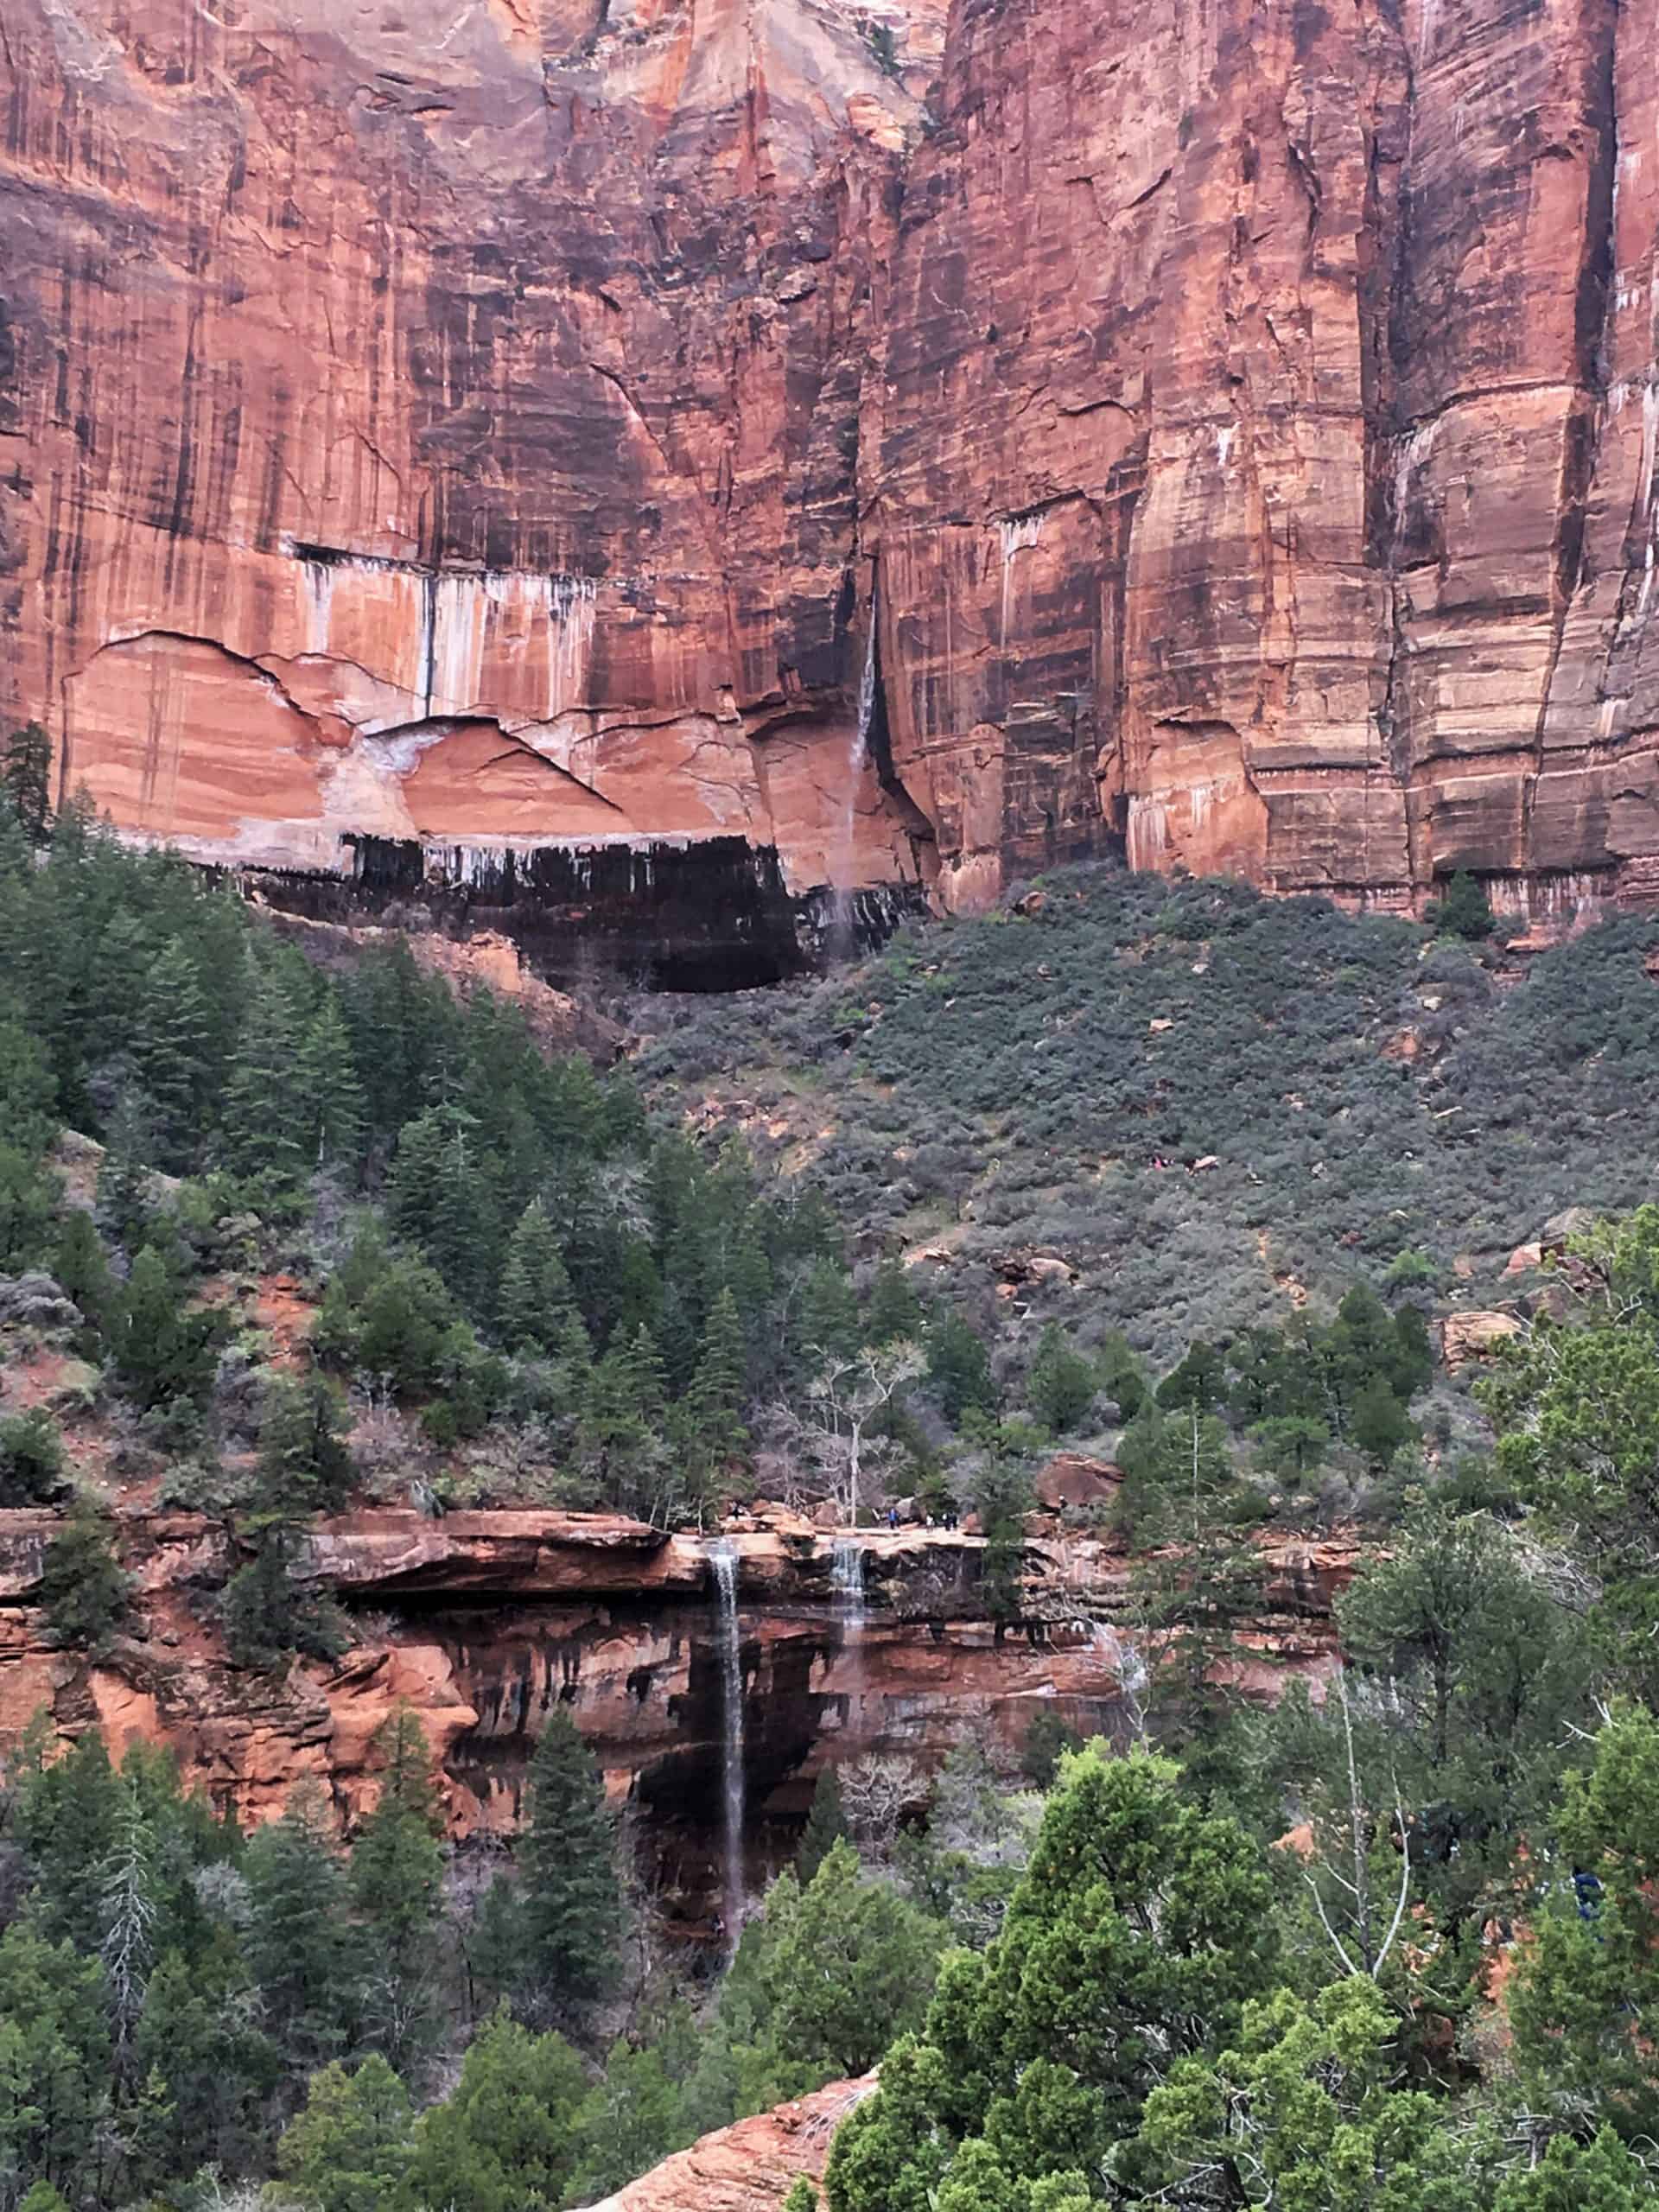

Here is my recommendation: hike it point-to-point, clockwise. Start at the Zion Lodge (Stop 5) and end at The Grotto (Stop 6). There is plenty of signage and maps to help you navigate.
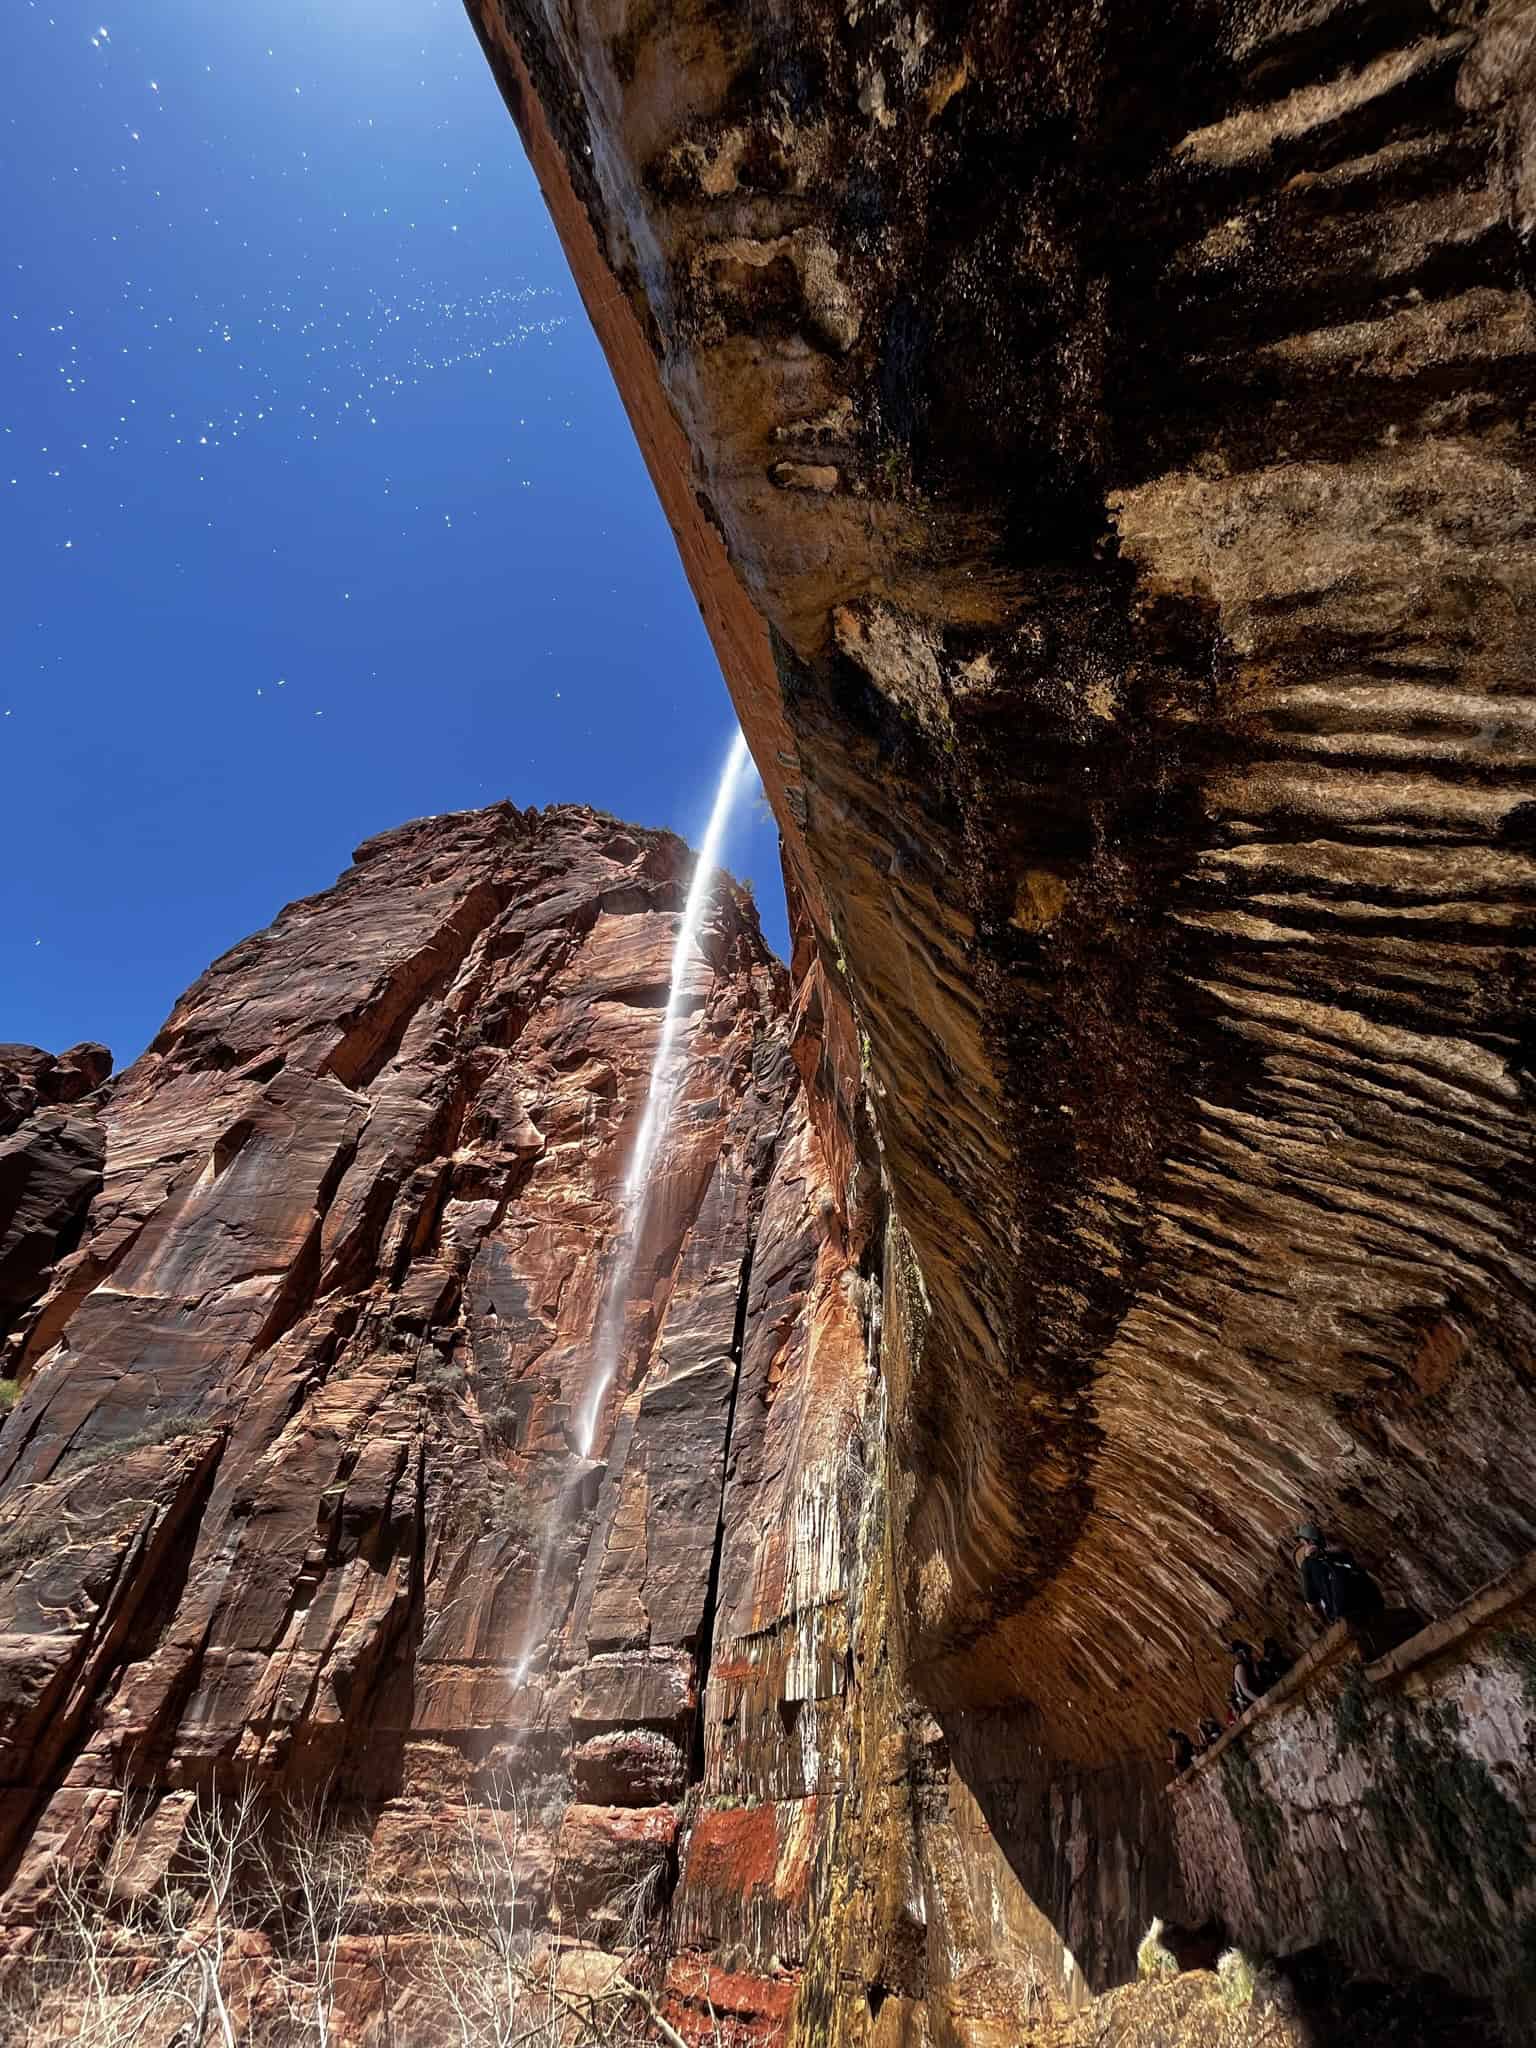
At stop 7, you’ll find Weeping Rock: a short but steep walk that takes you to a unique geological feature. Because Navajo Sandstone is porous, water from snowmelt and rain seeps through the overlying rock and flows out here, creating the illusion that the cliff is literally “weeping.”
Weeping Rock contains steep metal steps to get to, but the hike itself is only 0.5 miles and 150 feet of climbing. On my first visit, I skipped it, and I highly recommend against that!
Evening: Riverside Walk (4 PM – 9 PM)
For your last stop, hike the Riverside Walk (Stop 9). This paved, 1.1-mile-long scenic, wheel-chair accessible hike leads to the entrance of The Narrows. Picture towering sandstone walls rising on either side of the Virgin River; it creates an unforgettable scene and provides the perfect introduction to slot-canyon hiking.
Are the Narrows the main reason you ventured out to Zion? If so, skip the first part of this itinerary and head to the Narrows first. I highly recommend hiring a guide for the most unforgettable experience!
Cedar & Sage Boutique Trekking offers an all-inclusive tour, providing all the gear, lunch, and expert trail knowledge on a more personal scale. This leaves you free to step into the adventure and enjoy the hike instead of stressing over the logistics.
Pro Tip: I do not recommend taking the last shuttle back; if it’s full, you have to walk back the full 9 miles.
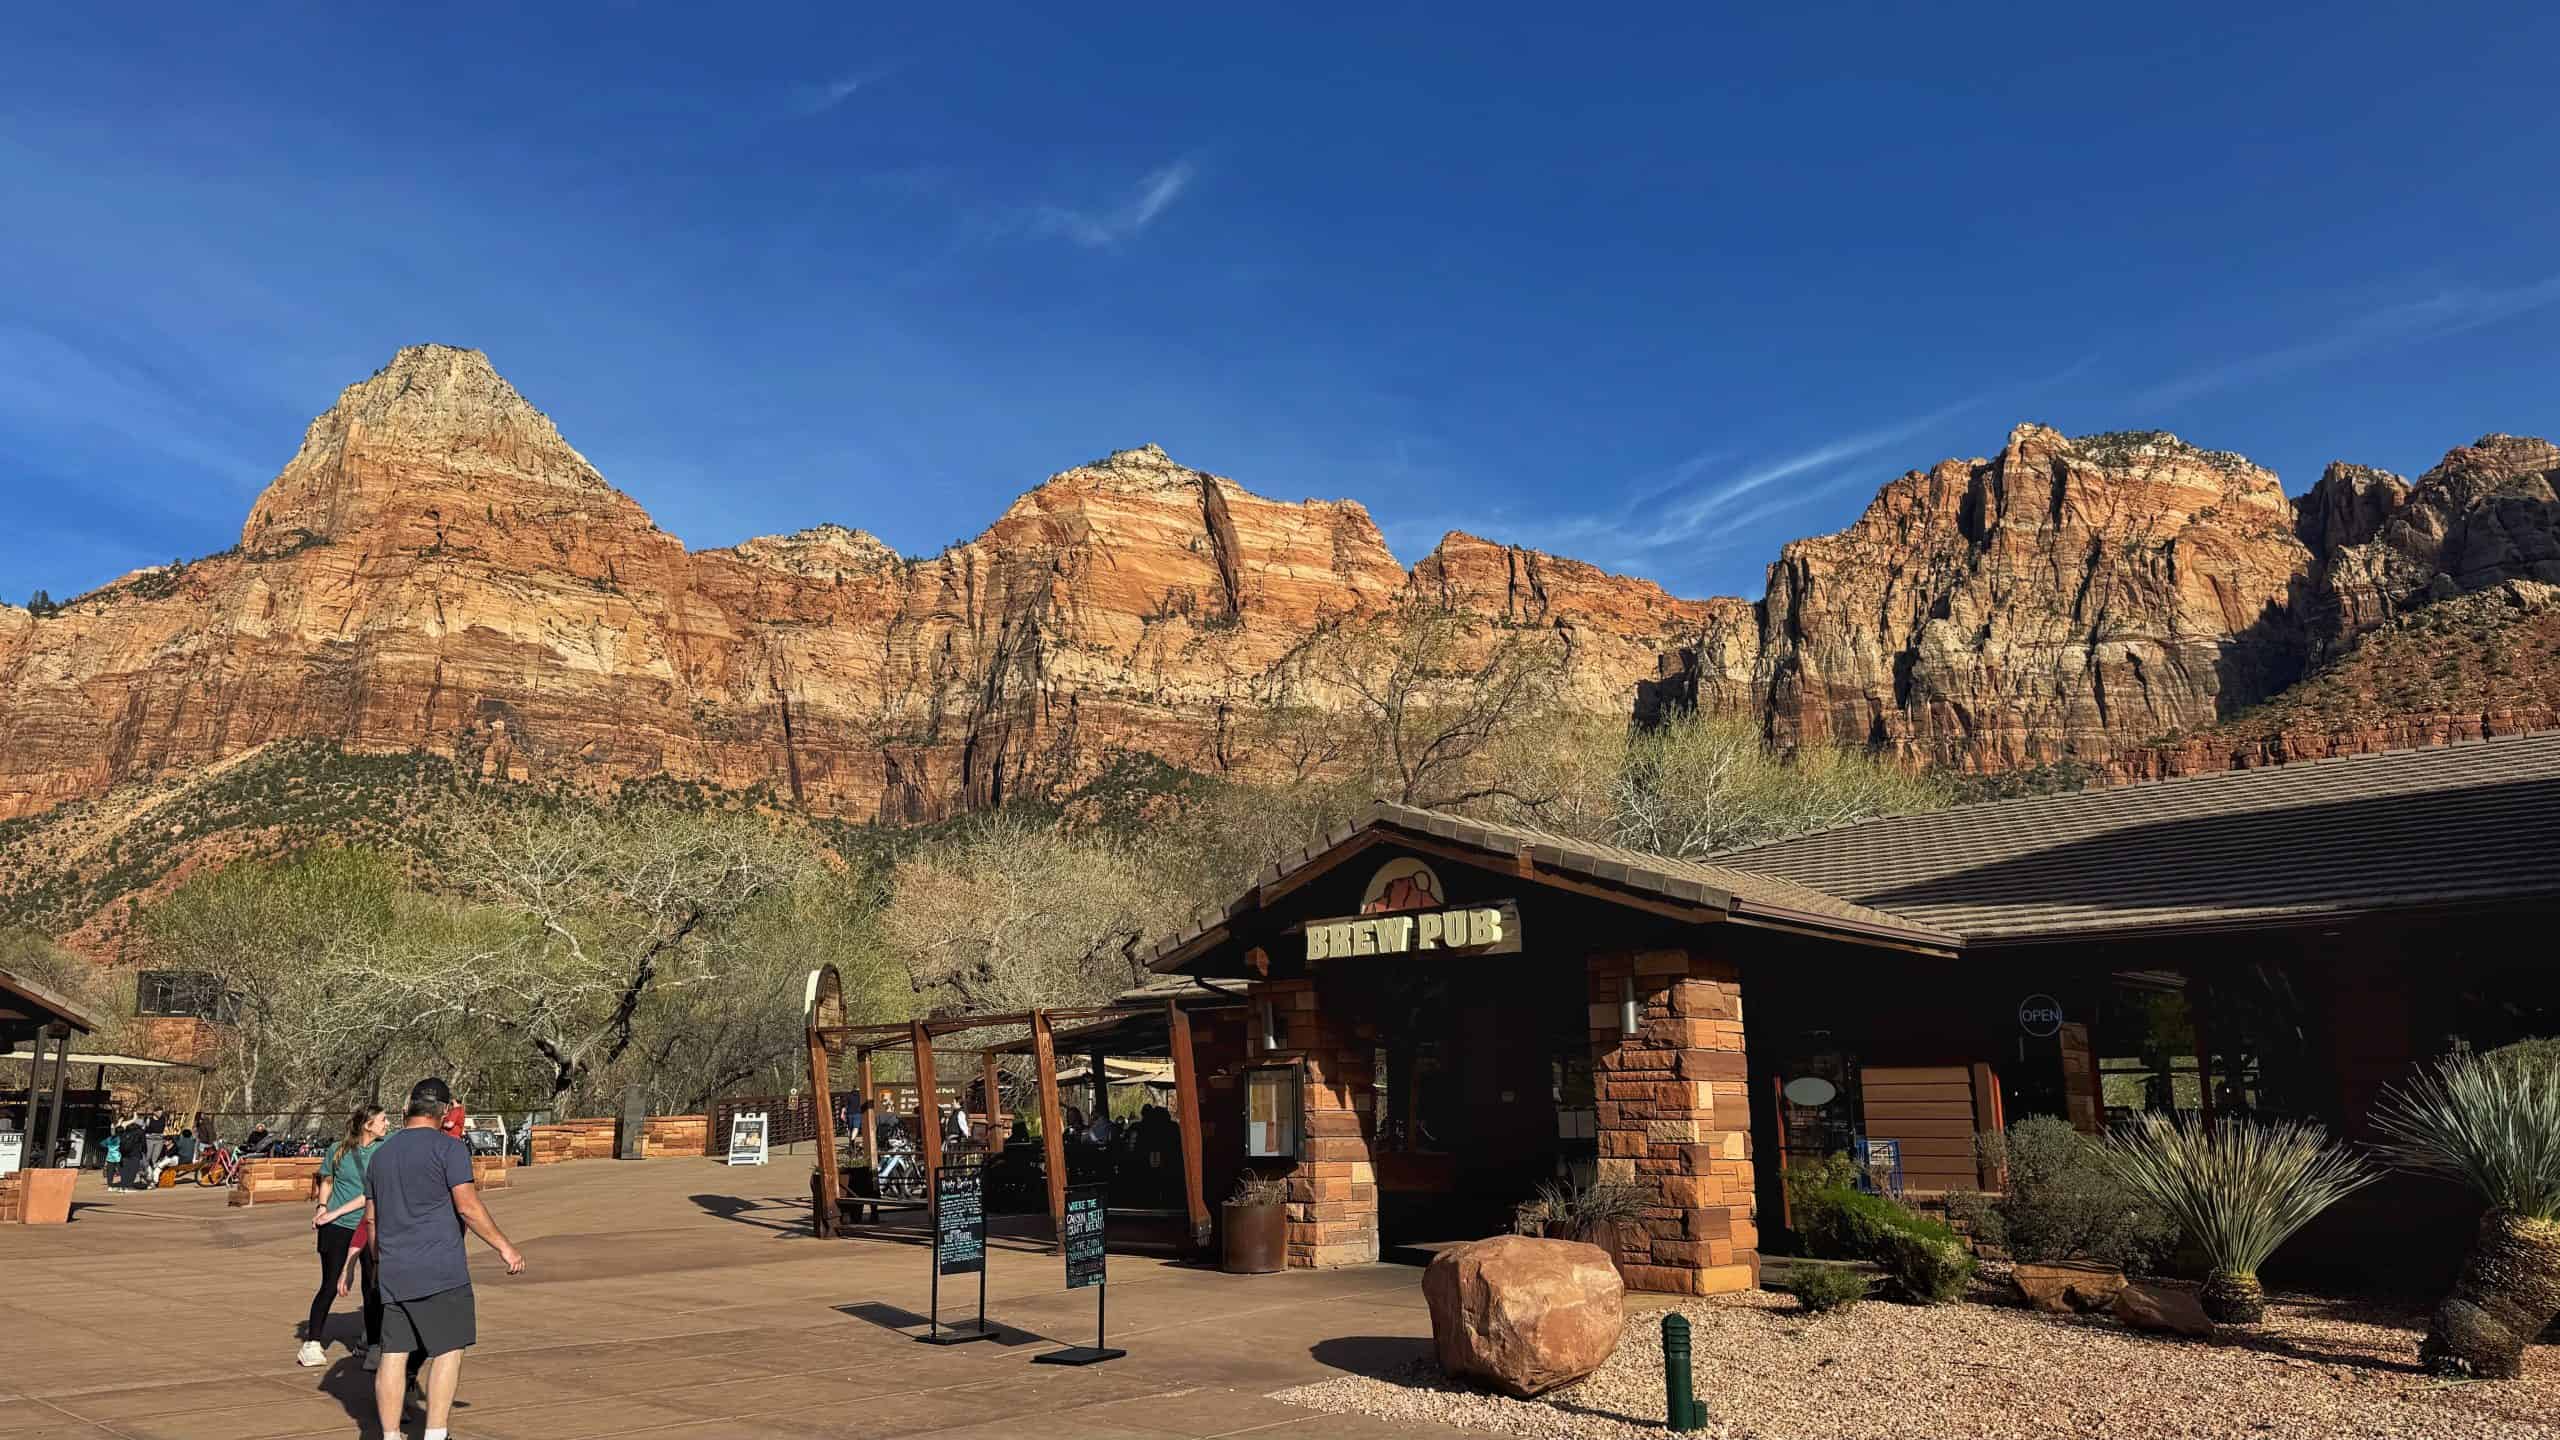
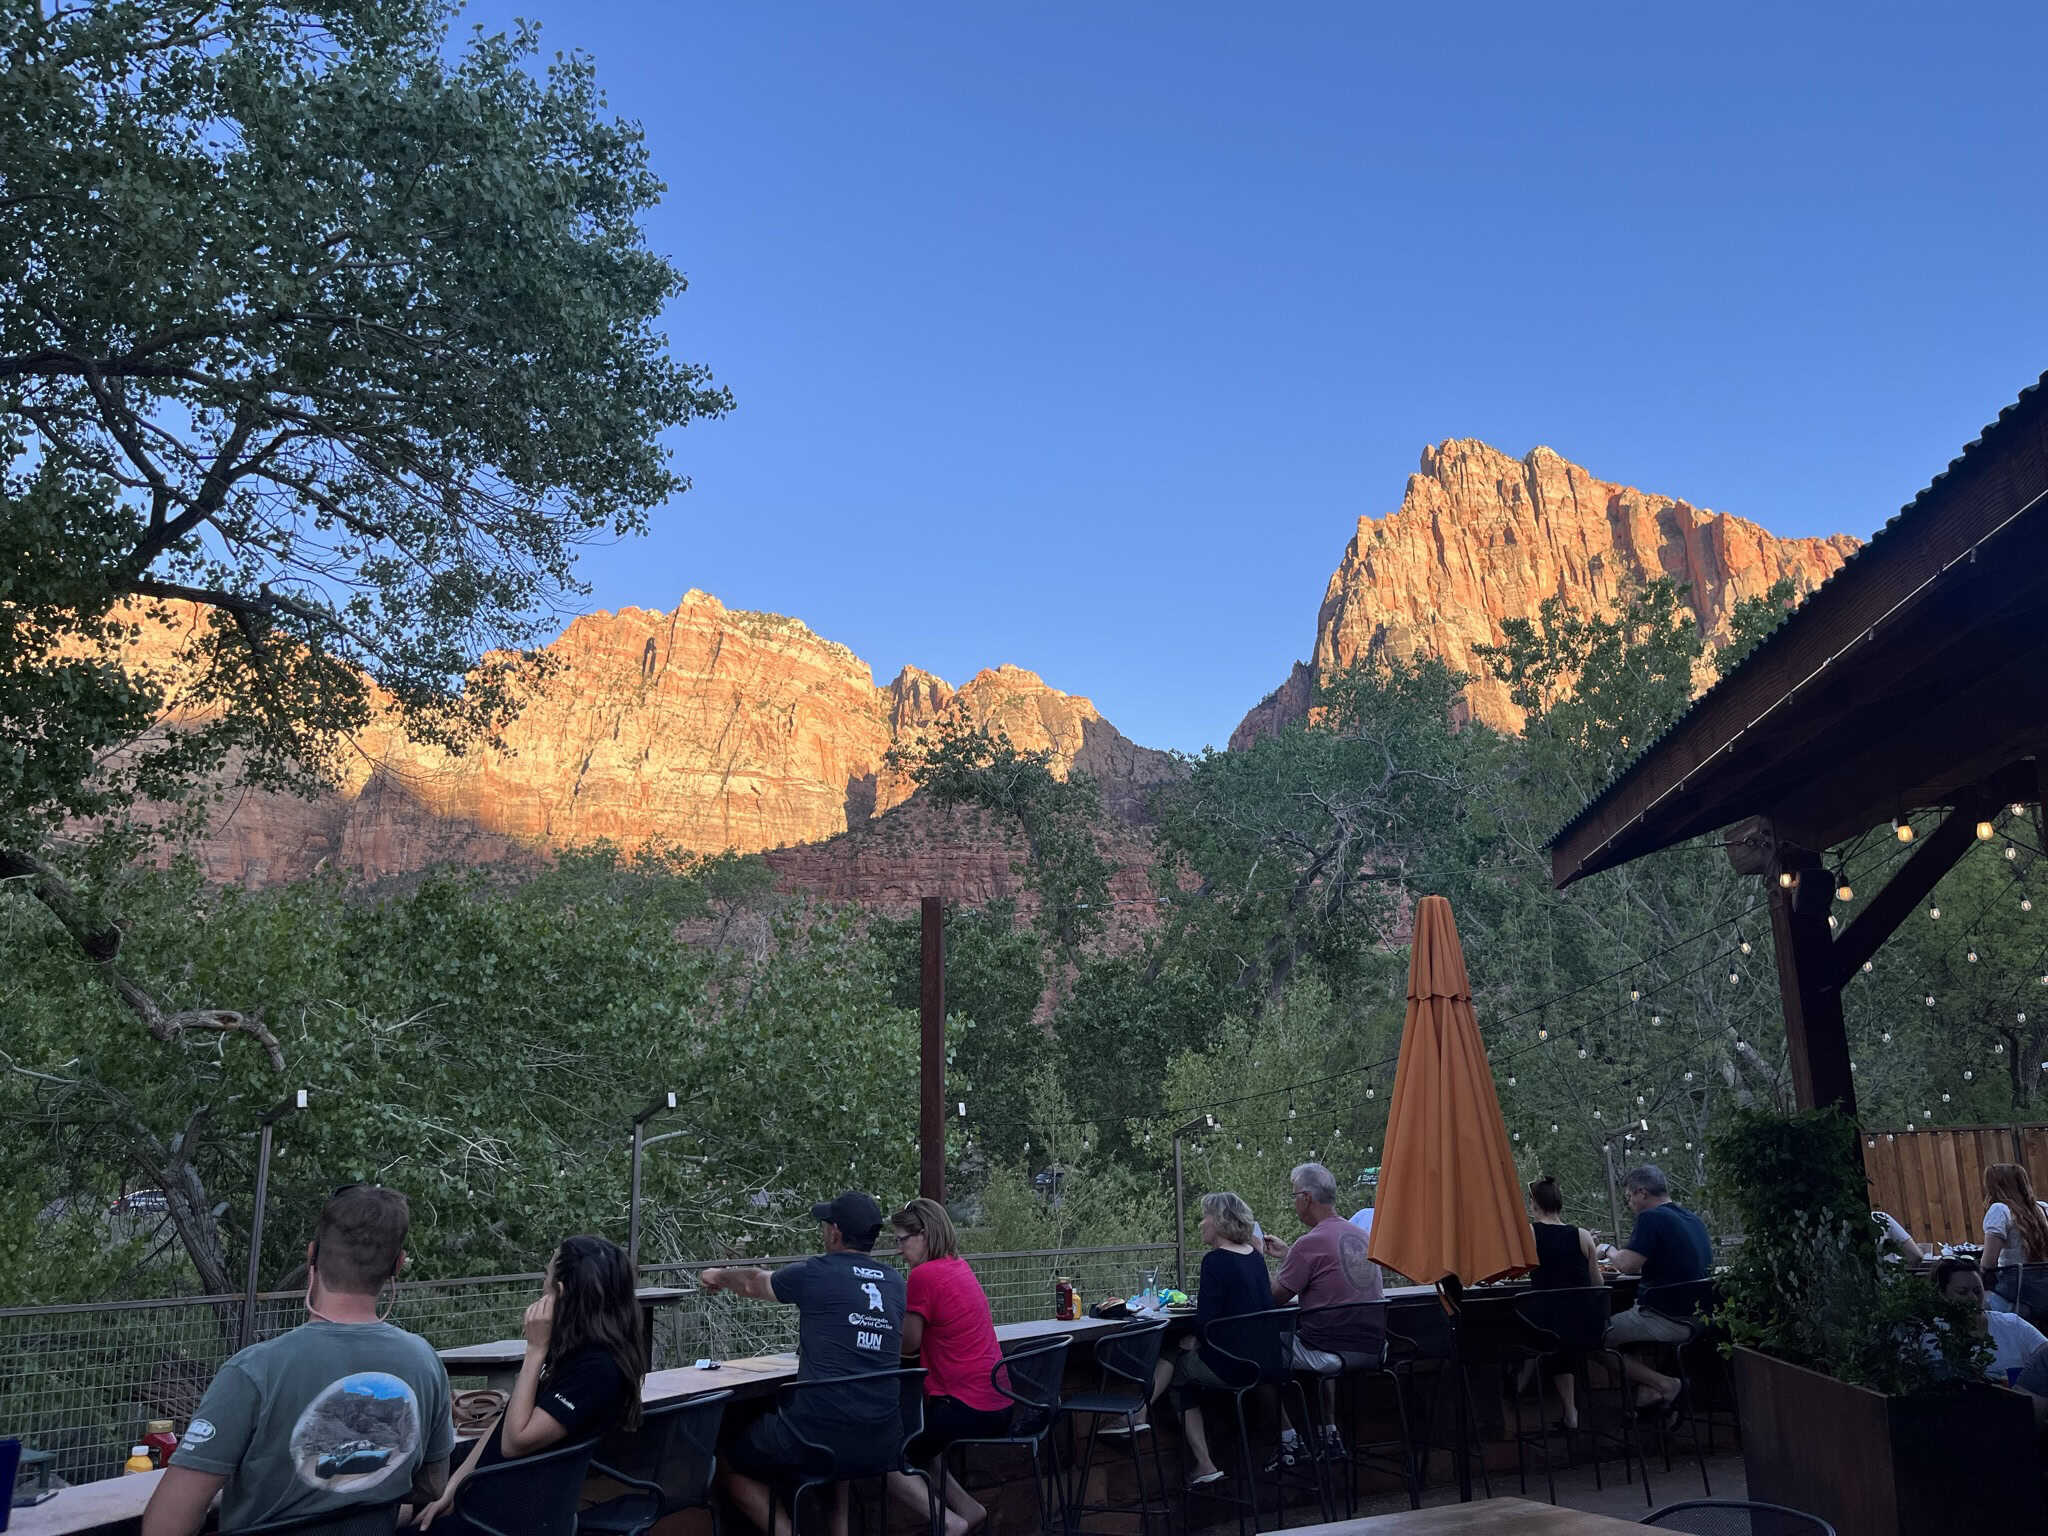
Wrap up your day at the Zion Canyon Brewpub in Zion Canyon Village for great beer, food, and an amazing view from the outdoor seating! Our waitress recommended the Zion Brew Burger, which contained mouthwatering homemade “bacon jam!” They also provided suggestions on beer-burger pairings to help you pick the perfect one.
Subscribe Here!
If you’re enjoying this content, sign up for My Weekly newsletter!
Day 2: High Altitudes And Scenic Drives
Day 2 kicks off with a visit to a classic Zion coffee shop, followed by the most thrilling hike in the park: Angel’s Landing! After this adrenaline-induced adventure, you will return to Springdale for lunch, followed by a scenic drive towards the east entrance with a quick stop to hike Canyon Overlook.
Morning: Angels Landing (6 AM – 1 PM)
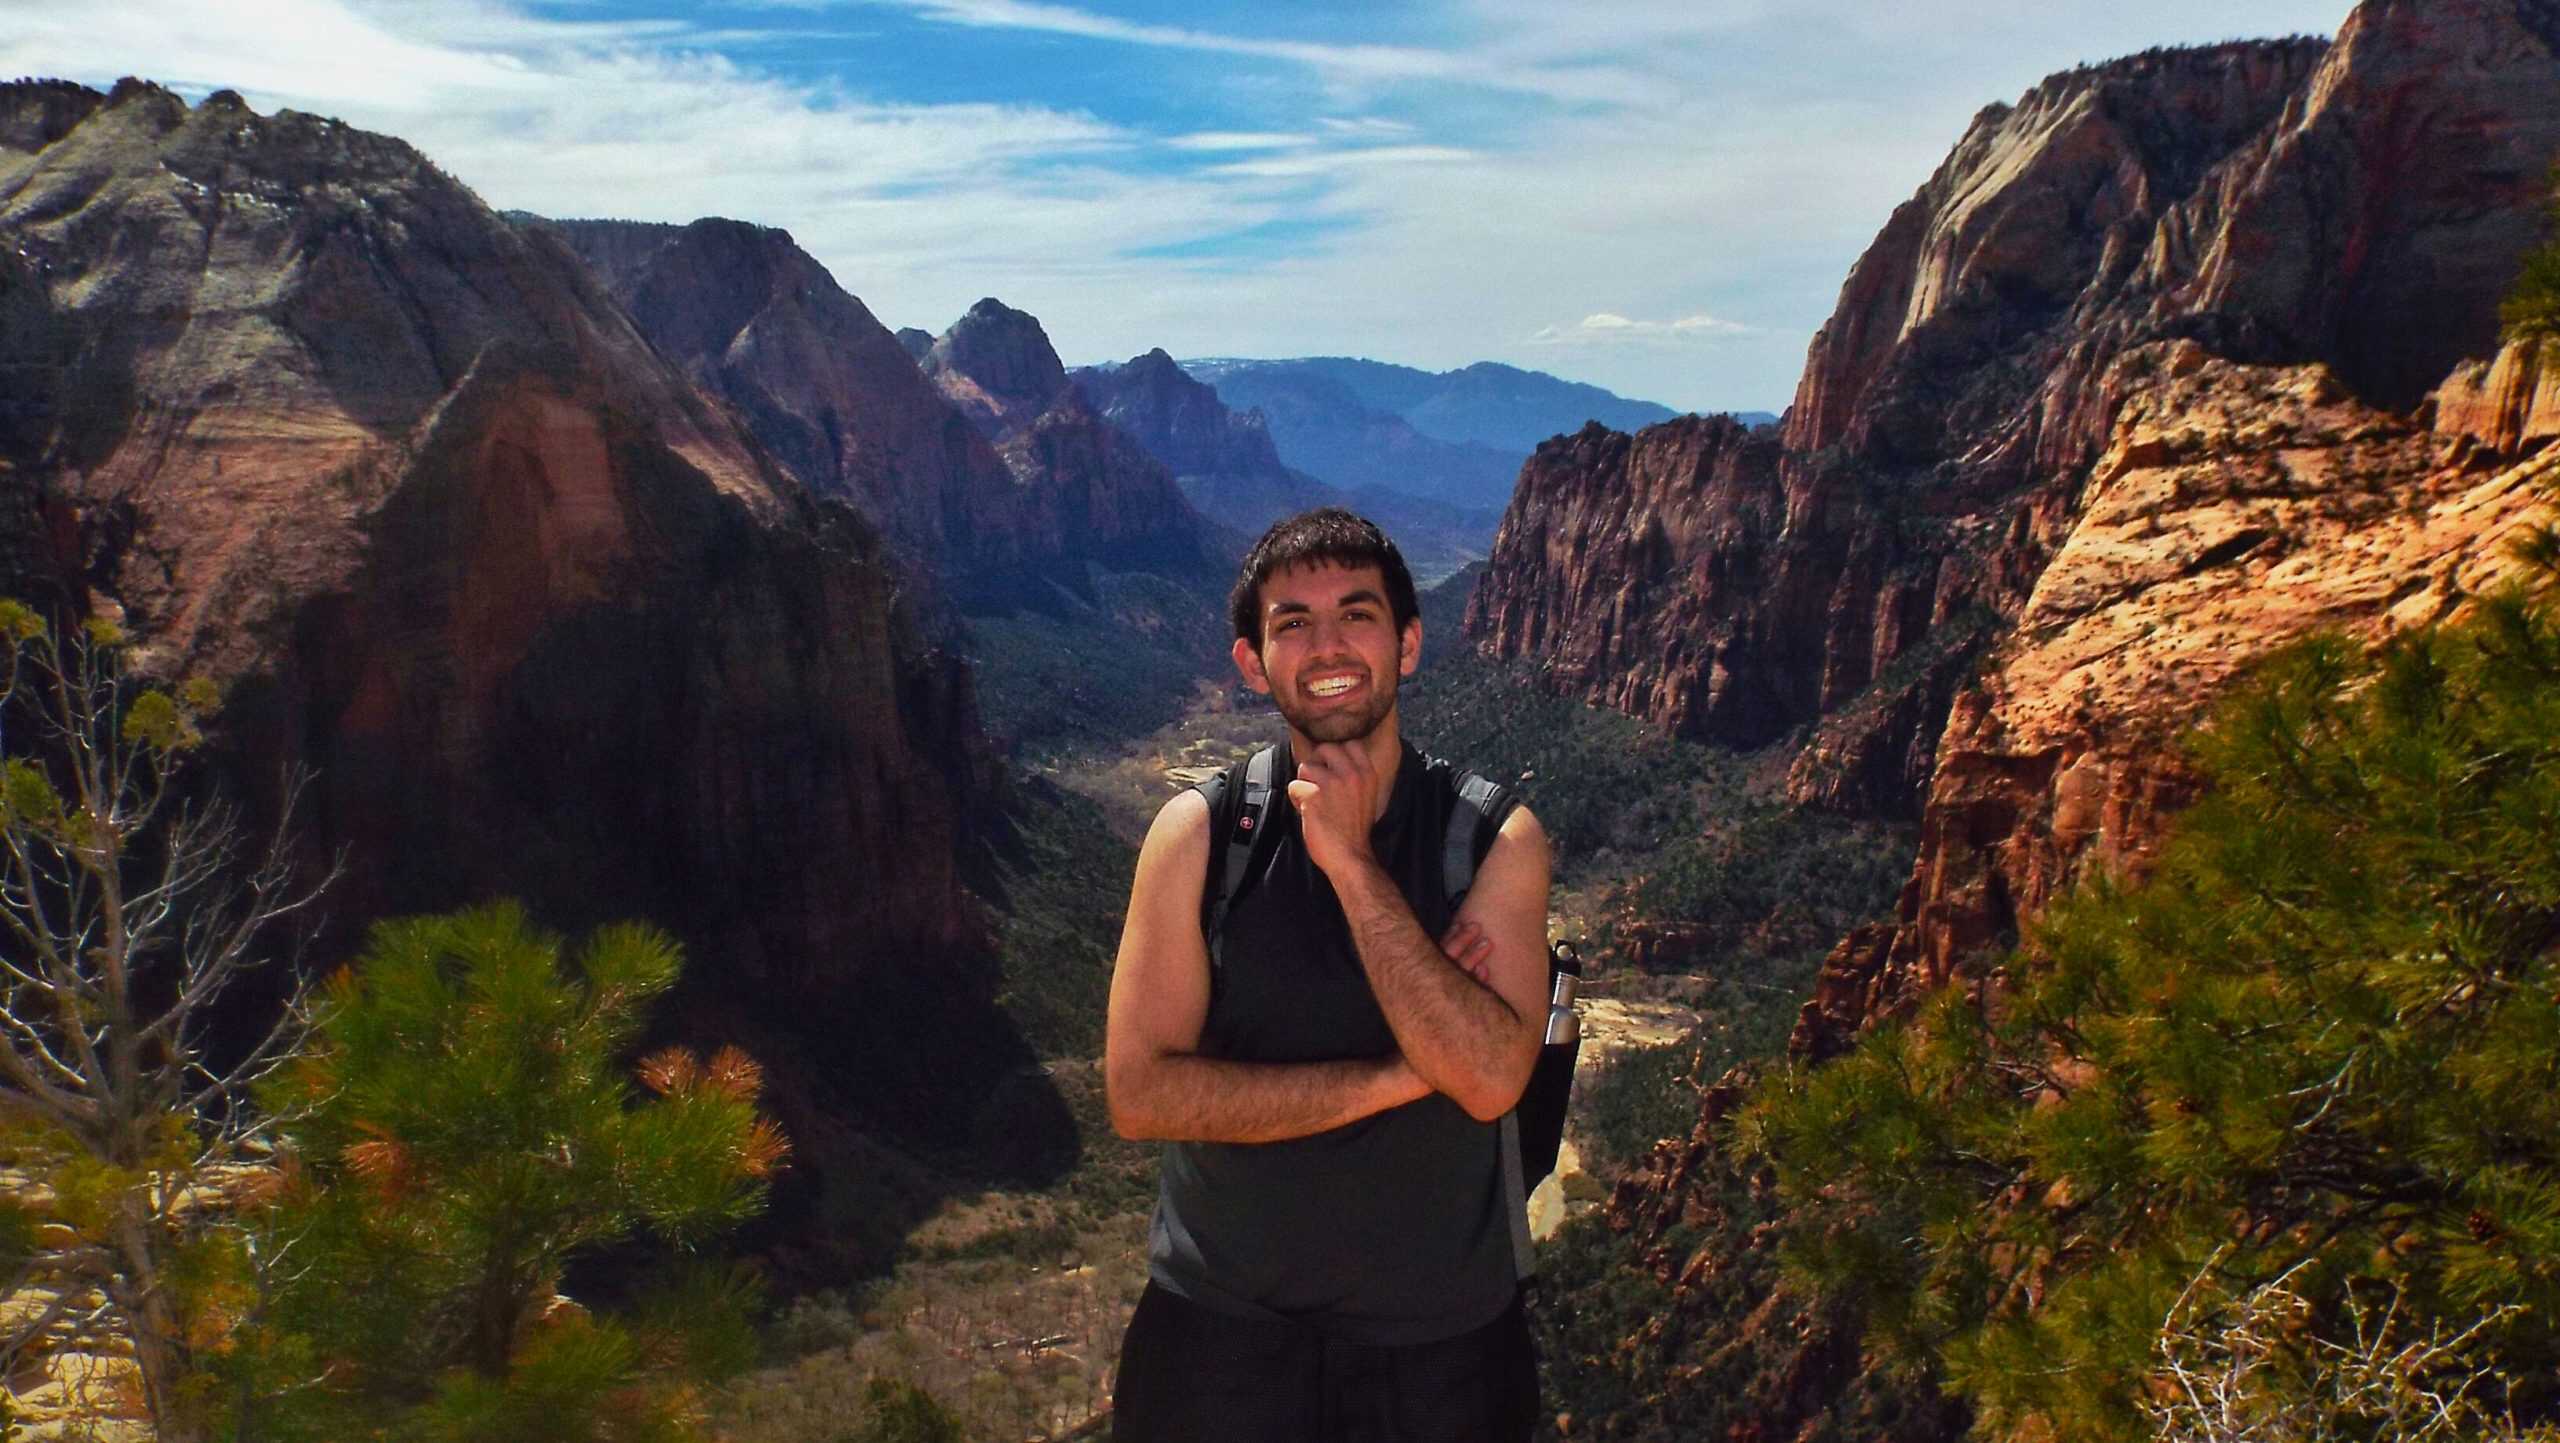
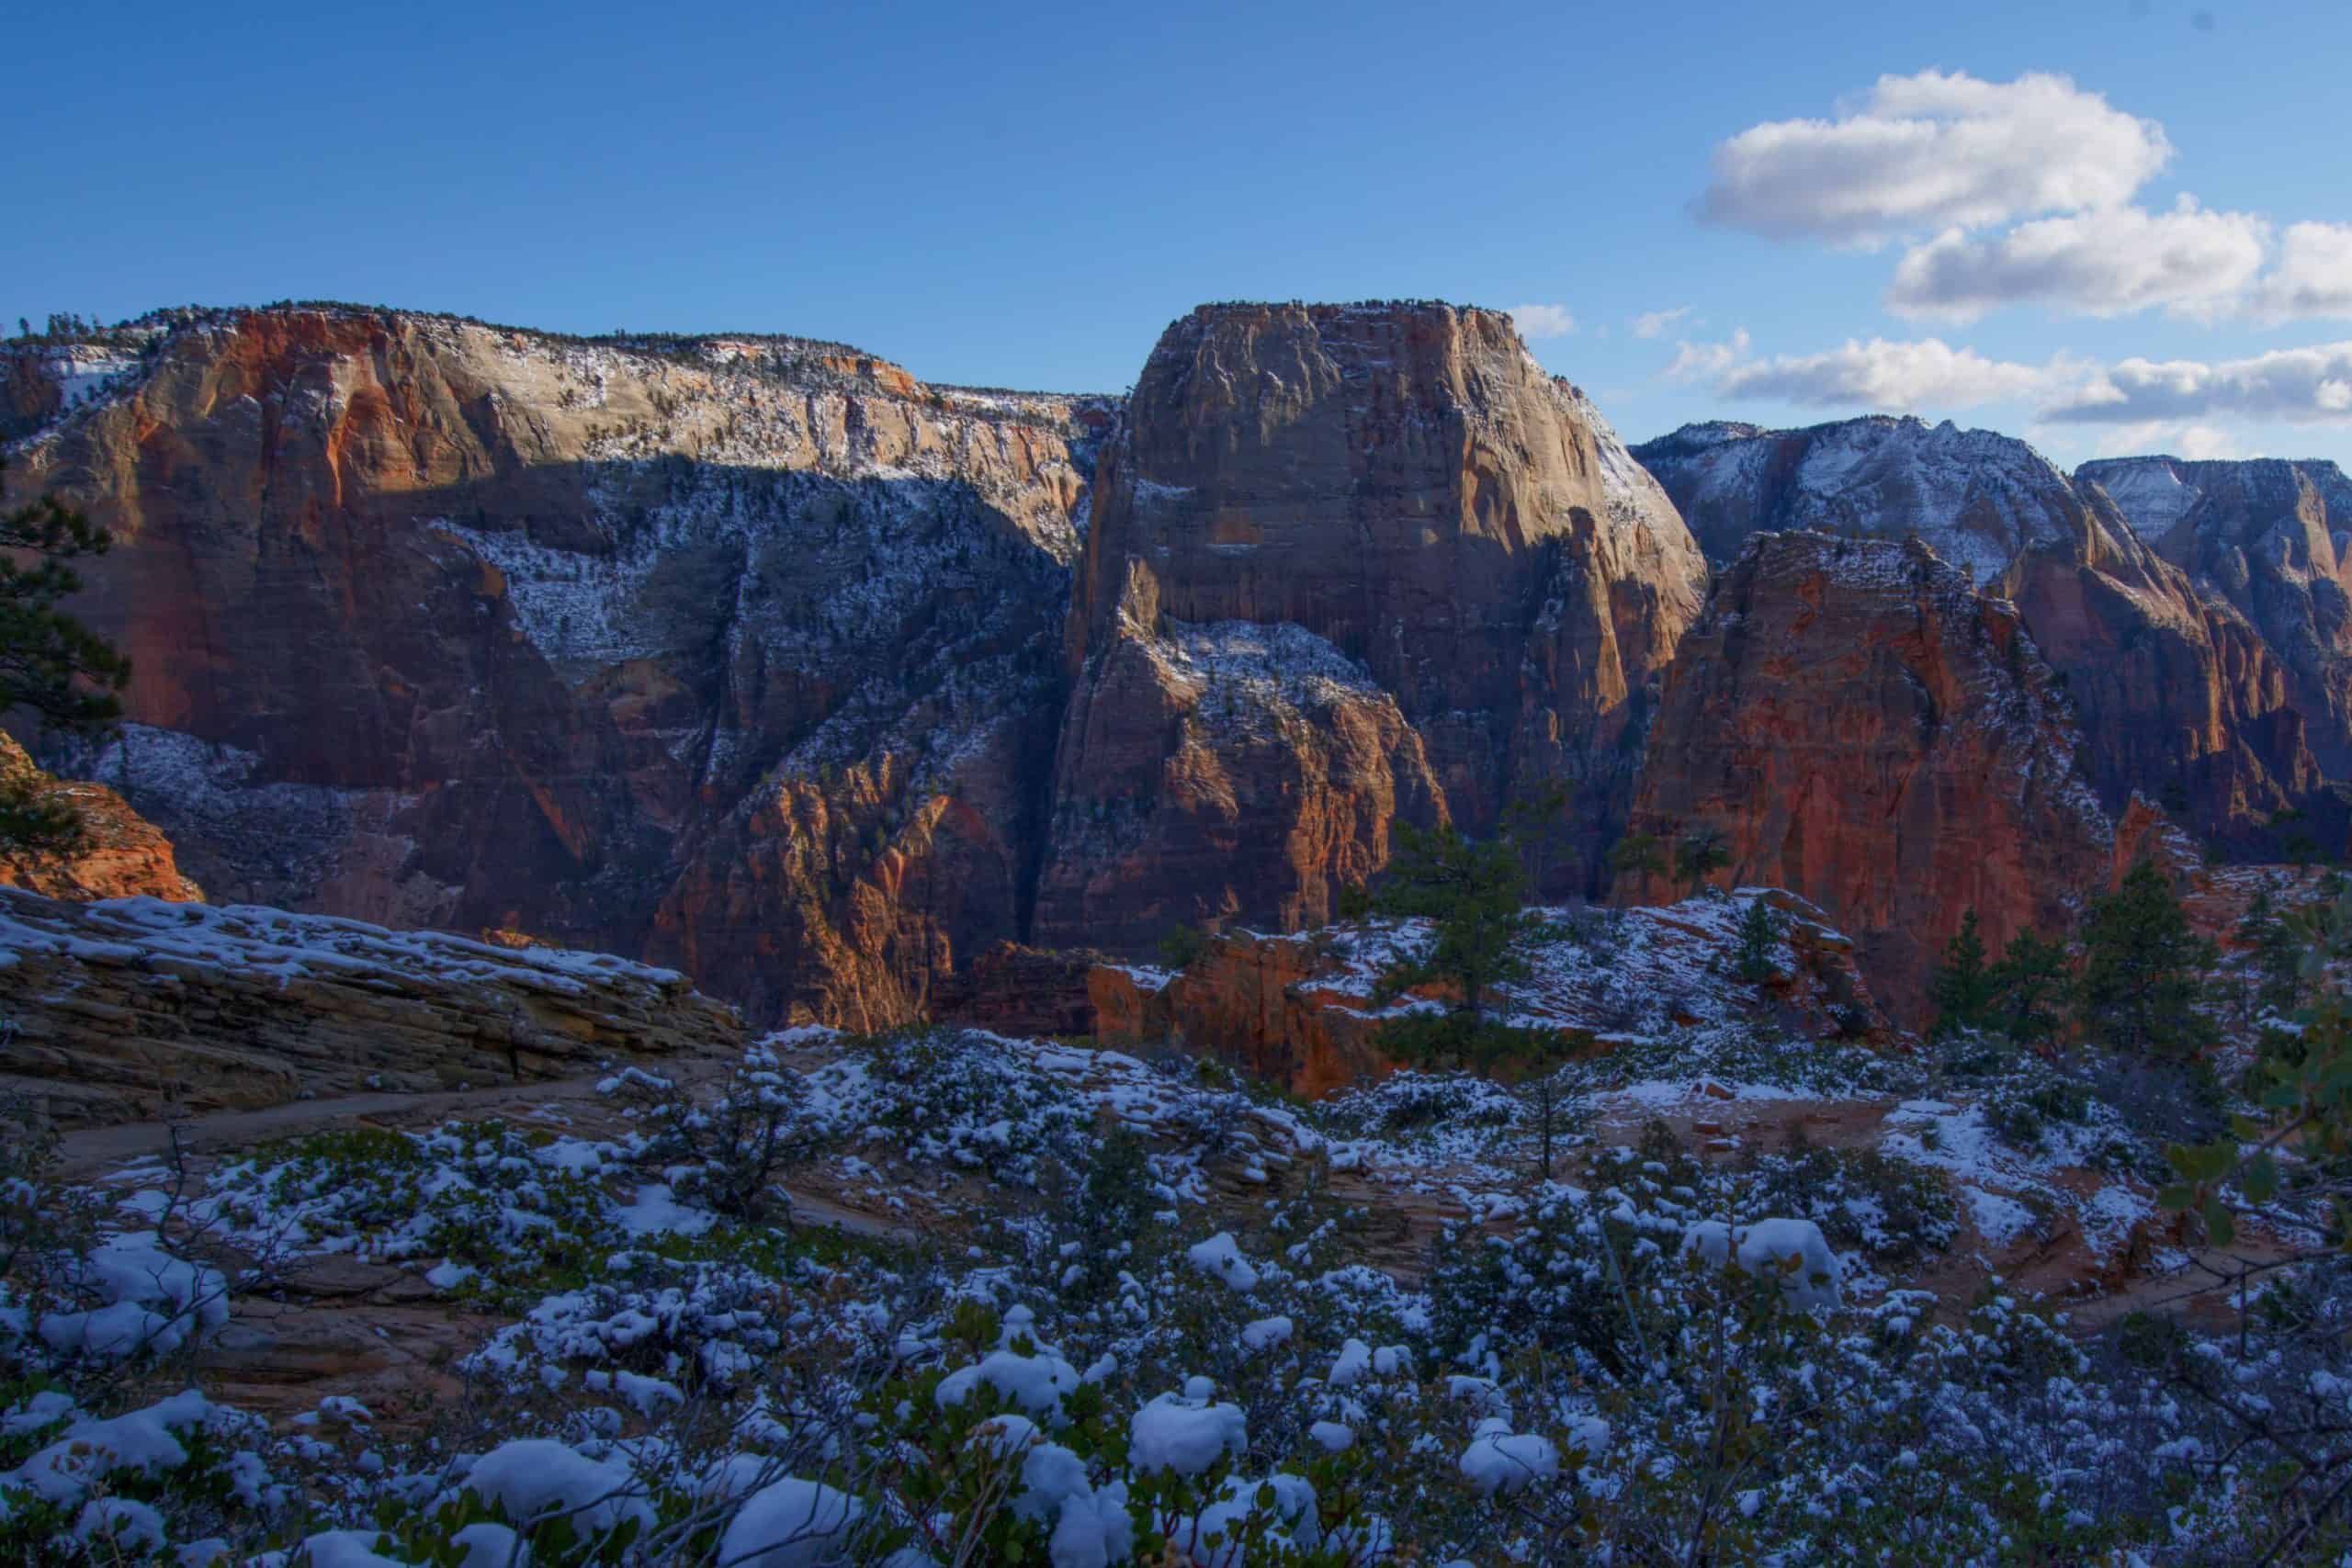
This is the day you were likely waiting for: Angel’s Landing, famous for its “chain section” that runs along the knife-edge spine! It’s a thrilling 5-mile (8 km) round-trip hike that gains about 1,800 feet (550 m) of elevation and sits high on many travelers’ bucket lists.
Pro Tip: To beat the crowds, avoid midday heat, and maximize your chances of securing a permit, start as early as possible.
Start your day early at Canyon Coffee (opens at 6:30 am) for “hiking fuel,” before heading to Zion Canyon Village to catch the shuttle into the canyon. You’ll likely feel a mix of nerves and excitement, which is perfectly normal. But trust me, this is exactly why you should hike Angel’s Landing: it’s an unforgettable experience!

The trail begins at the Grotto (Shuttle Stop 6), where you’ll quickly cross the canyon road towards a bridge over the Virgin River. You’ll enjoy about a half mile of relatively flat terrain before tackling the first major climb: a series of steep switchbacks that lead into Refrigerator Canyon. This canyon stays refreshingly cool even on warm days!
Beyond the canyon are the famous “Walter’s Wiggles,” a relentless sequence of 21 tight switchbacks carved directly into the sandstone. At the top, you will reach Scout’s Lookout. For those without a permit, this viewpoint alone is worth the climb: stunning views of Zion Canyon and the Virgin River below you, providing a thrilling preview of what lies ahead!
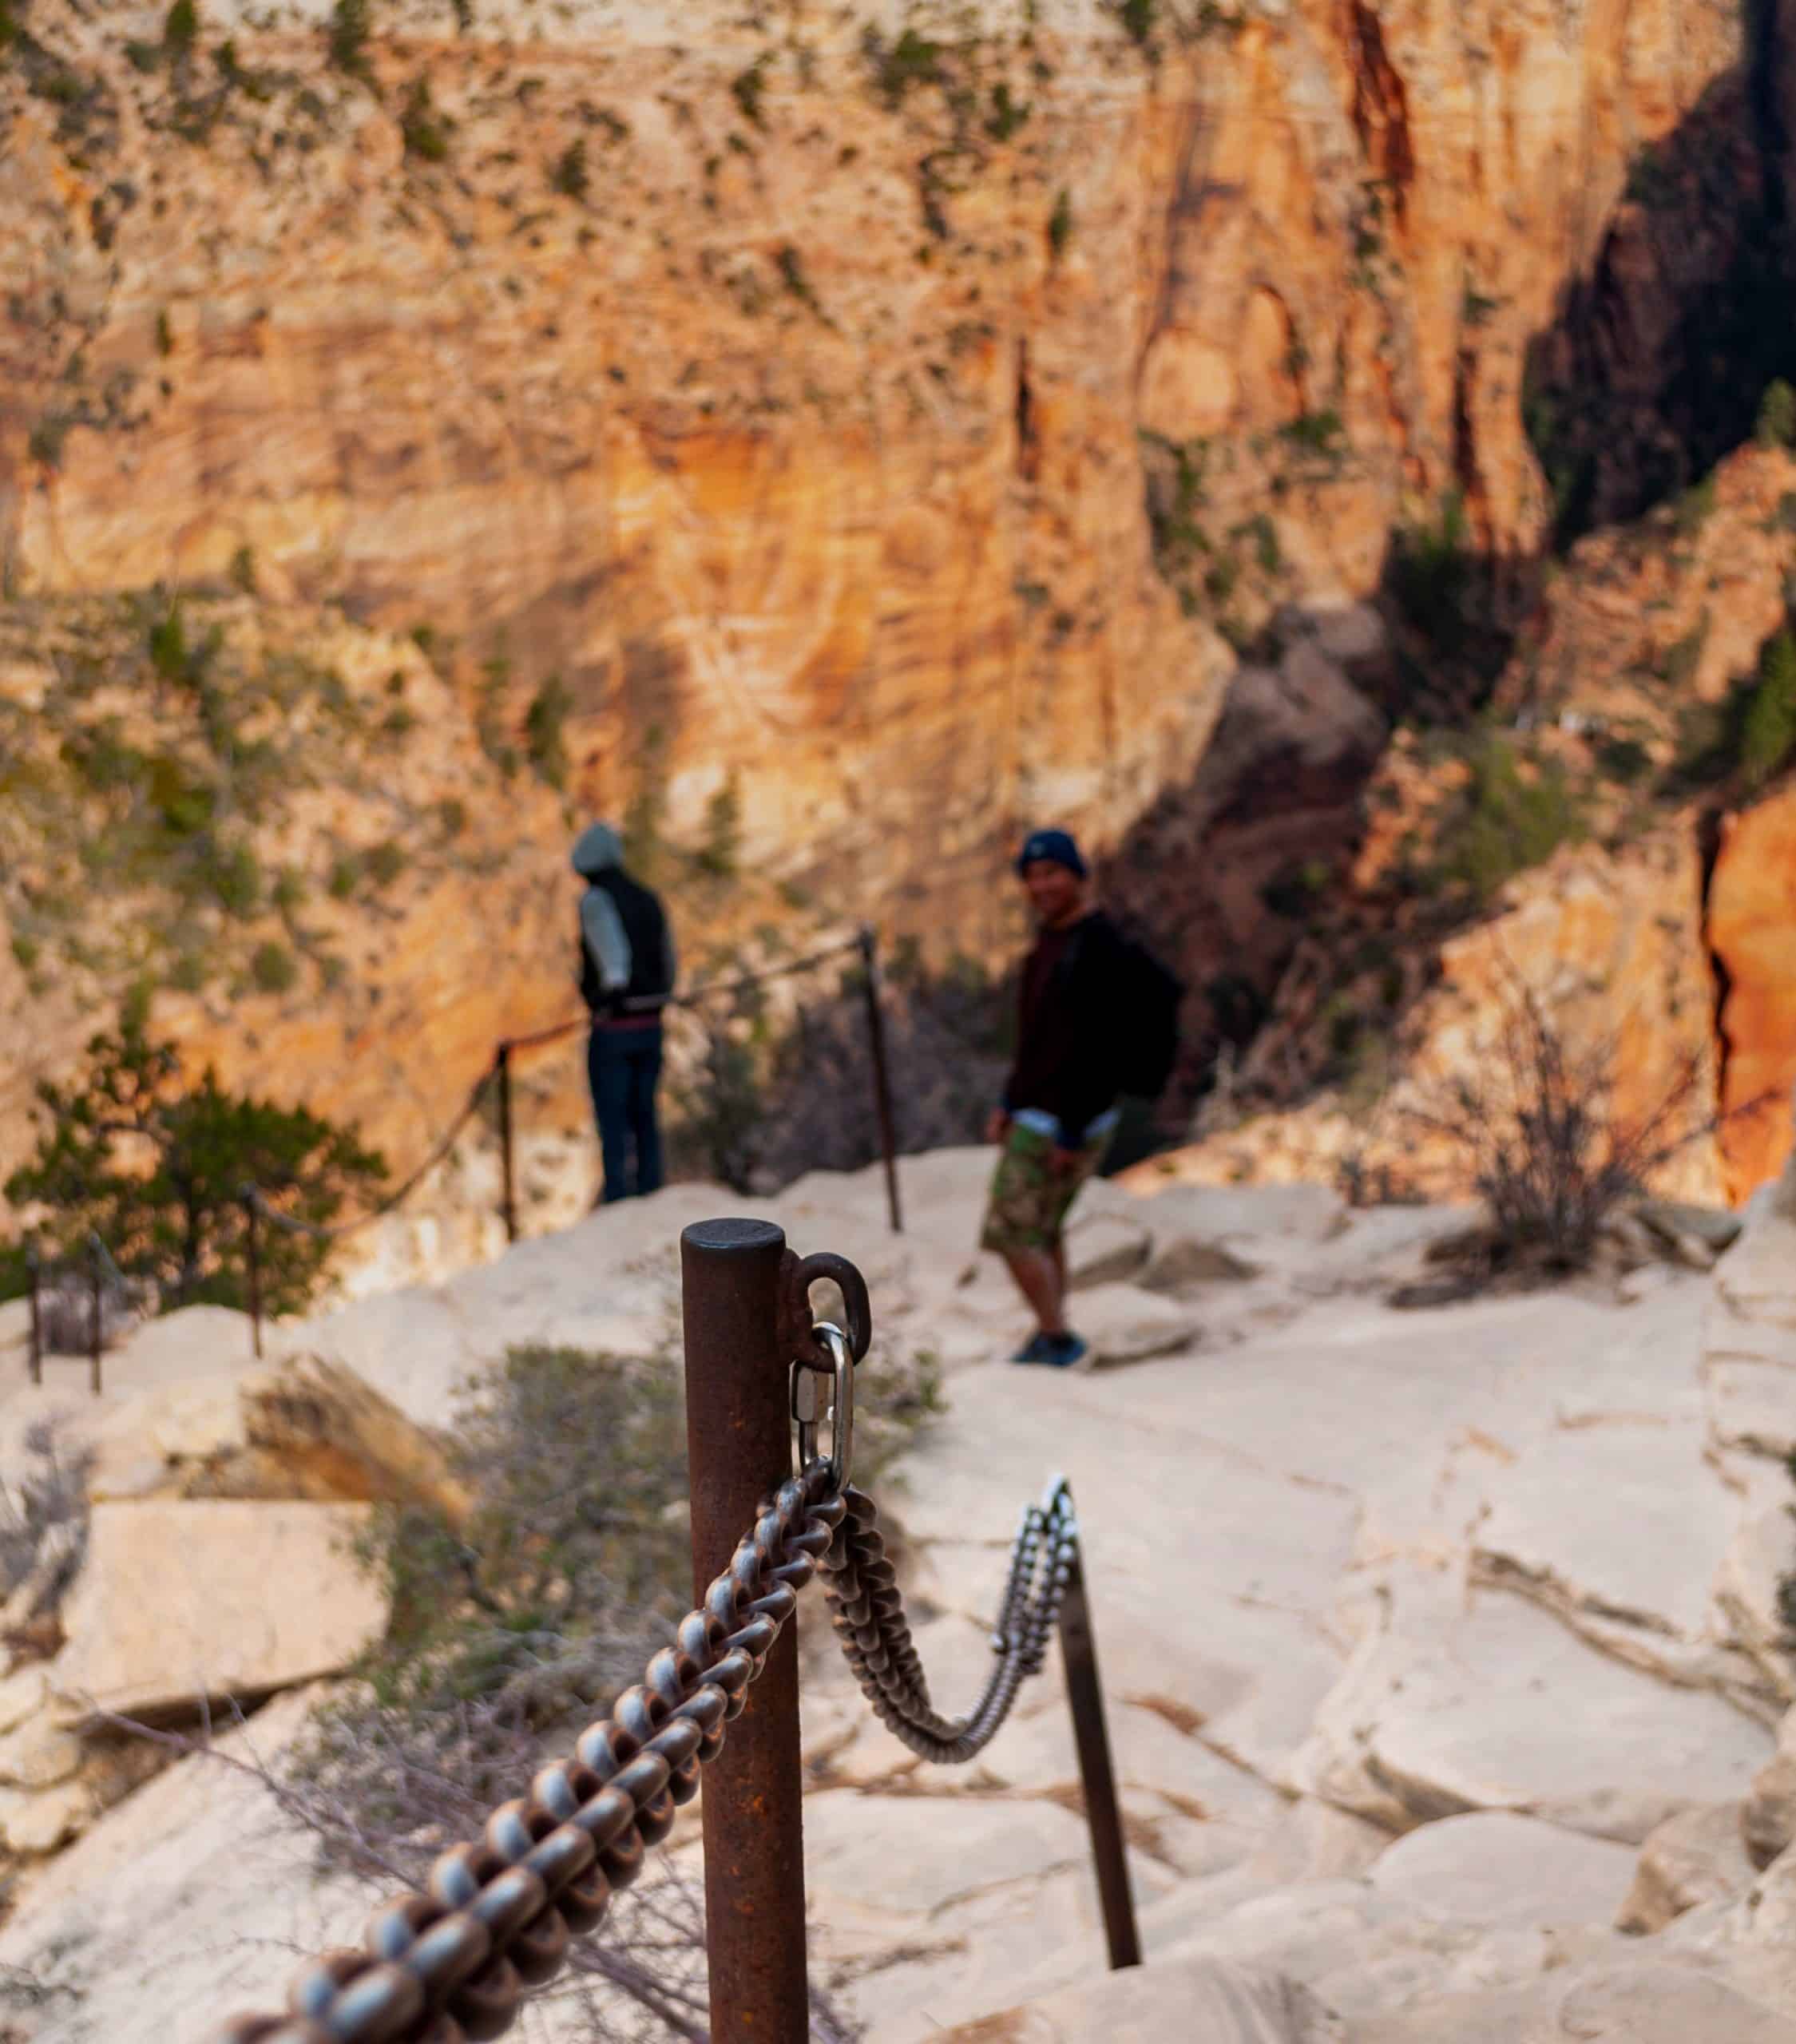
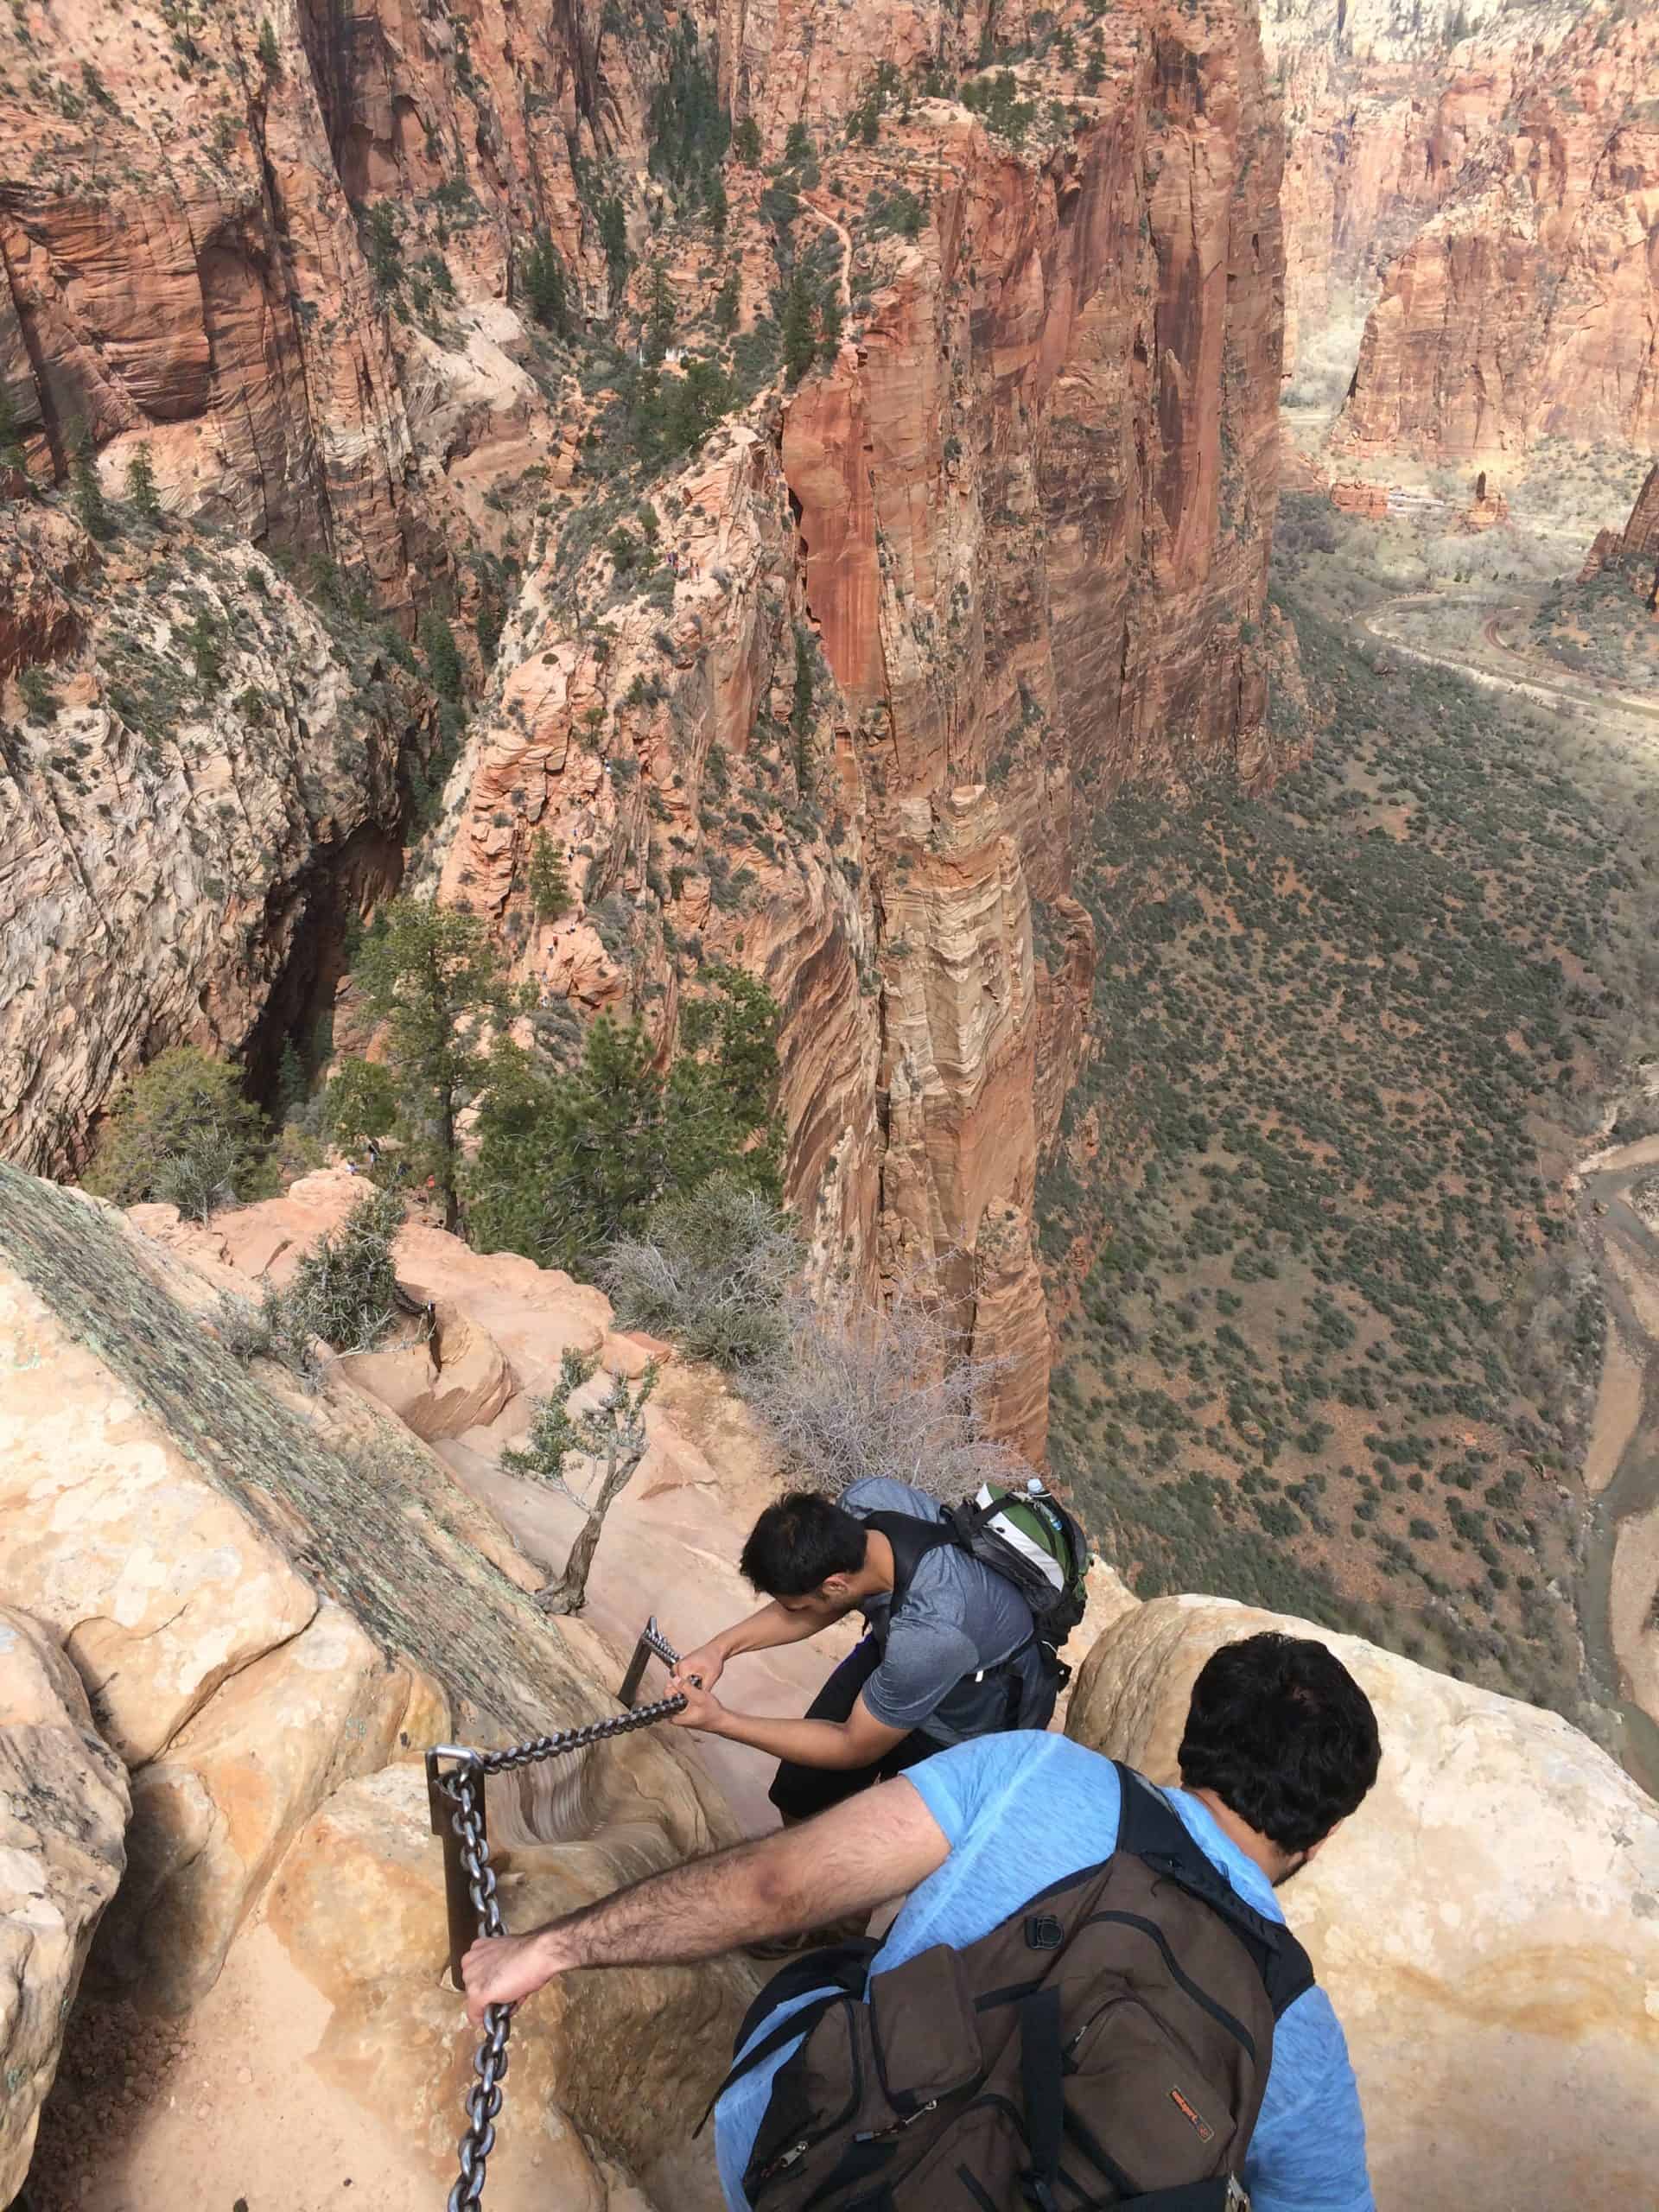
For permit holders, this is where the fun begins! I have hiked Angel’s Landing three times before the permit system, and I can confirm from others that the permit system has dramatically improved crowd management on the exposed chain section. Take your time, and savor every step. The exposure is extreme, but so is the reward!
Non-Permit Holders: Looking to extend your hike? Turn left at Scout’s Lookout and continue on the West Rim Trail for 1-2 miles. The trail continues for another 12 miles to the Lava Point Campground. It’s a stunning backpacking route that’s high on my own list. You don’t need a permit to day hike here.
Here are some tips to help you prepare!
- Footwear: Non-negotiable. Wear sturdy, grippy hiking shoes or boots with excellent traction. This will give you a huge confidence boost. Trust me!
- Training: The trail is much tougher than its stats suggest! I recommend training beforehand to get your fitness levels up.
- Hydration: Bring more water than you think you’ll need (at least 2–3 liters per person) and, even more importantly, at least 1 liter of electrolytes.
- Nutrition: Pack high-energy snacks. The exposure can be dizzying, and proper nutrition helps keep you sharp.
- Sun Protection: The trail is very exposed. Pack sunscreen, a hat, and sunglasses.
Afternoon: Canyon Overlook (2 PM – 5 PM)
After your morning adventure, take the shuttle back to Springdale for a well-deserved lunch! I highly recommend Meme’s Cafe in Springdale, just a short drive from the park entrance. Their lunch menu is fantastic, and if you’re a crepe lover like me, you can indulge in these French delicacies any time of day!
After lunch, re-enter the park but continue driving. I suggest going to Stop 2 to visit the Zion Human History Museum. It’s a quick but fascinating stop that brings the area’s cultural and natural history to life. Plus, you can soak in the best views of the towering sandstone spires rising to your west, known as the Towers of the Virgin!
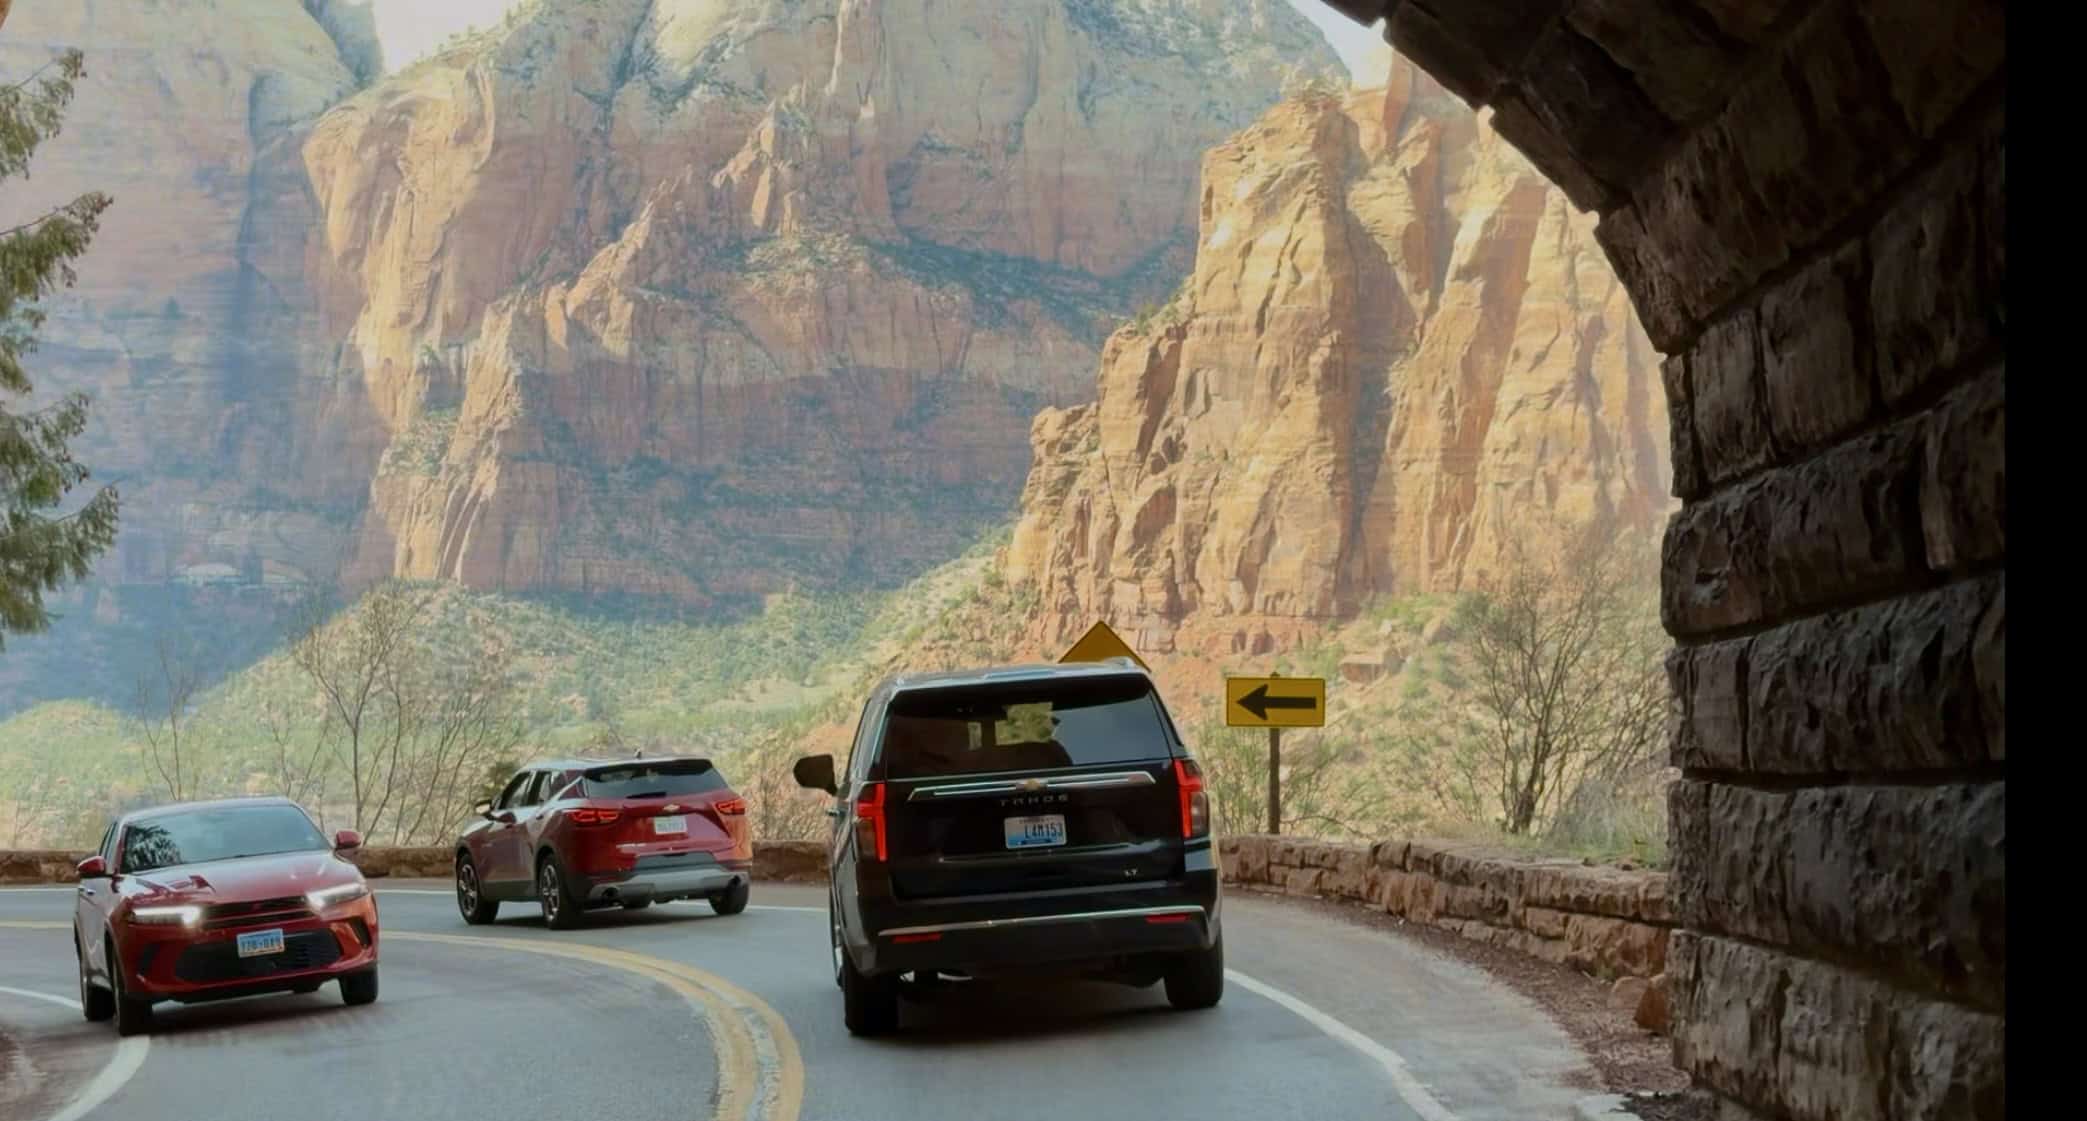
Continue driving as the road splits into the Zion-Mount Carmel Highway. The Zion Shuttle turns left, but you’ll continue straight. This is easily one of Utah’s most stunning drives, but it is better done in reverse (coming in from the East). Don’t forget to stop in the pullouts to soak in the view! Every turn reveals another postcard-worthy vista.
As you approach the tunnel entrance, get ready! The tunnel is narrow, and I’ve driven through it in my friend’s Toyota Tacoma. I will admit I felt a mix of awe and anxiety! Be courteous, don’t honk your horn, and absolutely do not stop (even though the side windows in the tunnel are incredibly tempting to photograph).
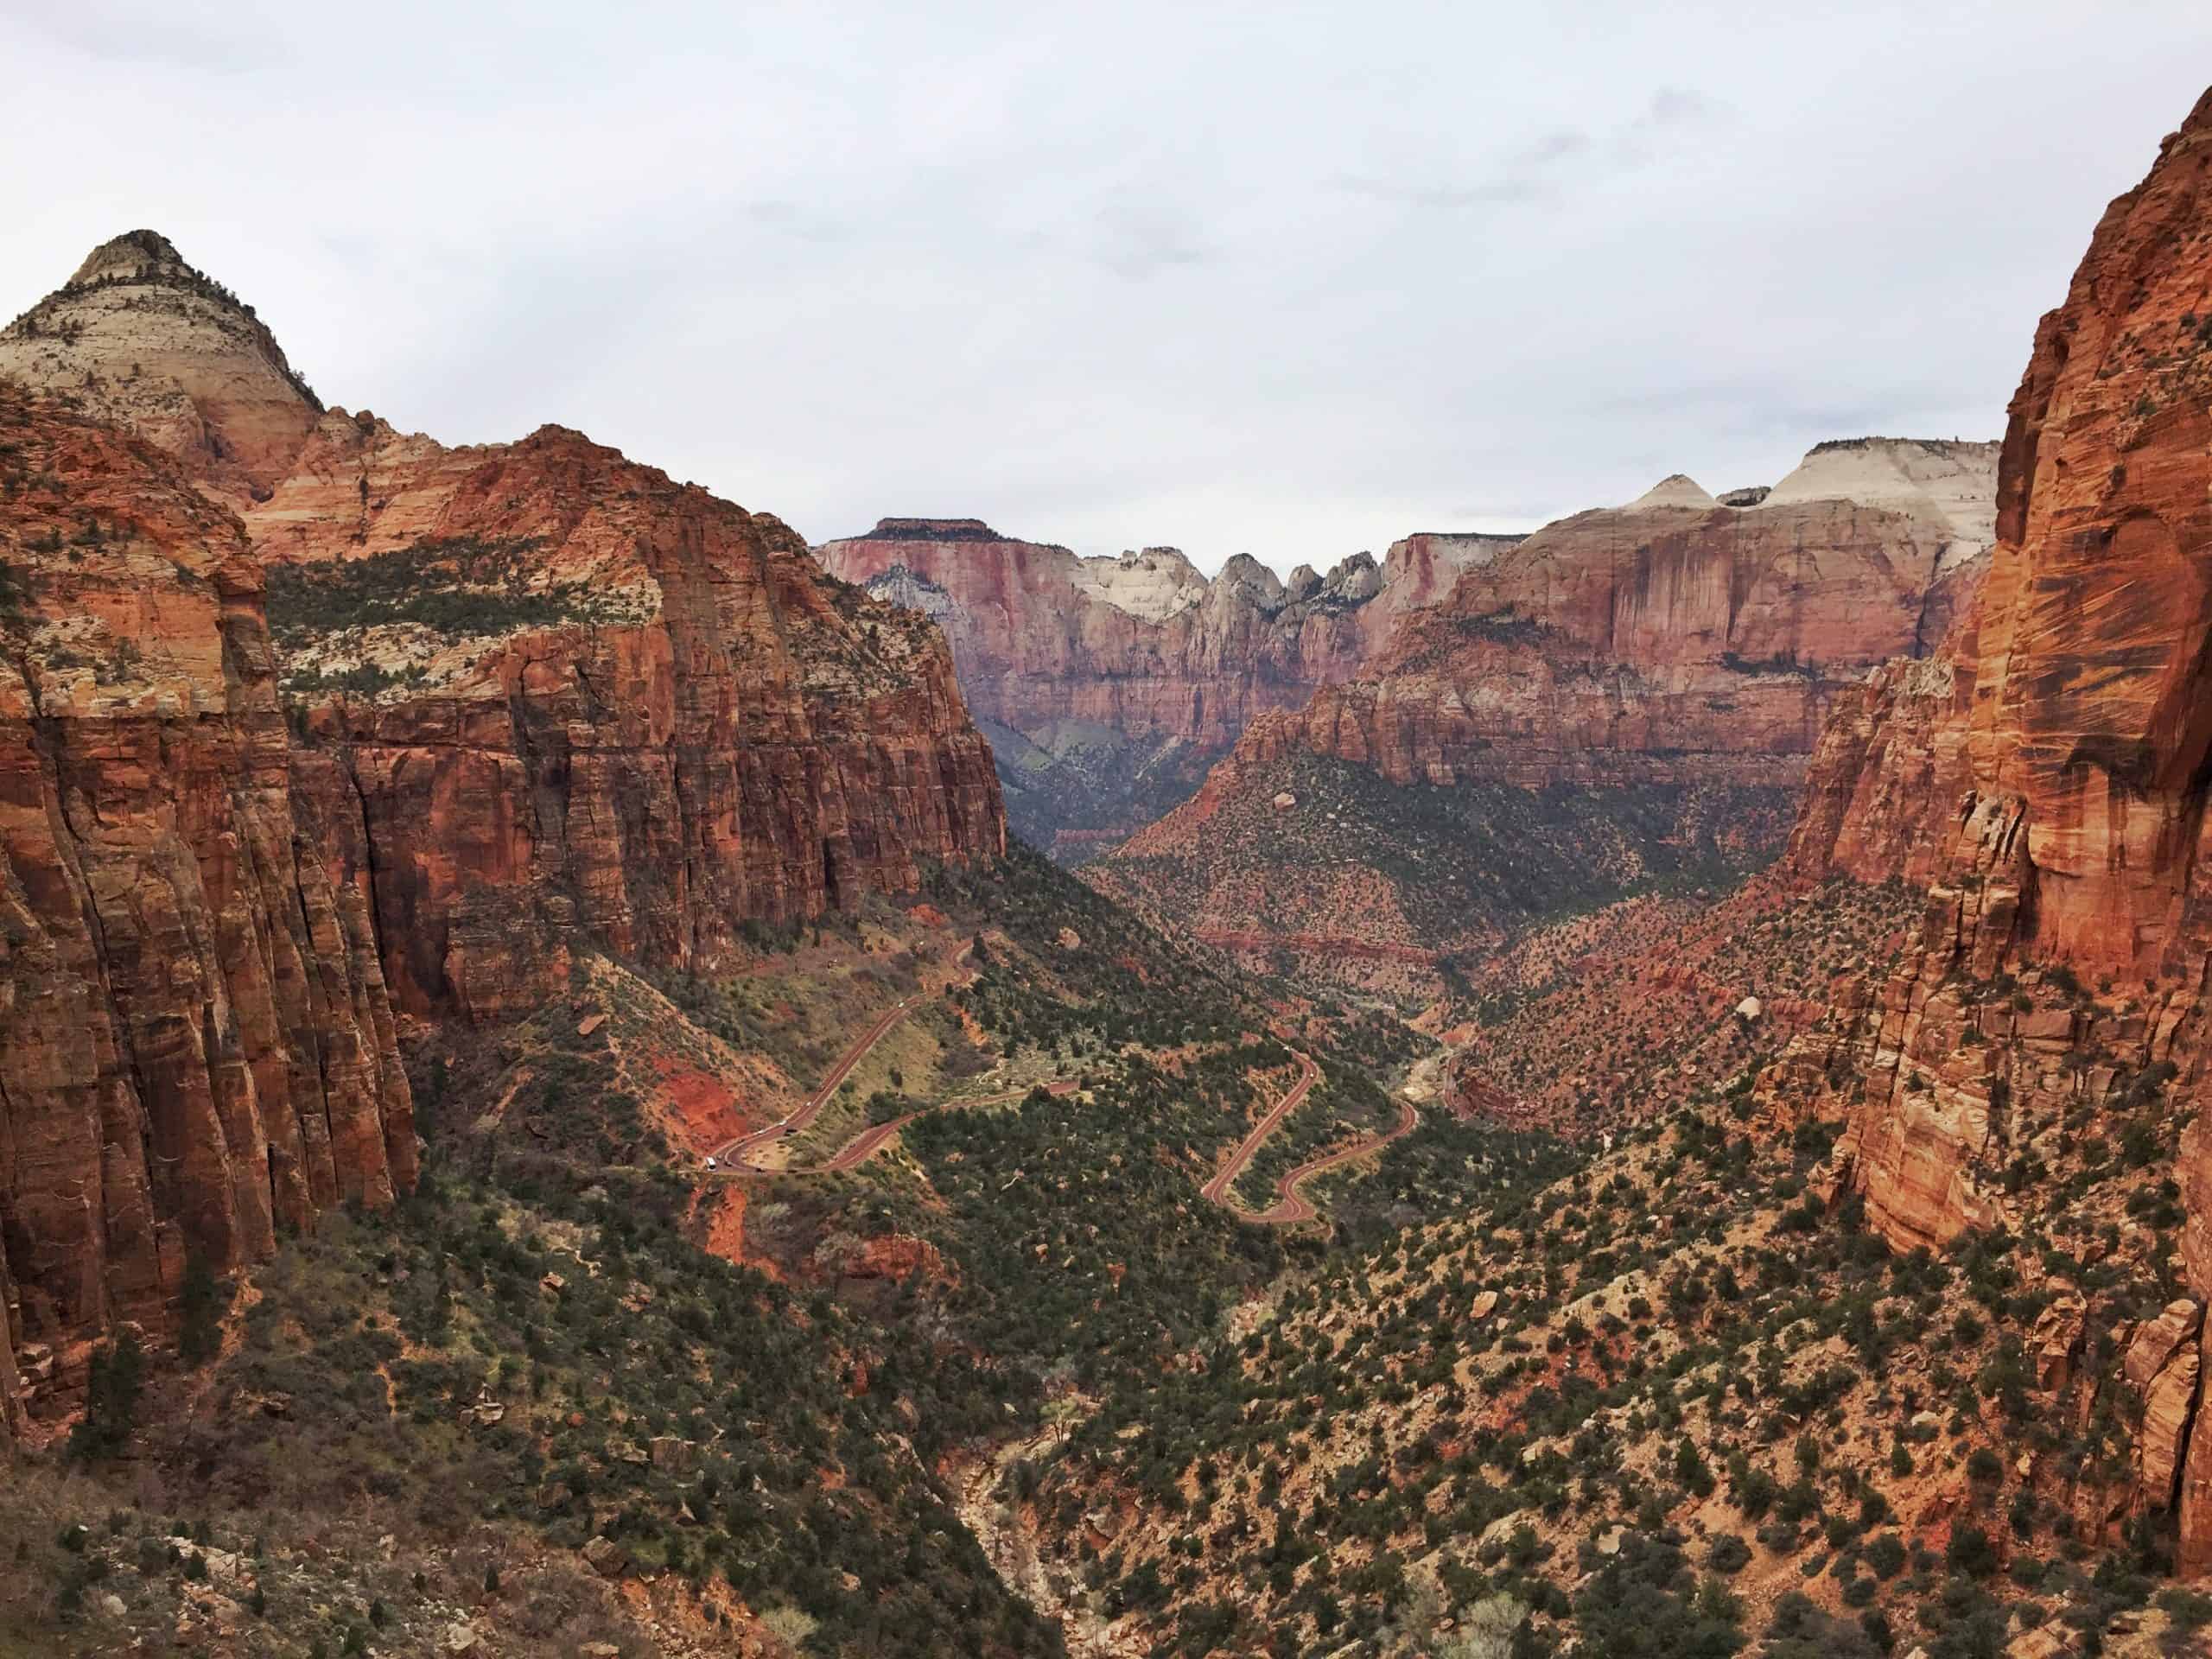
Immediately as you exit on your right, you’ll find a small parking lot for the Canyon Overlook Trail. It’s easily one of Zion’s most popular hikes, but because it’s short (just 1 mile round-trip with ~200 feet of elevation gain), parking spots often open up quickly.
If the parking lot is full, drive a bit further to a second parking lot on the left. If this is also full, I’ve even seen visitors park safely along the shoulder further down. I wish the park service would offer a shuttle to this trailhead, especially on the weekends! The trail itself delivers one of Zion’s best “bang for your buck” views.
Pro tip: Visit super early or late in the evening for fewer crowds and golden hour light!
Evening: East Zion (5 PM – Sunset)
Continue driving along the East Canyon Road and soak in every vista. I can’t get enough of this drive! I highly recommend stopping as often as your heart desires. Checkerboard Mesa is a great stop where you’ll get to see the grid-like sandstone erosion pattern on the rock!
From here, you can exit out East Zion towards your next destination. Or if you have time, I recommend driving back down the way you came. The “reveal” of Zion Canyon as you emerge from the tunnel is far more epic in this direction.
Where To Stay
Springdale makes the perfect home base, as it sits at the park’s southern entrance. This charming town puts you within minutes of trailheads and shuttle stops while offering plenty of dining and shopping options.
For a comfortable and convenient stay, I highly recommend The Bungalows. This cozy property provides free parking, straightforward access to the Springdale shuttle route, and all the essentials for a relaxing trip. It is an excellent choice if you want to skip the stress of hunting for parking in a busy town.
If you prefer a more rustic experience without giving up modern comforts, check out Zion Glamping Adventures. You will find beautifully set up tents with real beds, private outdoor areas, and fire pits for evening relaxation. The only catch is that it sits about an hour south of the park in Hilldale, but the uniqueness factor makes the drive worthwhile!
For campers, both Watchman Campground and South Campground are located at the southern entrance. Each site offers easy walking access to the Zion Canyon Shuttle, and reservations can be secured through recreation.gov well in advance.
How To Get Around Zion
If you’ve never visited Zion, chances are you’re nervous or stressed about the shuttle system. I am here to tell you the shuttle system isn’t as difficult as it may seem. Let’s break it down so it’s easy to understand!
Zion Canyon Shuttle
The shuttle system works great and does a fantastic job of keeping the park clear of traffic. It’s only required to access Zion Canyon itself (past stop 3)
Most visitors park at the Zion Canyon Village (stop 1) to board the shuttle. Once you’ve boarded, you can deboard at any stop and catch the next shuttle going up or down.
*The shuttle only stops at stop 3 on the way down
Schedule
The first shuttle leaves from the Zion Canyon Visitor Center (stop 1) at 7 AM year-round. The shuttles run every 5-10 minutes from there onward, so you’ll never be waiting too long.
The last shuttle down from the Temple of Sinawava (stop 9) varies by season. I strongly advise against taking the last shuttle down, as it can fill up quickly, and if there’s no room or you miss it, you will have to walk the 9 miles back!
- Summer (May 17 to September 12): Last Down: 8:15 PM
- Fall (October 25 to November 28): Last Down: 6:15 PM
- November 29 to December 25: No Service
- Holidays (December 26 to January 2): Last Down: 7:15 PM
- Spring (September 13 to October 24): Last Down: 7:15 PM
Information
- The shuttle is free to use, but you have to pay the $35 park entrance fee
- No driving is permitted past stop 3, except between November 29 and December 25 when the shuttle isn’t running.
- Cars drive straight (whereas shuttles go left) at stop 3. This road takes you to the Zion – Mount Carmel tunnel to the East entrance.
- The shuttle takes about 45 minutes (one way).
For those late risers, these are the times for the last shuttle going up from the Zion Canyon Visitor Center. If you plan to take the last shuttle, I advise staying on the shuttle the entire time. In fact, the shuttle driver may not let you deboard at all.
- Summer (May 17 to September 12): Last Up: 7 PM
- Fall (October 25 to November 28): Last Up: 5 PM
- November 29 to December 25: No Service
- Holidays (December 26 to January 2): Last Up: 6 PM
- Spring (September 13 to October 24): Last Up: 6 PM
Springdale Shuttle
This free shuttle takes you from Springdale to the entrance of Zion National Park, from where it’s a short walk to the Zion Canyon shuttle. It costs $20/person to enter the park on foot, but four people are allowed to enter per annual pass. Yet another reason why I recommend getting an Annual National Parks Pass!
With 8 different stops in Springdale, you can easily walk to a shuttle stop from your stay. This is a great option if you want to avoid driving into the park.
Frequently Asked Questions
Here are the questions we get asked most about Zion National Park, based on my experience of traveling there many times over the years!
Can I Do Zion In 2 Days?
Yes, you can, but depending on how much you want to see and do, the itinerary will be jam-packed with adventure! If you want a more relaxed trip, you can trim some of the activities, but most people don’t want to miss any of the big 3 (Angel’s Landing, The Narrows/Riverside Walk, and Canyon Overlook).
Is Zion Beginner-Friendly?
Yes, Zion offers plenty of amazing adventures for beginners! Swap hikes like Angels Landing for the Pa’rus Trail, or Riverside Walk. Enjoy Canyon Overlook, the shuttle, or the scenic Mount Carmel Highway.
Do I Need To Take The Shuttle
If you want to explore any part of Zion Canyon past stop 3, yes, you have to take the shuttle, with the exception of a small window between November 29 and December 25. Alternatively, E-bikes have become another popular way to explore the park as well, and there are no restrictions on walking/biking up Zion Canyon.
What If I Don’t Get An Angel’s Landing Permit?
Scout’s Lookout is a worthy hike in of itself, and the West Rim trail offers equally stunning views (without the thrill factor). I recommend this as an alternative if you don’t have a permit. Also, Observation Point from the East Rim may be one of the best hikes in Zion Canyon (though you can no longer hike it from the canyon floor).
Final Thoughts
There’s no denying it: Zion National Park is one of the most beautiful destinations in the country, and its popularity shows. It consistently ranks in the top three most visited national parks (landing at #2 in 2025!). This fast-paced two-day itinerary is designed to help first-time visitors experience all the highlights.
But here’s the truth: Zion is so much more than just Zion Canyon itself. In fact, the iconic canyon makes up less than 10% of the park’s total area. If you ever return, I highly recommend venturing into the backcountry or exploring the Kolob Terrace Area. You’ll discover quieter trails, far away from the crowds.
Zion has a way of staying with you long after you’ve packed up your gear. Whether it’s your first visit or your tenth, I promise you will love it! Safe travels, and happy hiking! 🥾✨