Why you should hike Mount Olympus, Utah

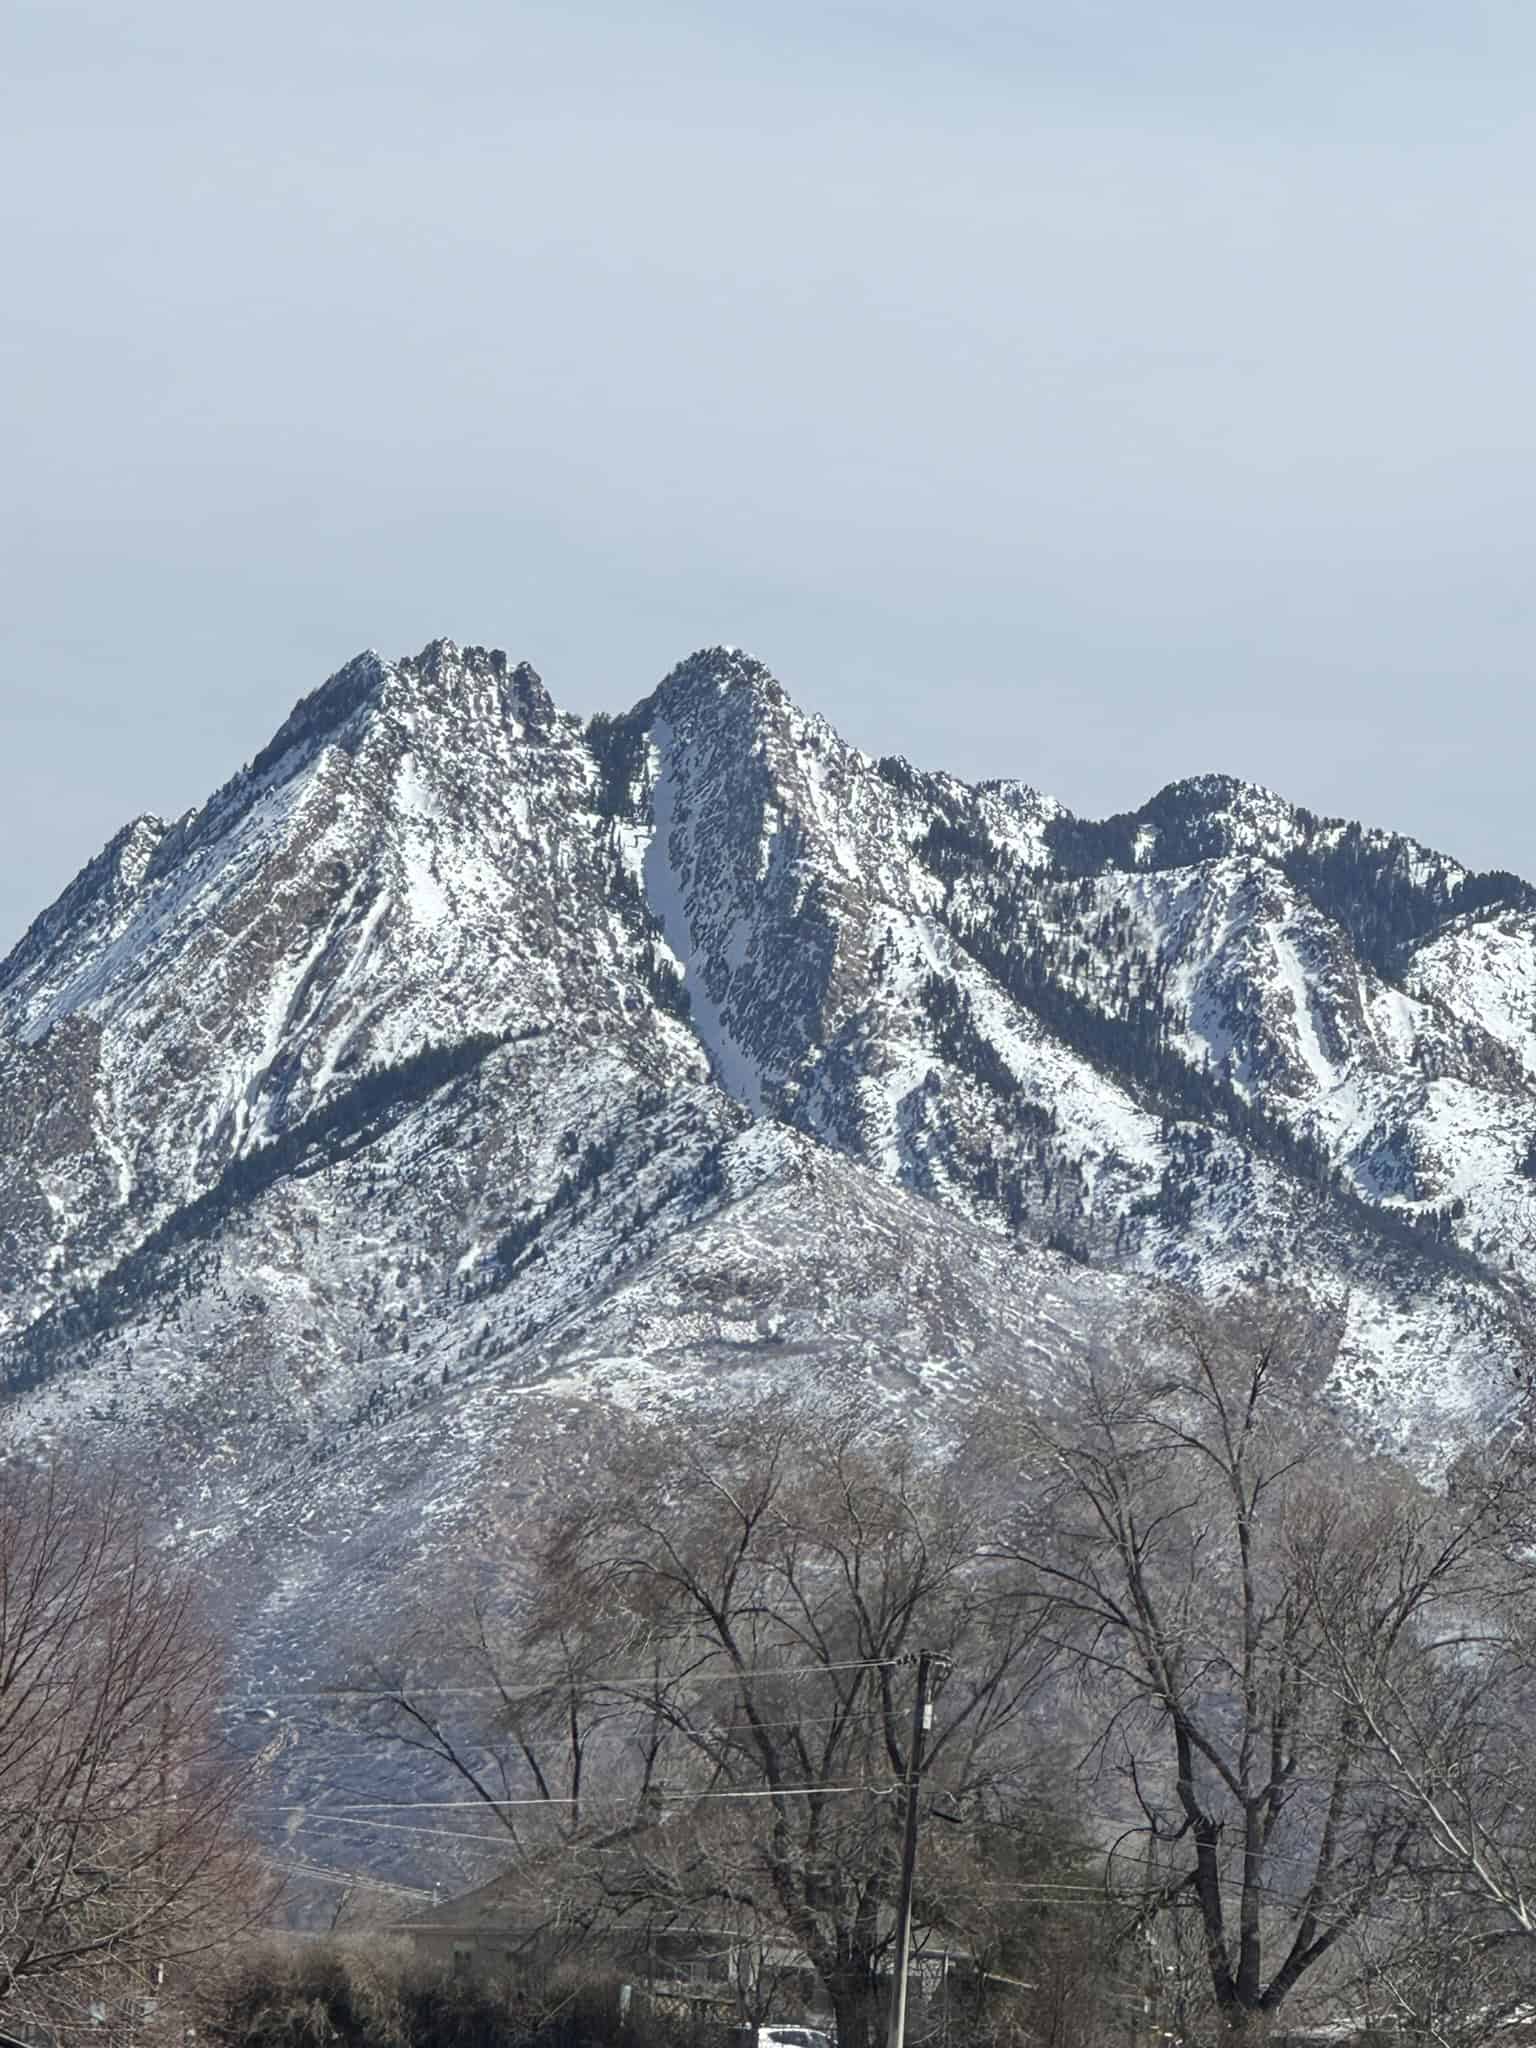
If you are unfamiliar with the hike to Mount Olympus in Utah, I am here to change your mind! This iconic mountain dominates the southeast view from Salt Lake City, specifically the suburbs of Millcreek and Holladay. The north face rivals stunning mountains like Mount Moran in the Tetons, and is a well-recognized mountain by locals.
Growing up in Holladay, the sheer dominance of Mount Olympus mystified me. I told myself that one day, when I grew up, I would climb to its summit!
While it rises to only 9,000 feet (2743 m), paling in comparison to the Wasatch 11ers (peaks above 11,000 feet/3350 m), its commanding presence is unmatched from this part of the valley. Whether you are a peak bagger or someone who loves a leg burner, this hike should be on your Utah bucket list.
Mount Olympus Trail Overview and Stats
Mount Olympus is known by locals for being a tough but doable adventure for anyone with hiking experience and proper conditioning. The route climbs steadily from the base to the 9,026-foot (2745 m) summit with significant elevation gain packed into roughly 3.5 miles (5.6 km) of terrain.
You will encounter everything from gentle switchbacks in the beginning to class 3 scrambling near the top. It is definitely not an easy hike, but the payoff at the summit makes every step worth it.
Mount Olympus has two summits, with this trail taking you to the higher “south summit”. North Olympus is a whole other beast, offering only technical routes to its summit.
Quick Facts
Trail Difficulty Breakdown:
- The Start: Moderate: 2 miles and 1400 feet
- Blister Hill: Hard: 0.5 miles and 600 feet
- Enchanted Forest: Really Hard: 1 mile and 1600 feet
- The Scramble: Really, Really Hard: 0.3 miles and 600 feet
- Overall: Hard!
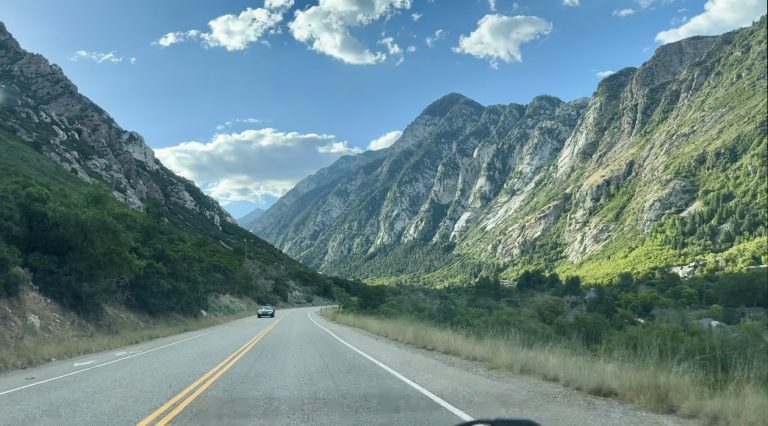
Getting There: Mount Olympus Trailhead
The new trailhead, built in 2020, is a one-way road with about 50 parking spots, including 2 ADA spots. There is a single porta-potty available and a trail sign with ample info. From here, you can access not just Mount Olympus but a section of the Bonneville Shoreline Trail as well.
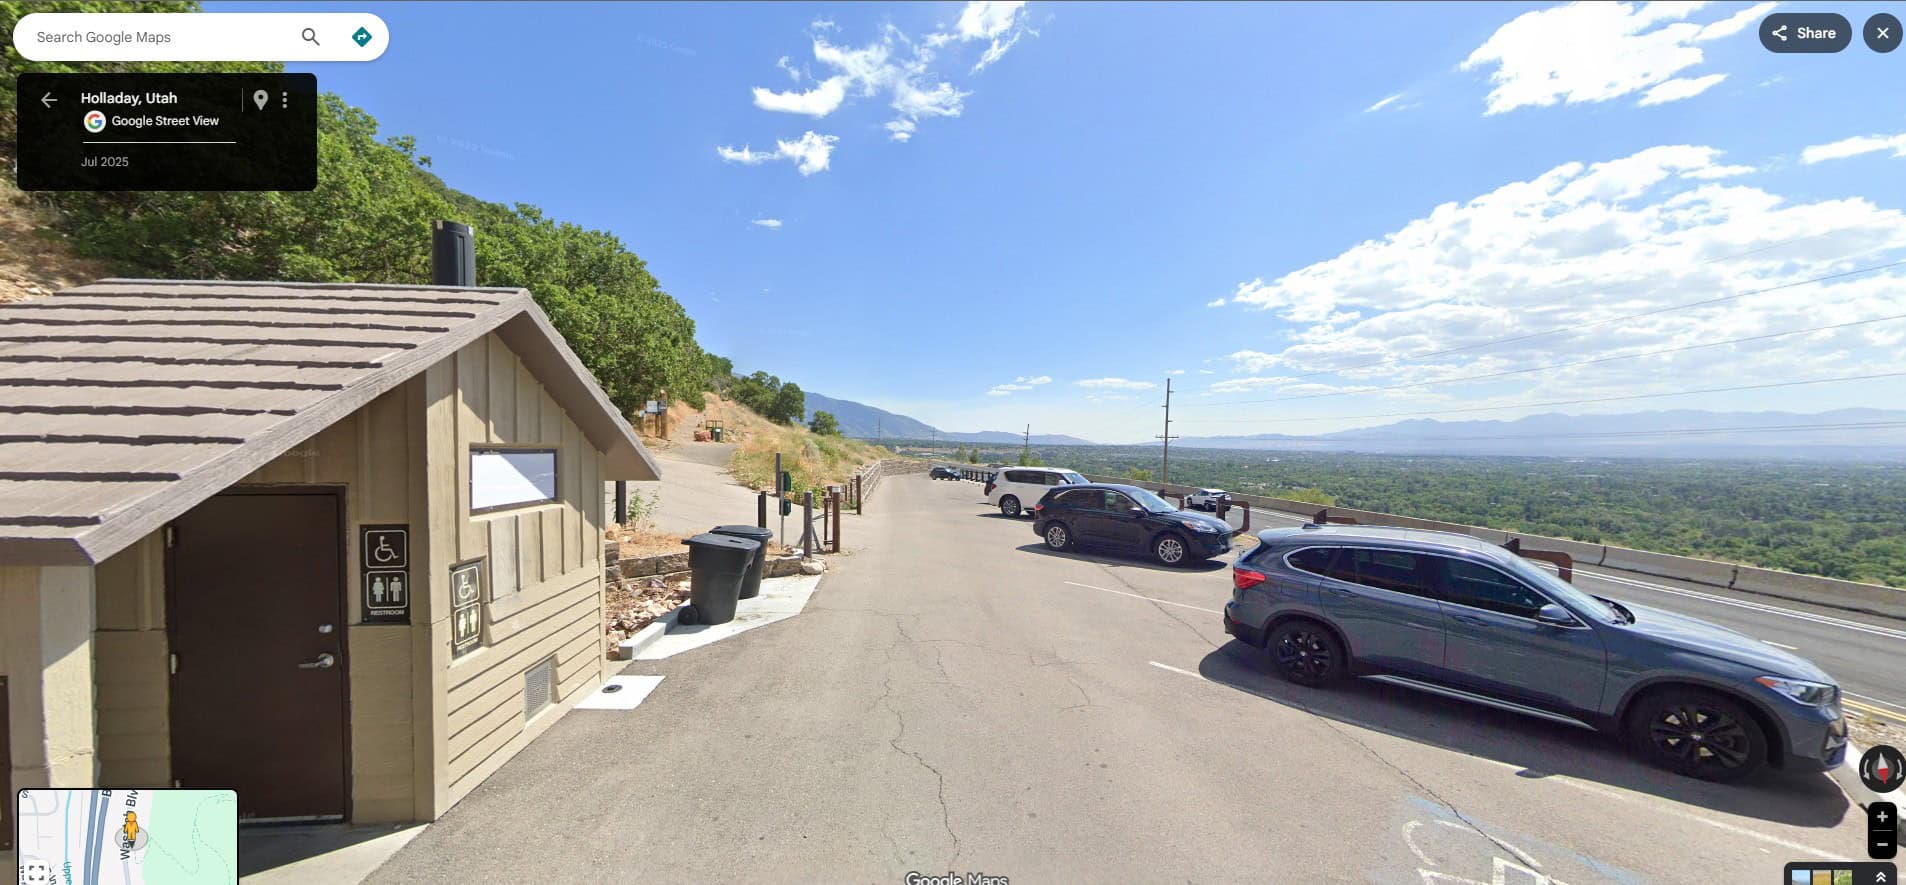
This trailhead gets extremely busy on weekends, and parking often spills out onto Wasatch Blvd. Street parking is allowed but only during the daytime hours. Be careful when walking on the road, people drive pretty fast here!
I highly recommend arriving early to secure a spot. The location is easily accessible from Salt Lake City, and there’s coffeeshops within a few minutes’ drive. You know how important my pre-hike coffee is! The trailhead itself closes at 11 pm.
The hike to Mount Olympus
I like to divide the Mount Olympus hike into four sections. The first section is the easiest part of the hike to the stream crossing, which makes for a great standalone hike in and of itself! Then, it’s Blister Hill, followed by the toughest (and my least favorite) section: the Enchanted Forest. From there, you end with the scramble to the summit!
The Start: Pete’s Rock to the Stream
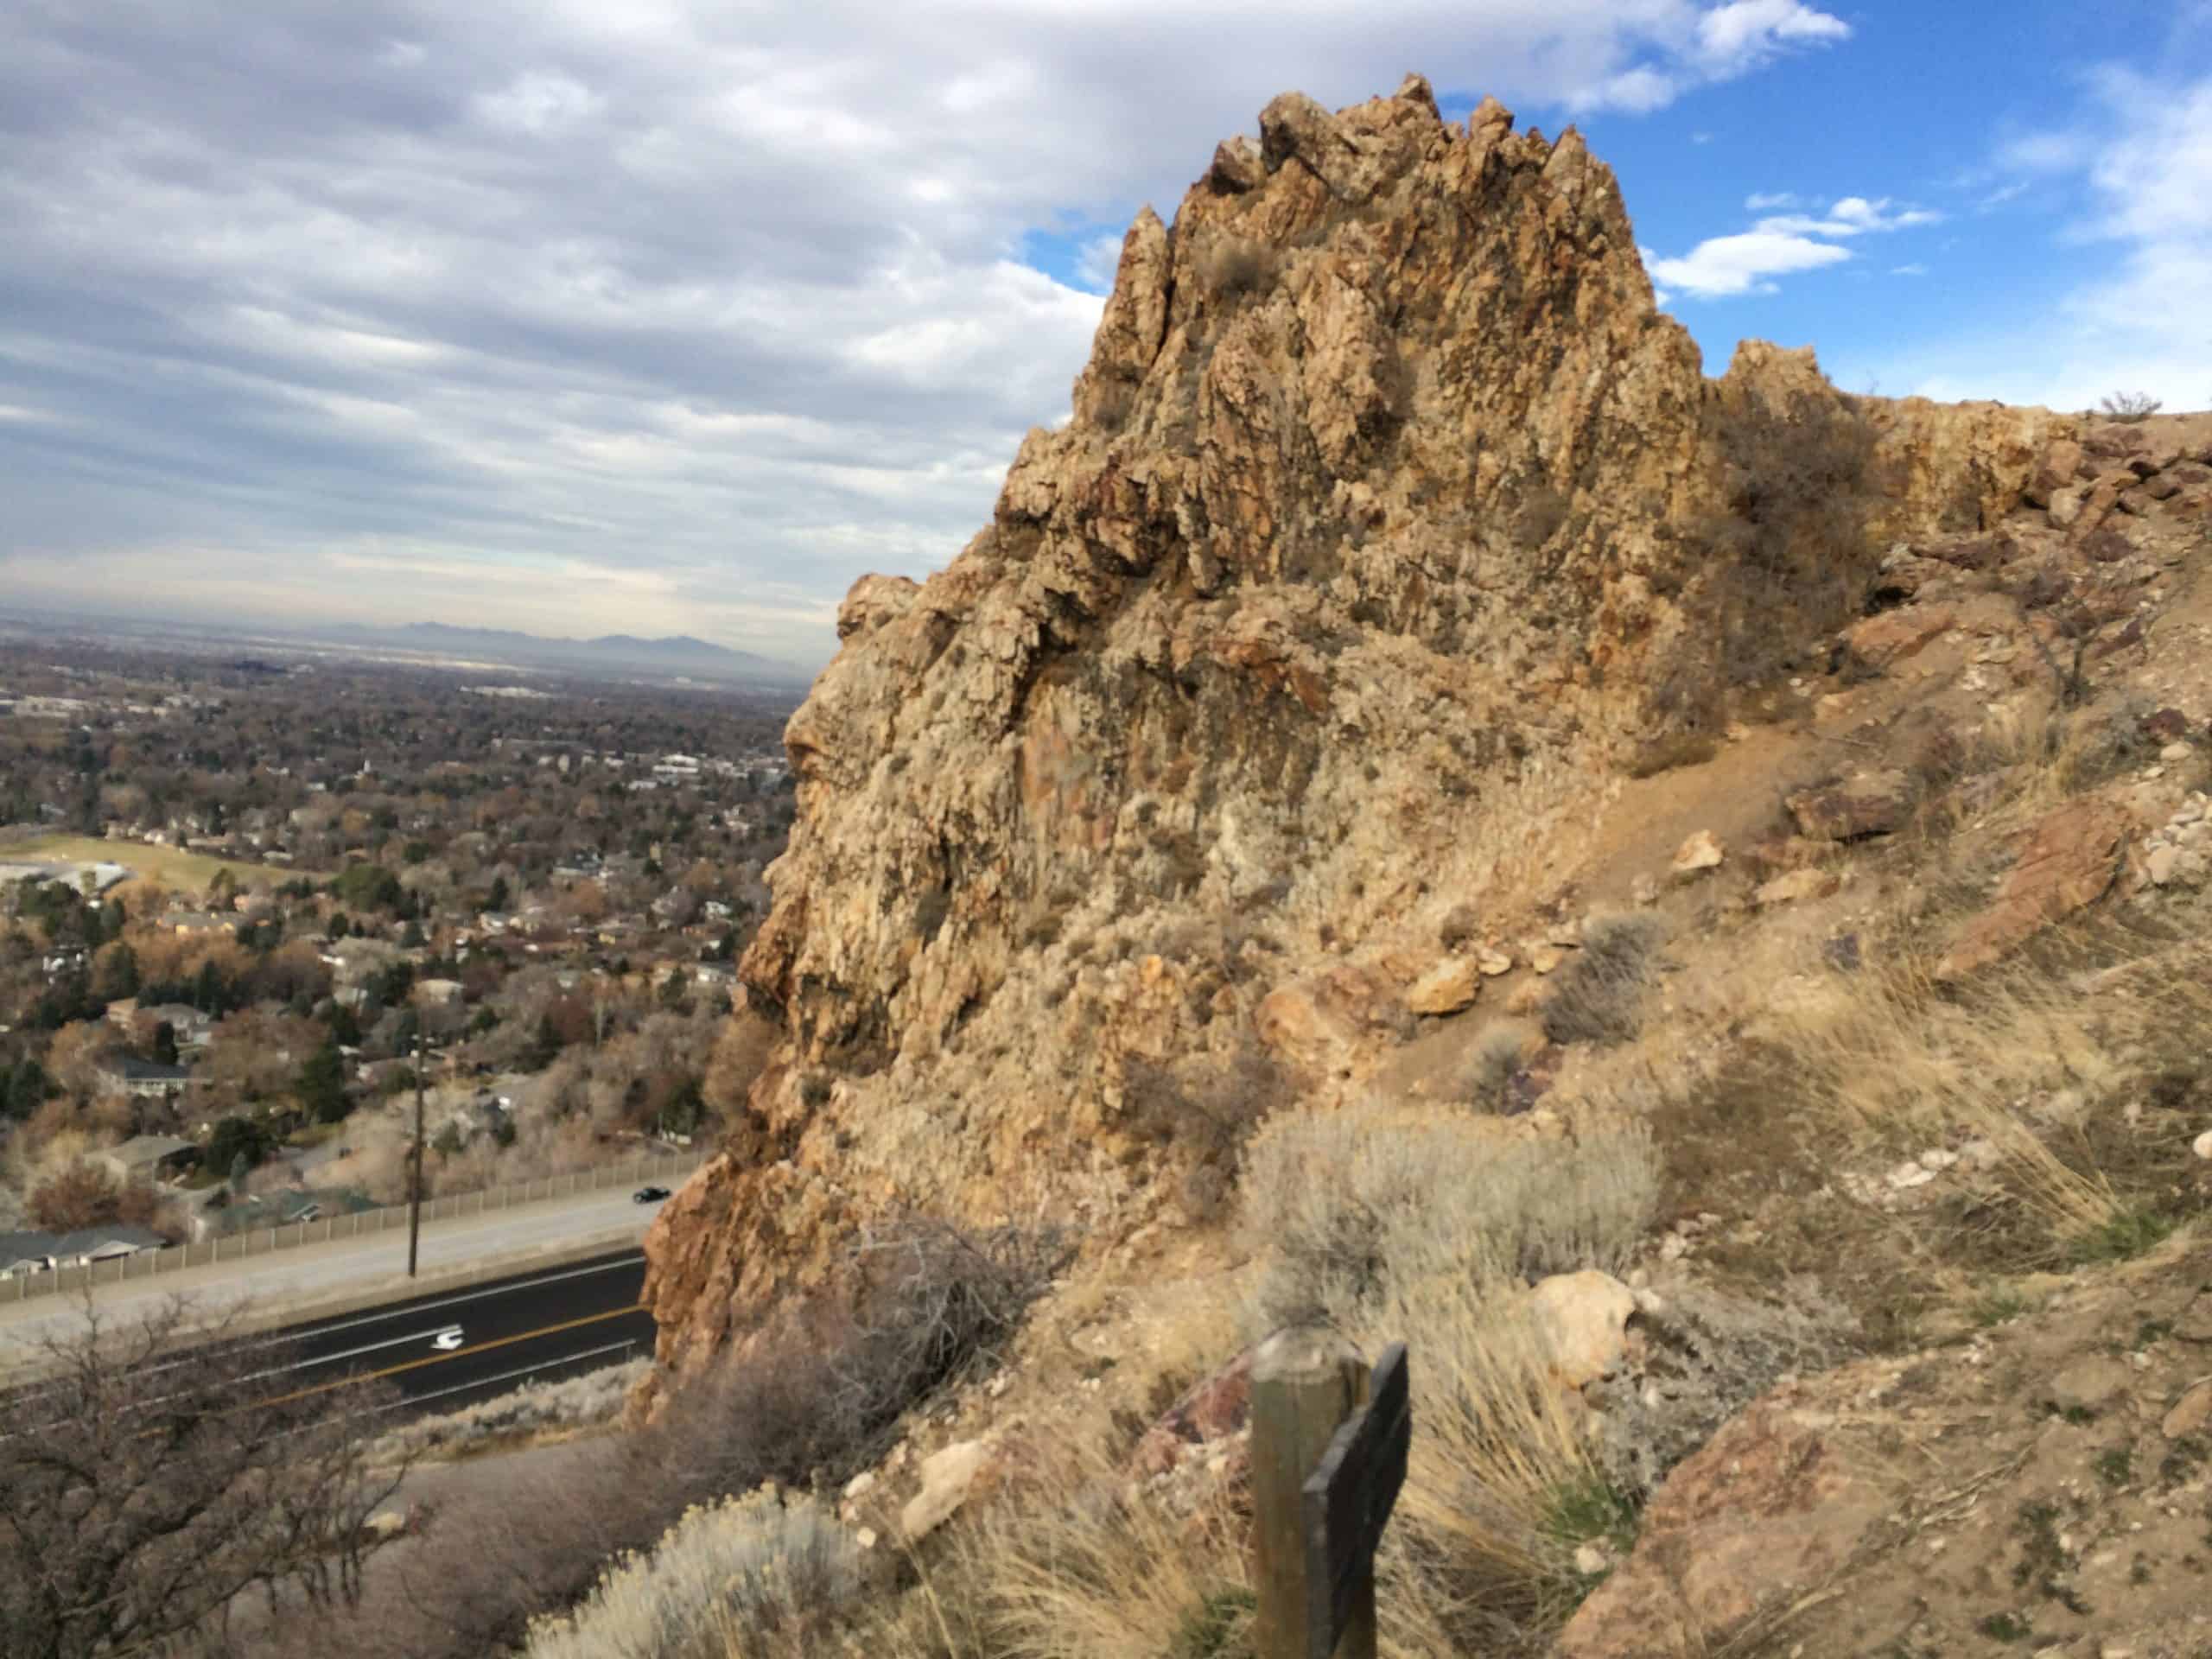
The first section covers about two miles with roughly 1400 feet of vertical gain. It starts incredibly steep, but a new trail built in 2022 helps you avoid the original brutal first quarter mile. Here you will find Pete’s Rock, and there will likely be people scrambling on it! It’s also a popular climbing route from the trailhead.
From here, it gets really steep for about half a mile, but you quickly transition into gentler switchbacks that lead to the stream crossing. Just before the stream, you will climb up a steep hill, a preview of what’s to come!
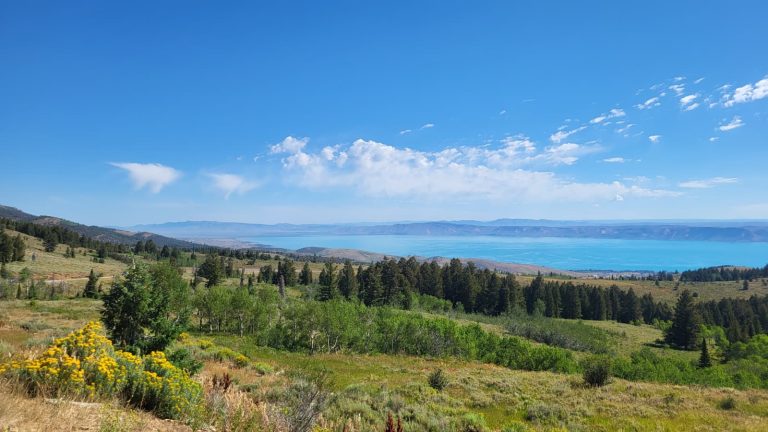
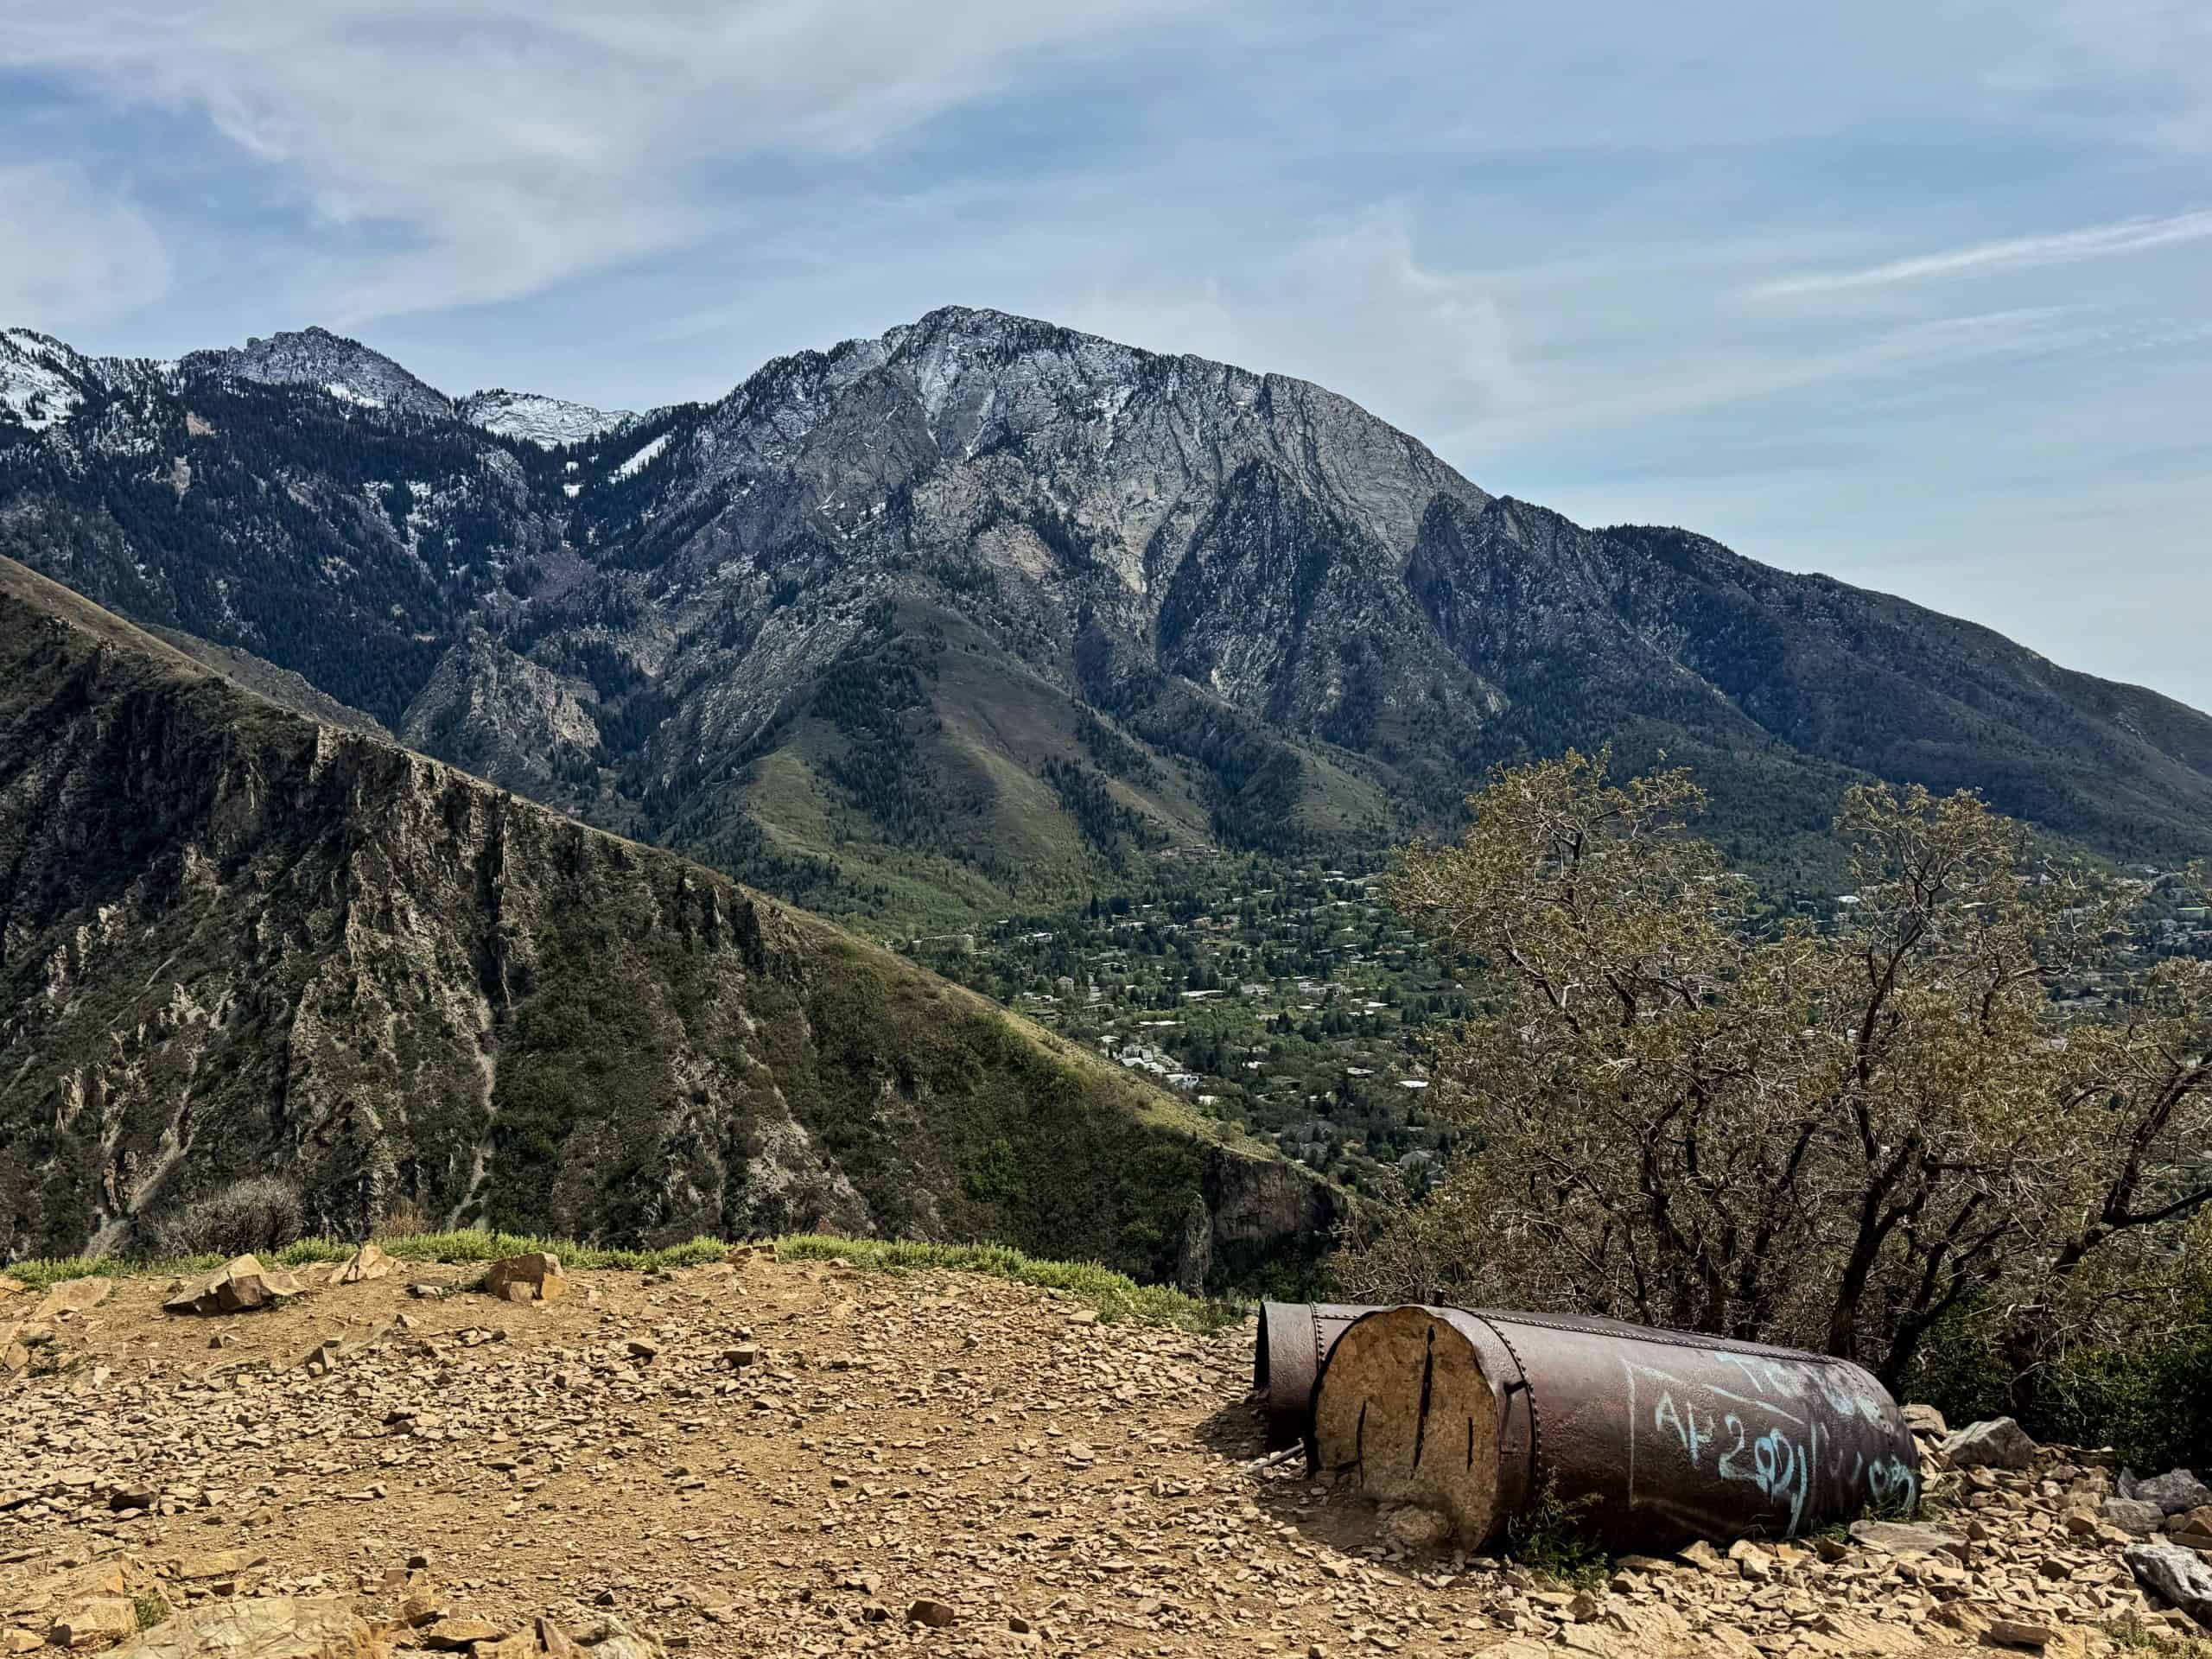
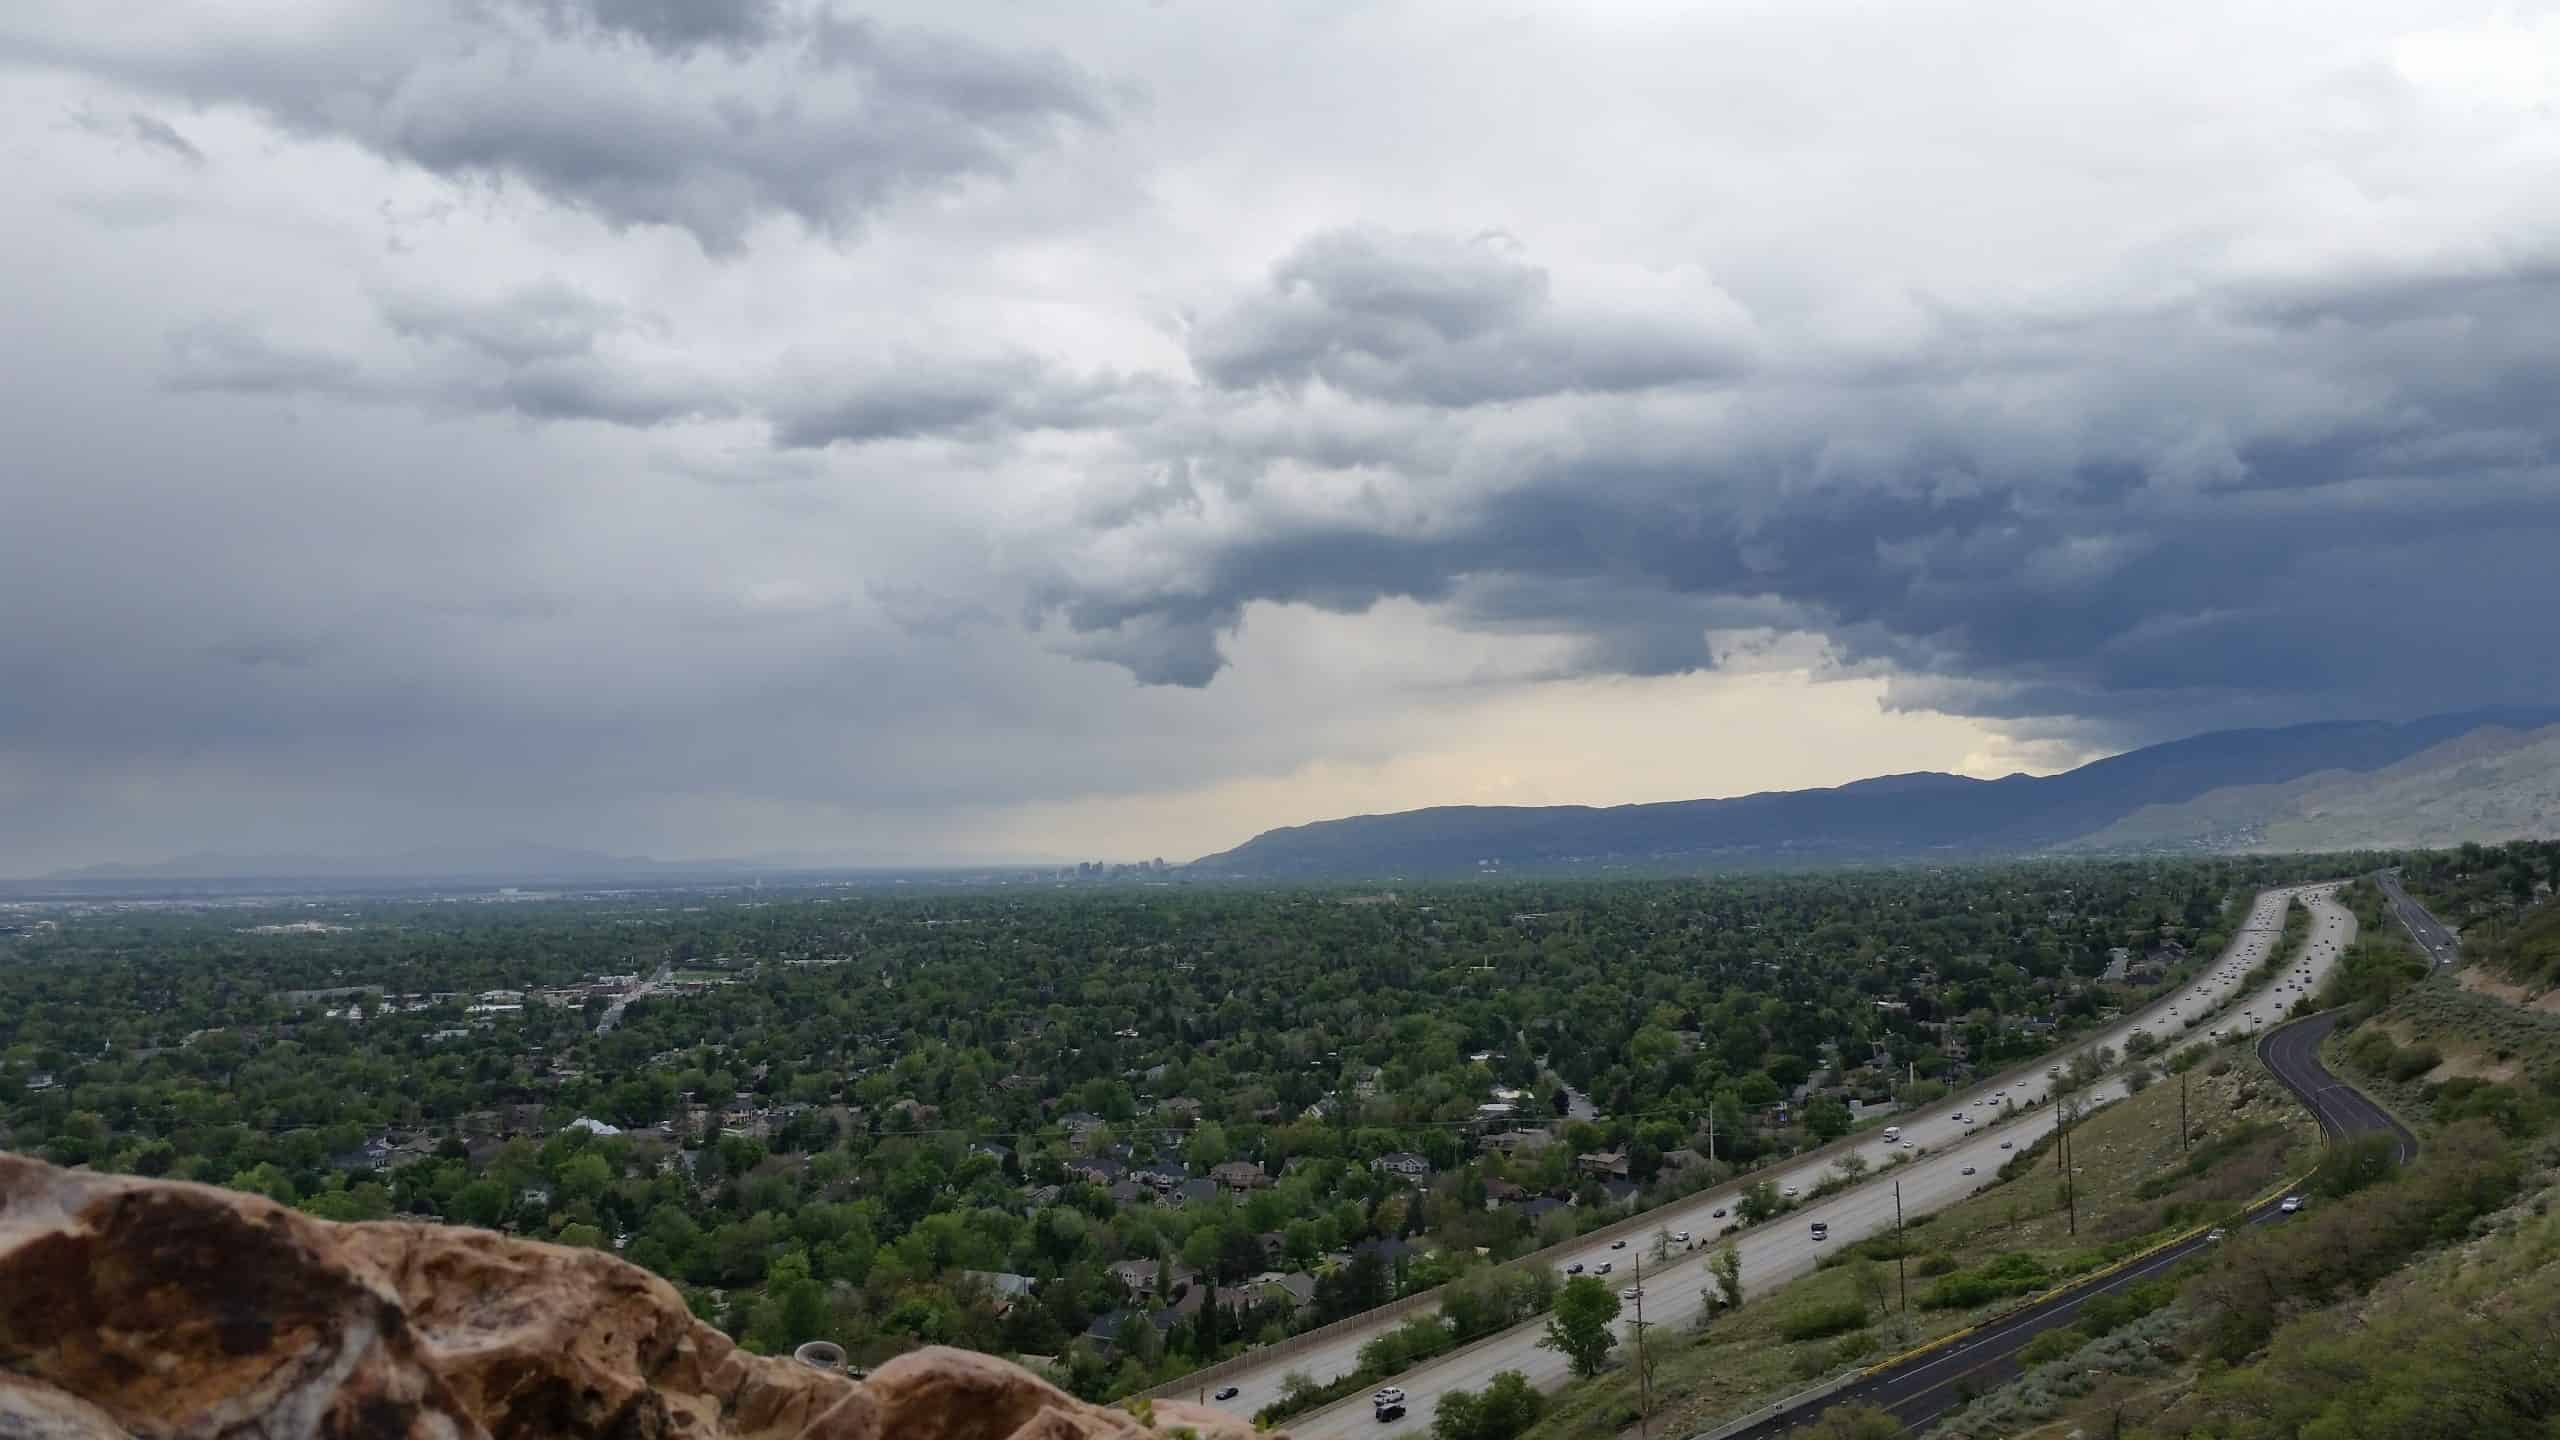
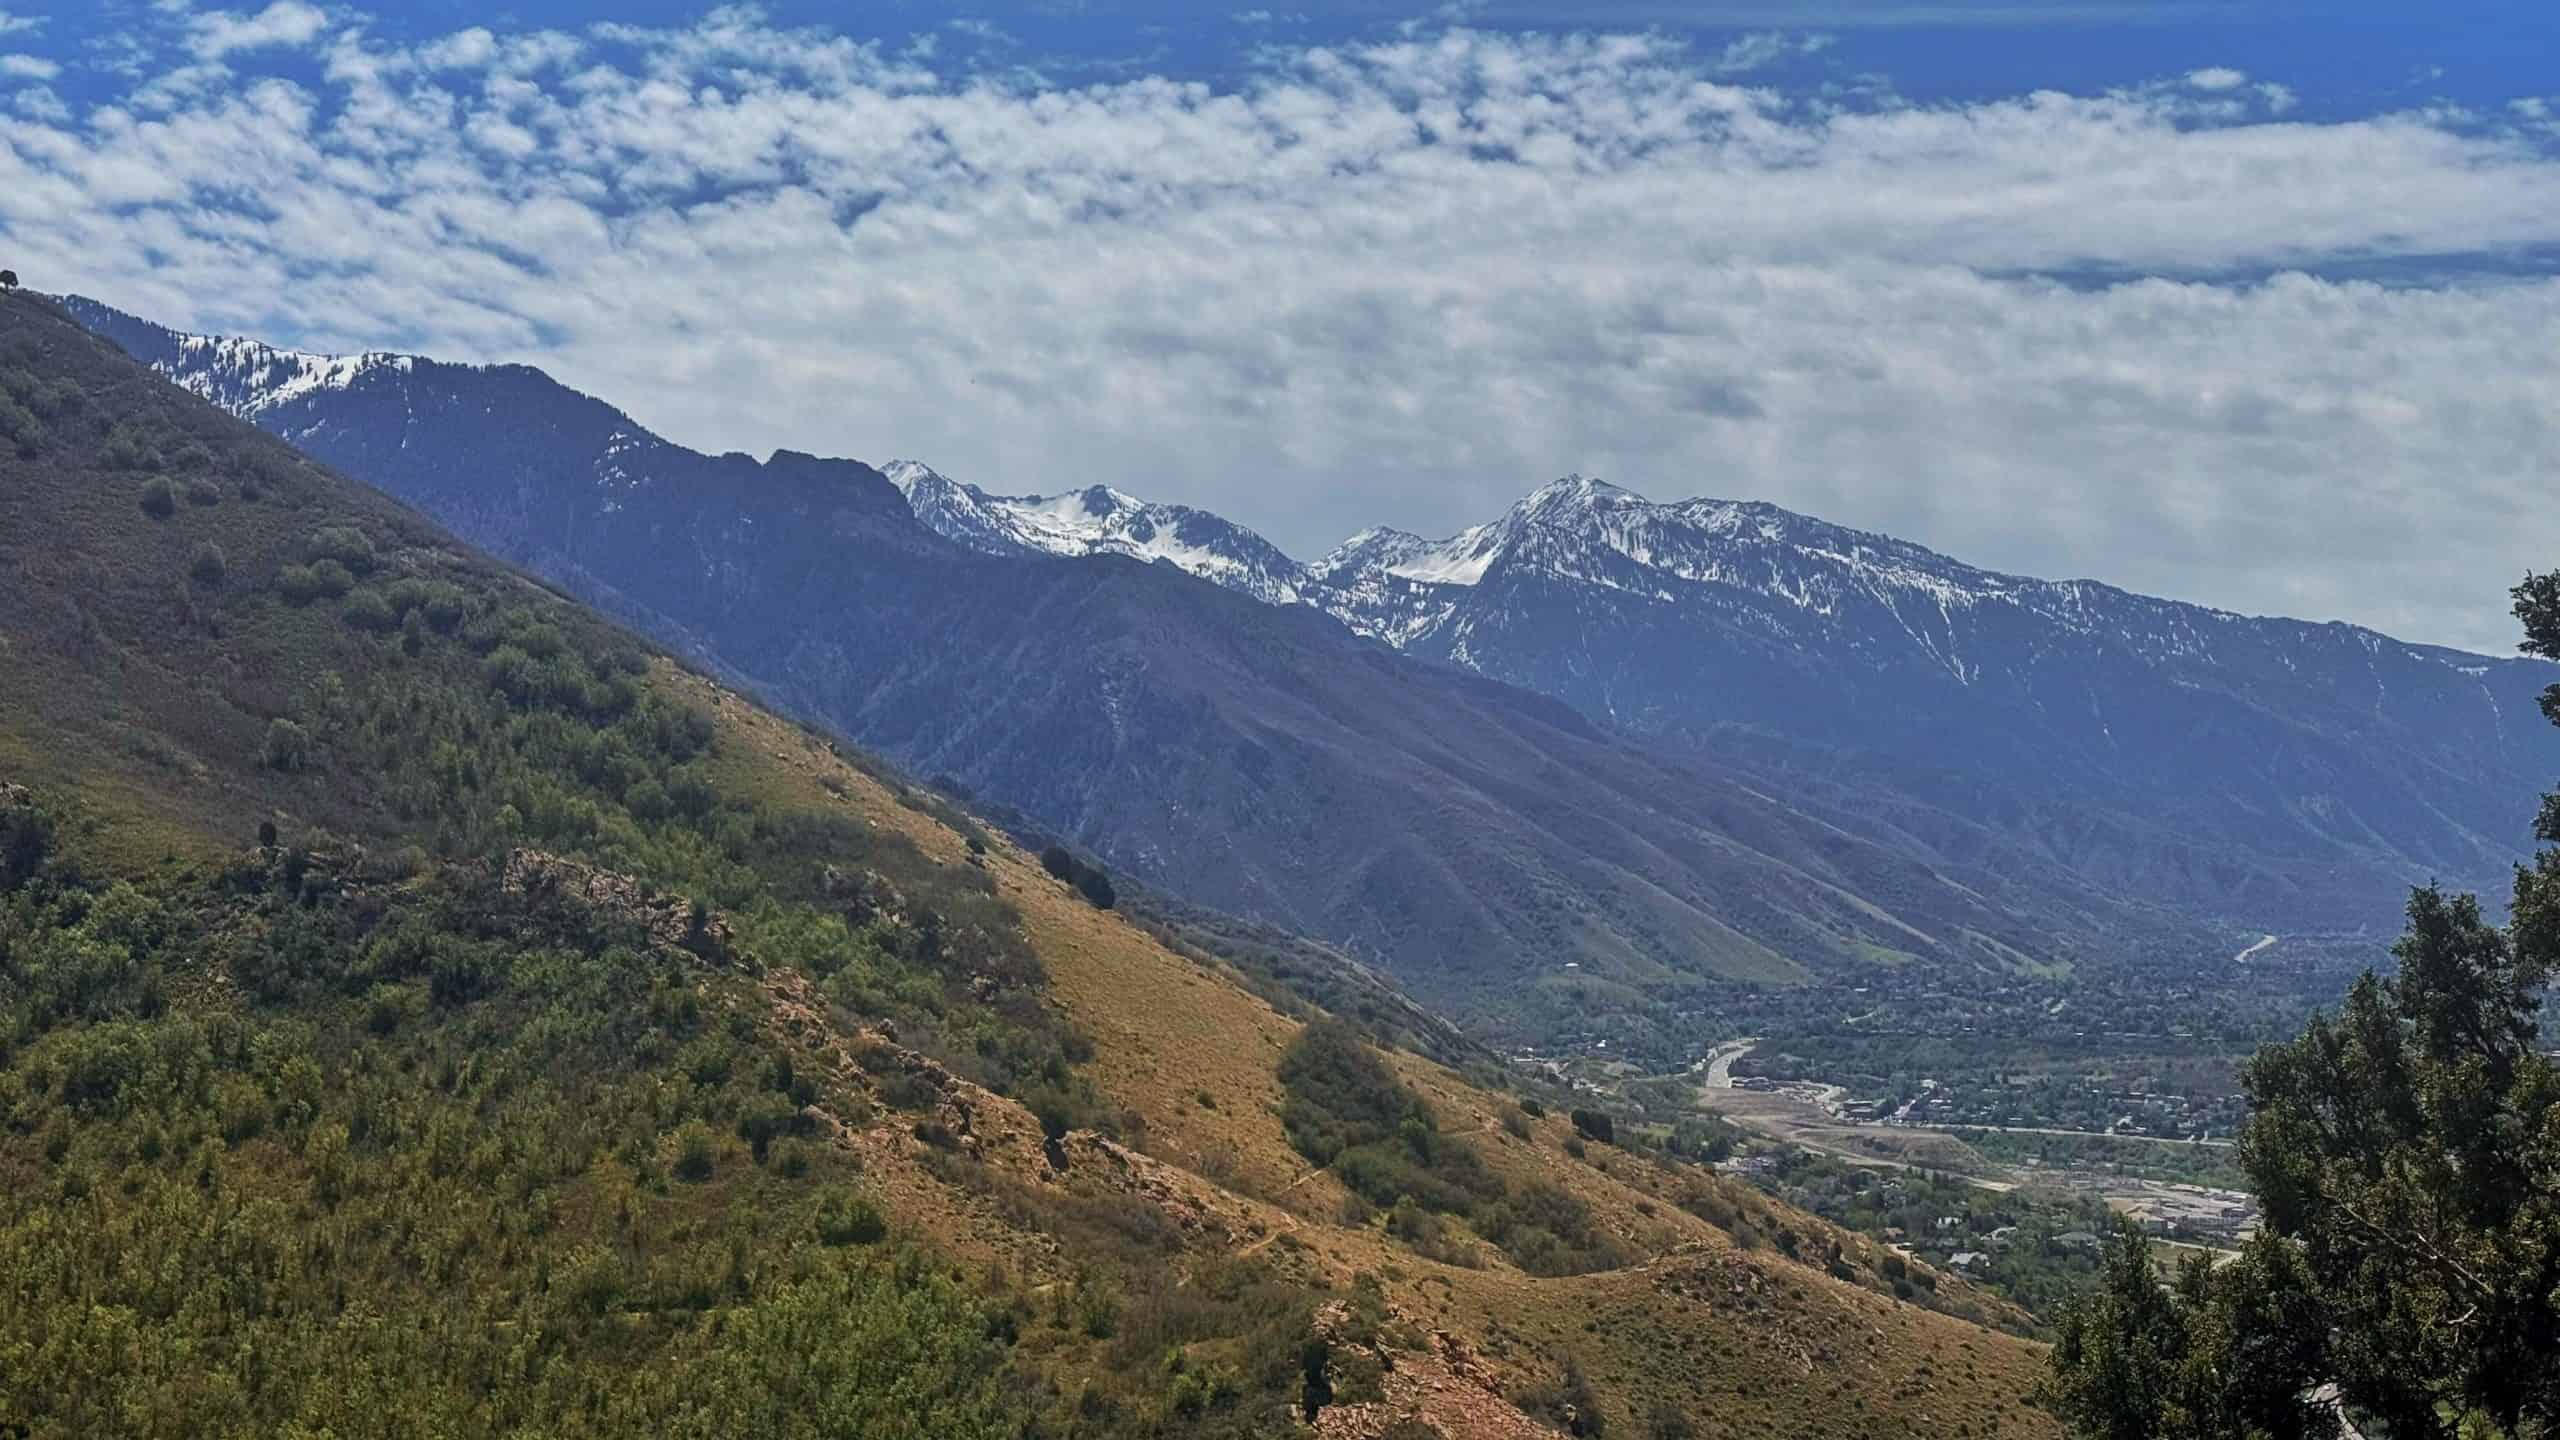
The scenery here is phenomenal and offers amazing views of the higher Wasatch Peaks, the valley below, and out west toward the desert.
Conquering “Blister Hill”
As you leave the seasonal stream behind, the trail steepens with several rocky sections. Luckily, you will still find switchbacks, but your heart rate will start racing as the incline really begins to test you. This section shows exactly why this hike is considered so tough among local hikers, and why it gets its dramatic name.
Once you top out on Blister Hill, you will realize that the real climb has just begun. Many say Bilster Hill is the toughest section, but I highly disagree. It only gets worse from here! Blister Hill climbs about 600 feet in half a mile, twice as steep as the first two miles
The Enchanted Forest
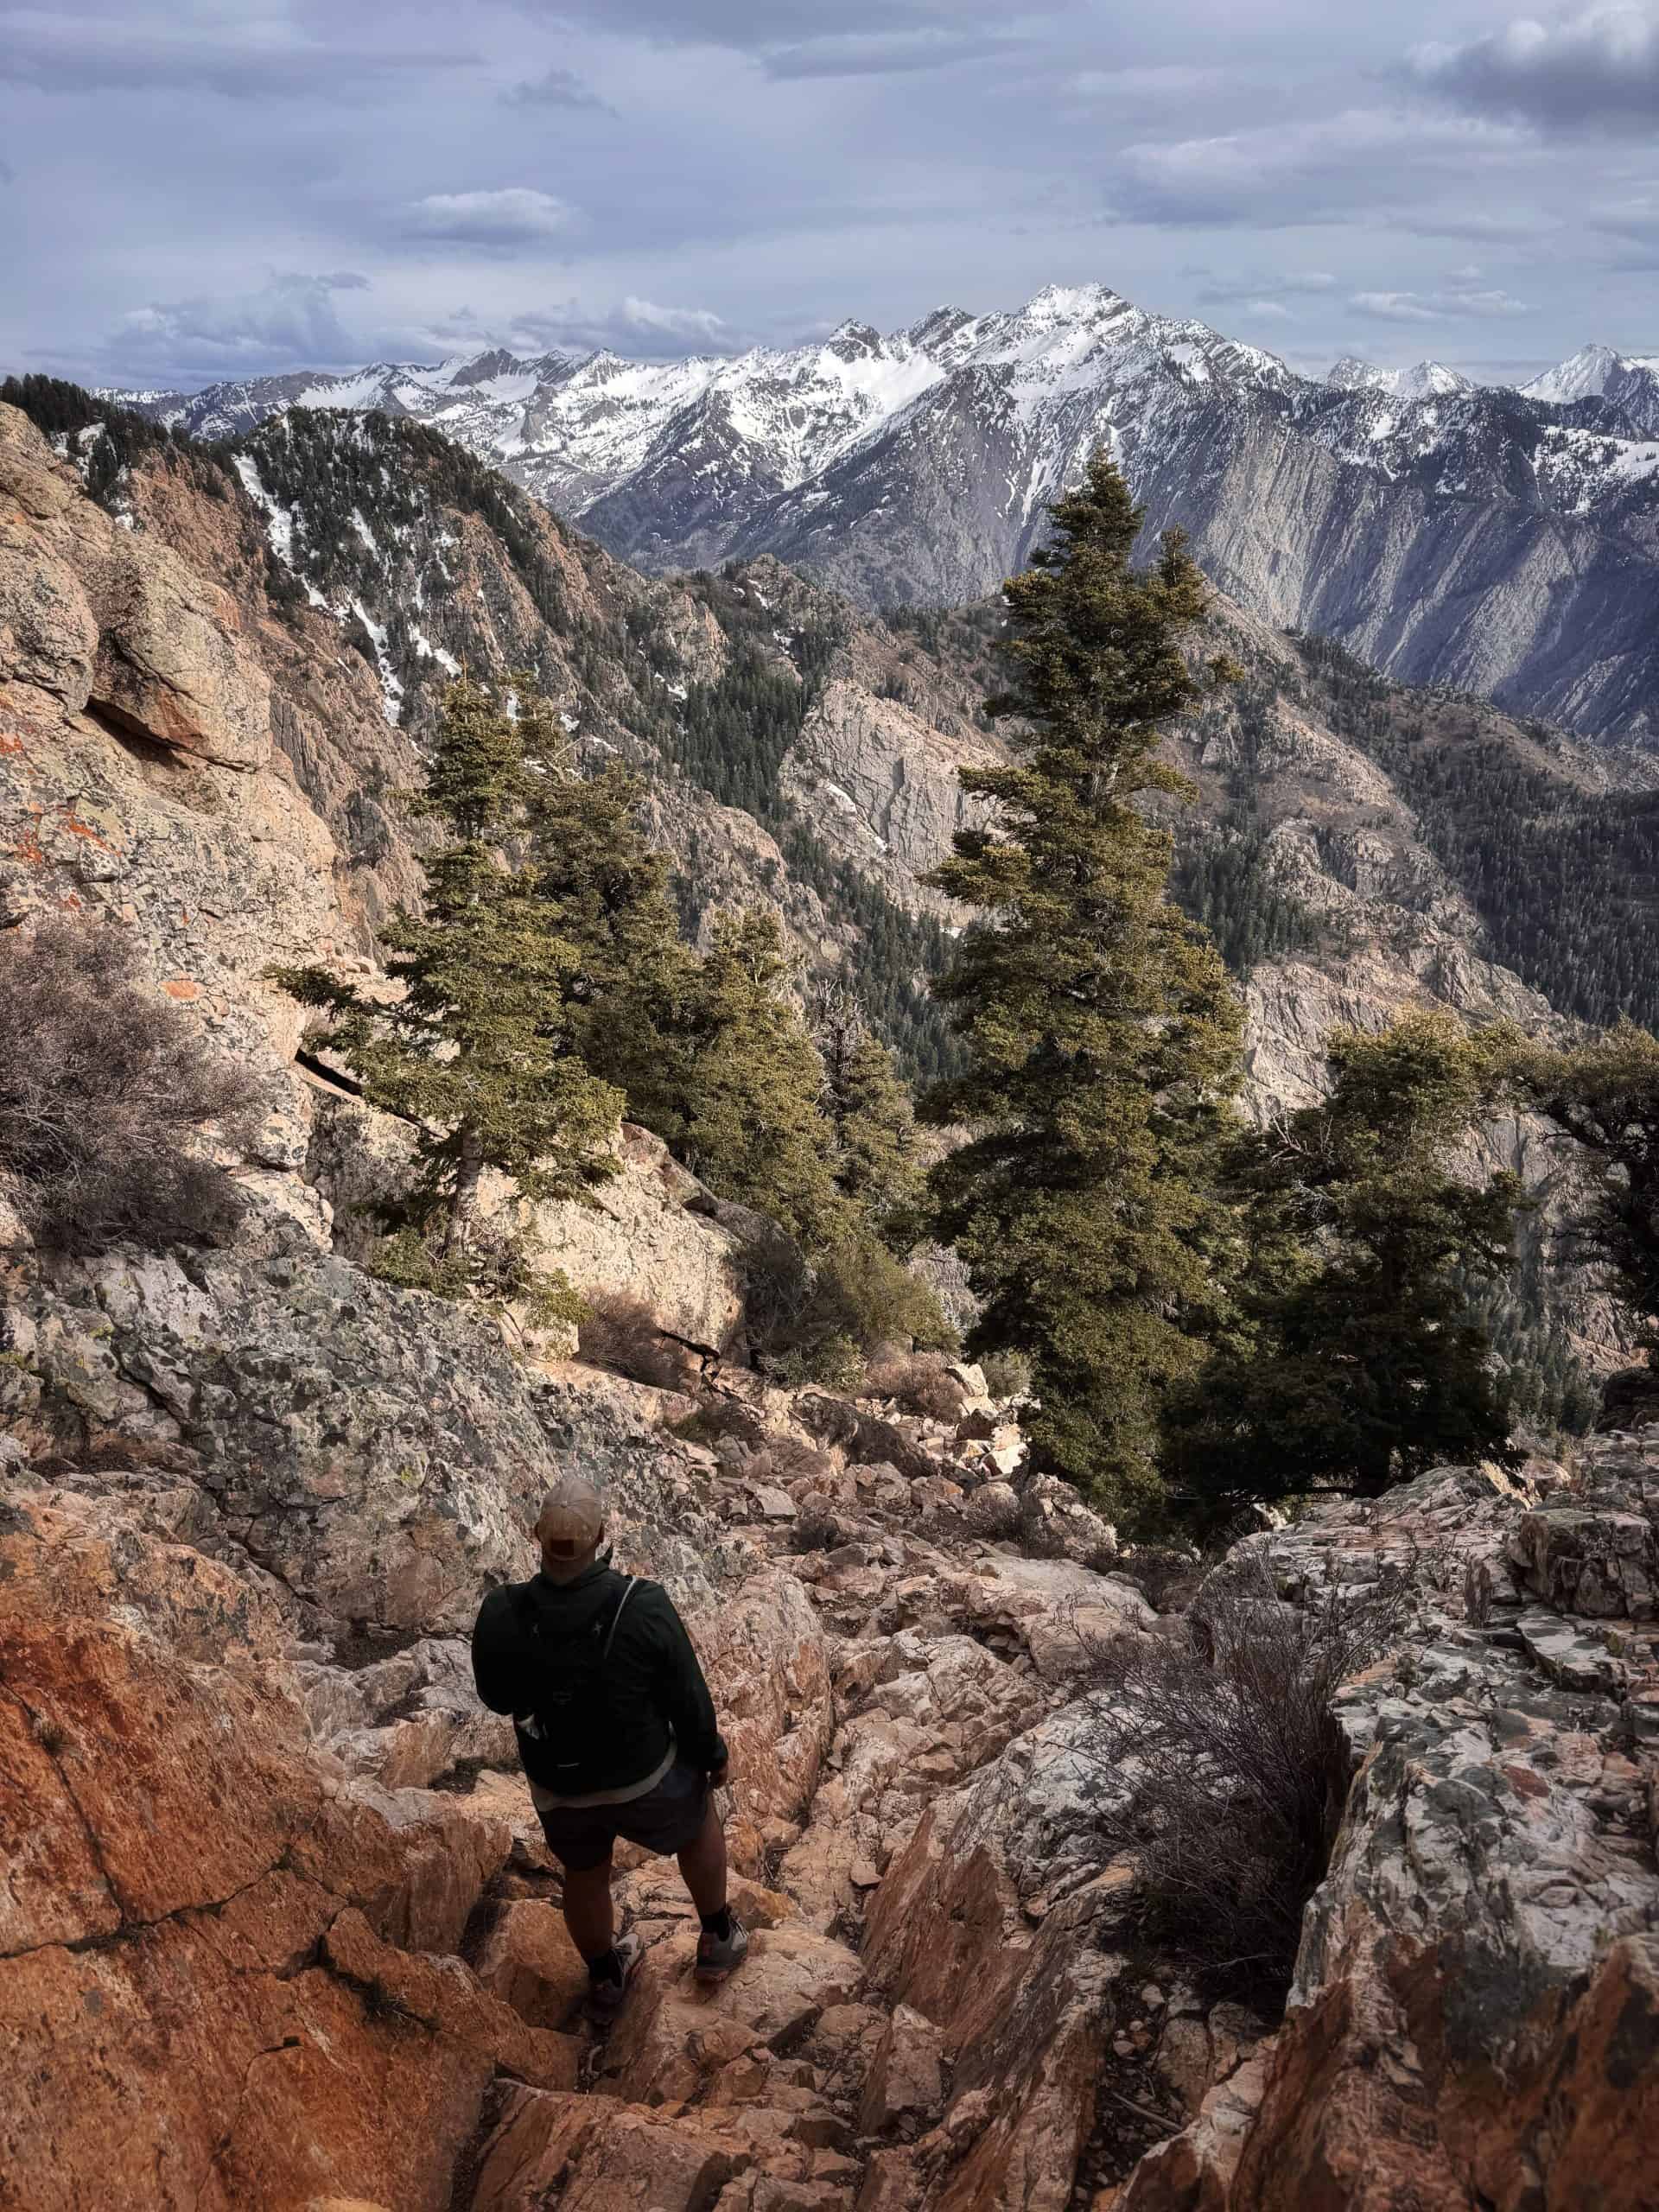
Just as Blister Hill ends, the switchbacks stop, and the trail becomes incredibly steep and rocky. I honestly have to admit this is my least favorite part of the hike because the path is very rocky and eroded. You will gain close to 2300 feet in just 1.5 miles.
The trails stay inside a dense forest with limited views. Here I am forced to stop every thirty seconds just to catch my breath. It is a killer on the legs! Just before you get to the saddle, look out for two large pine trees where one has fallen onto the other. This is the light at the end of the tunnel! Soon, the trail finally levels out at the saddle.
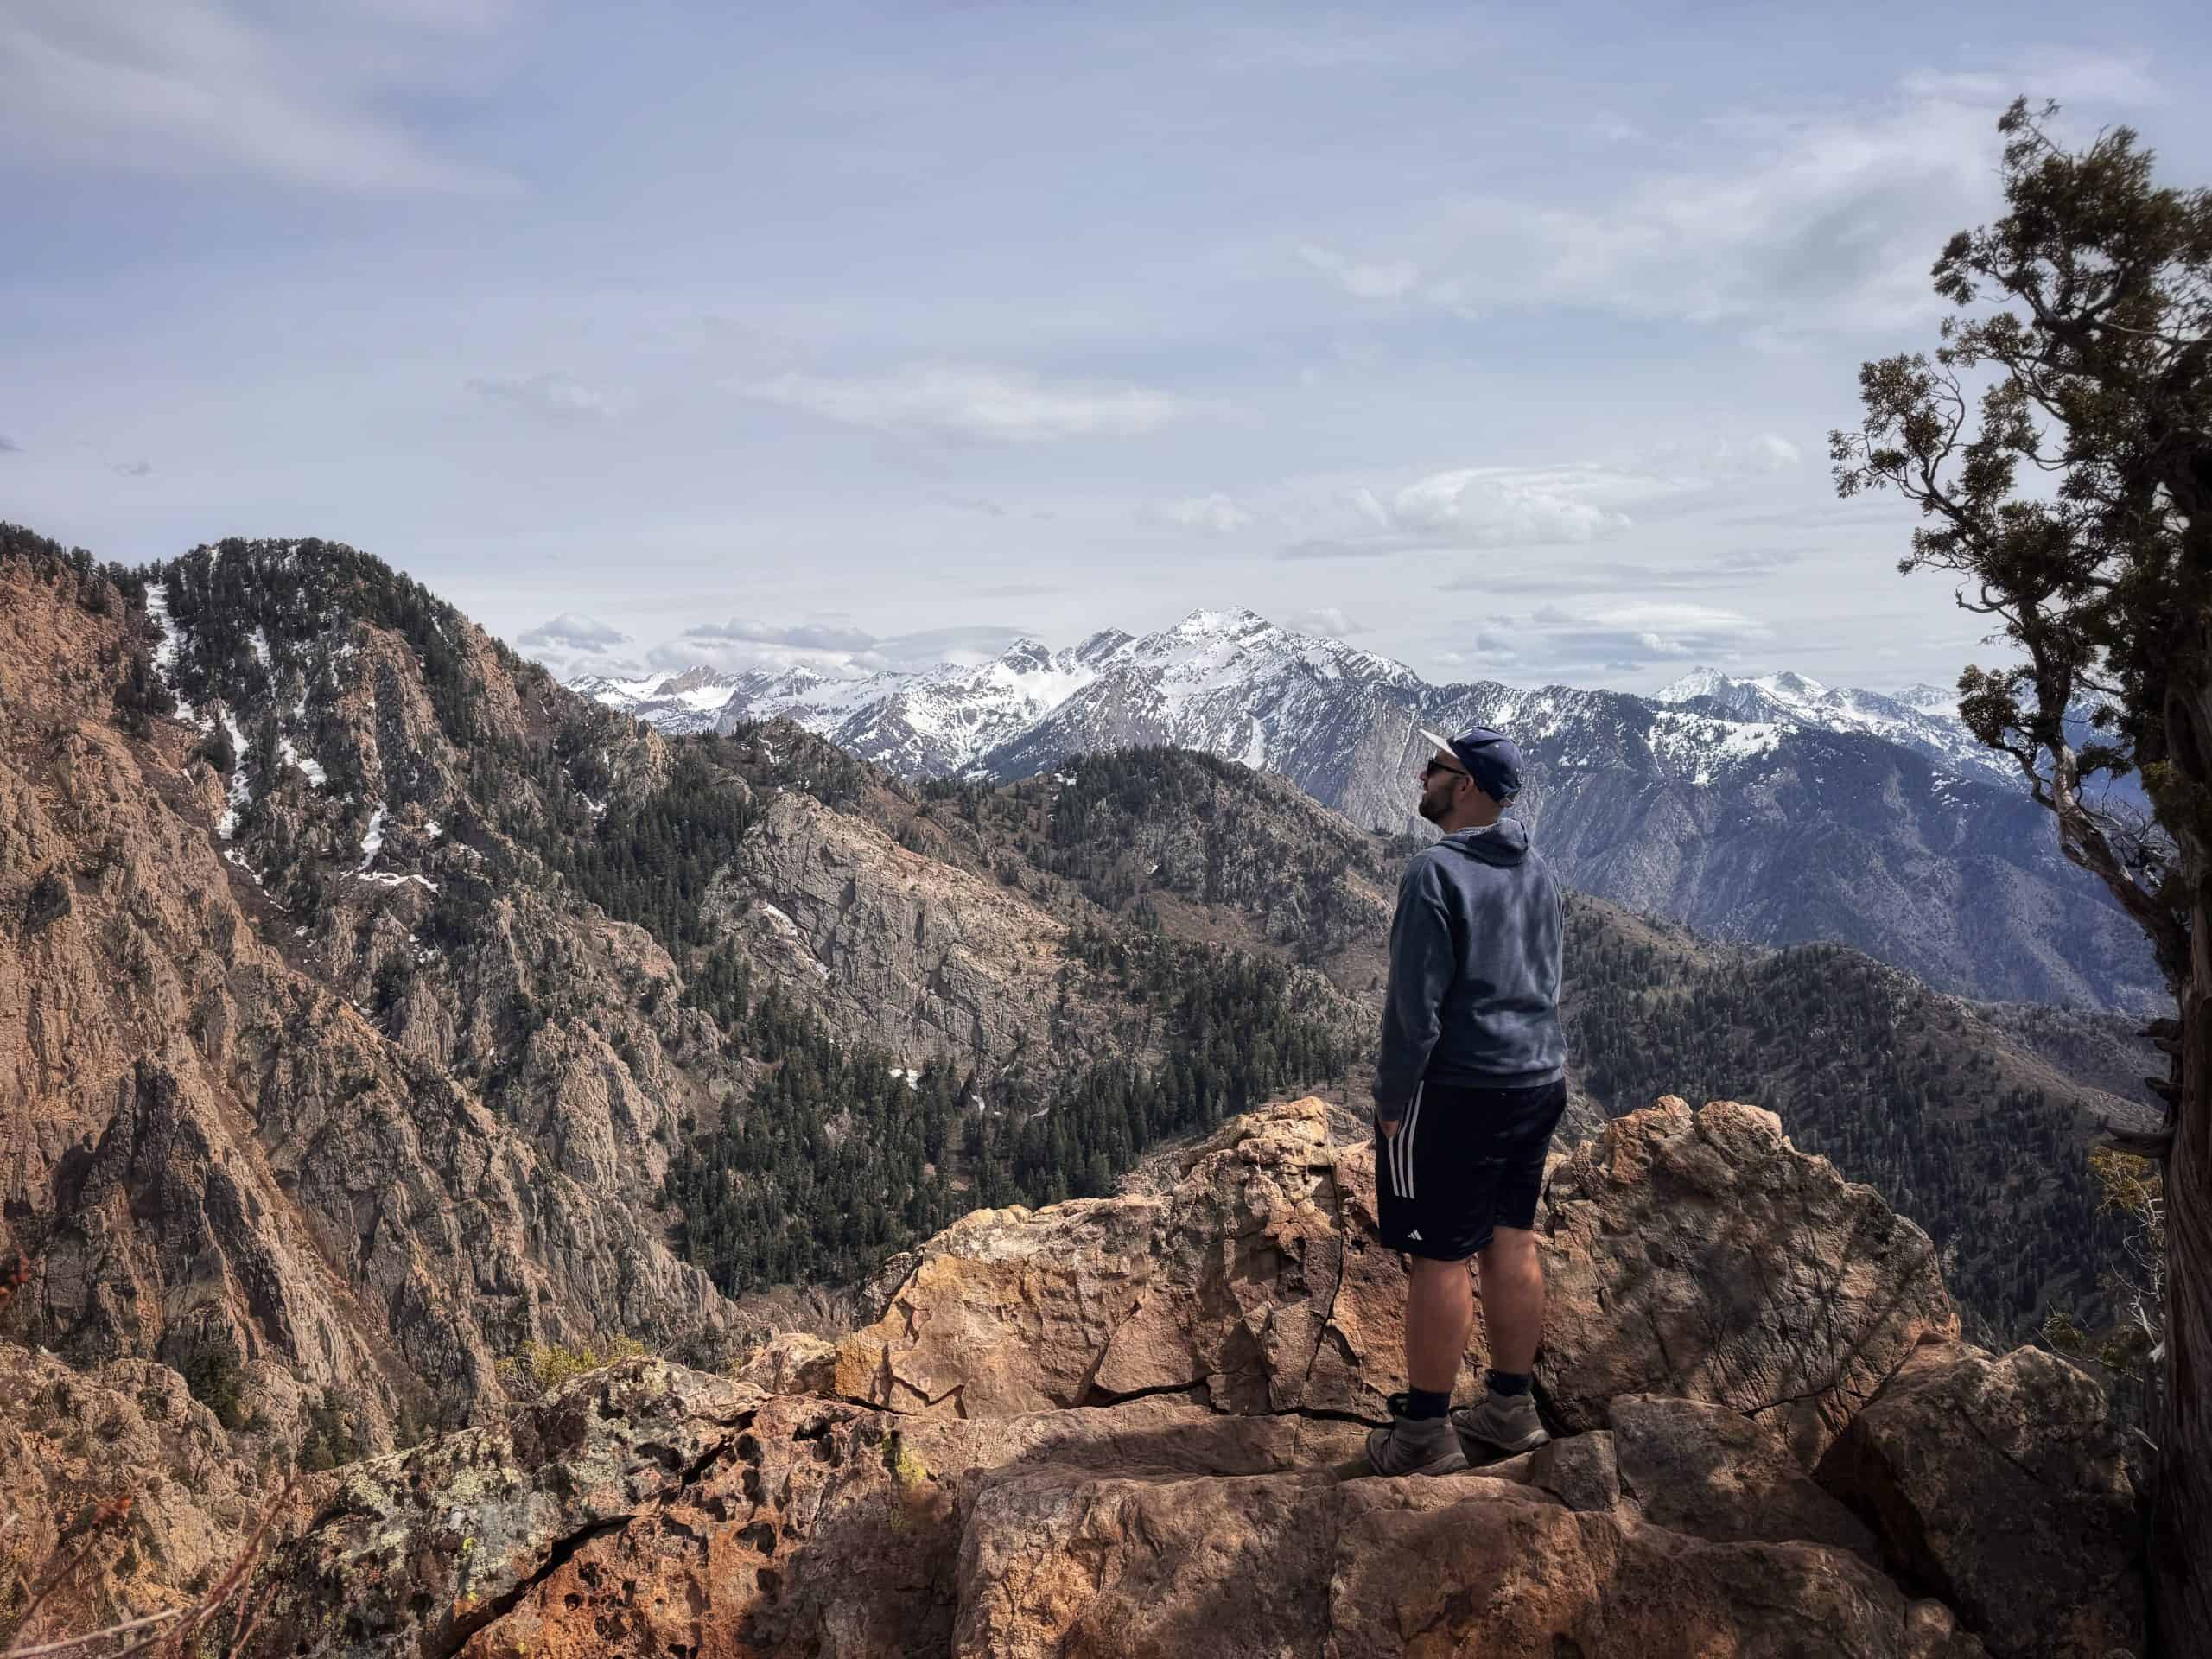
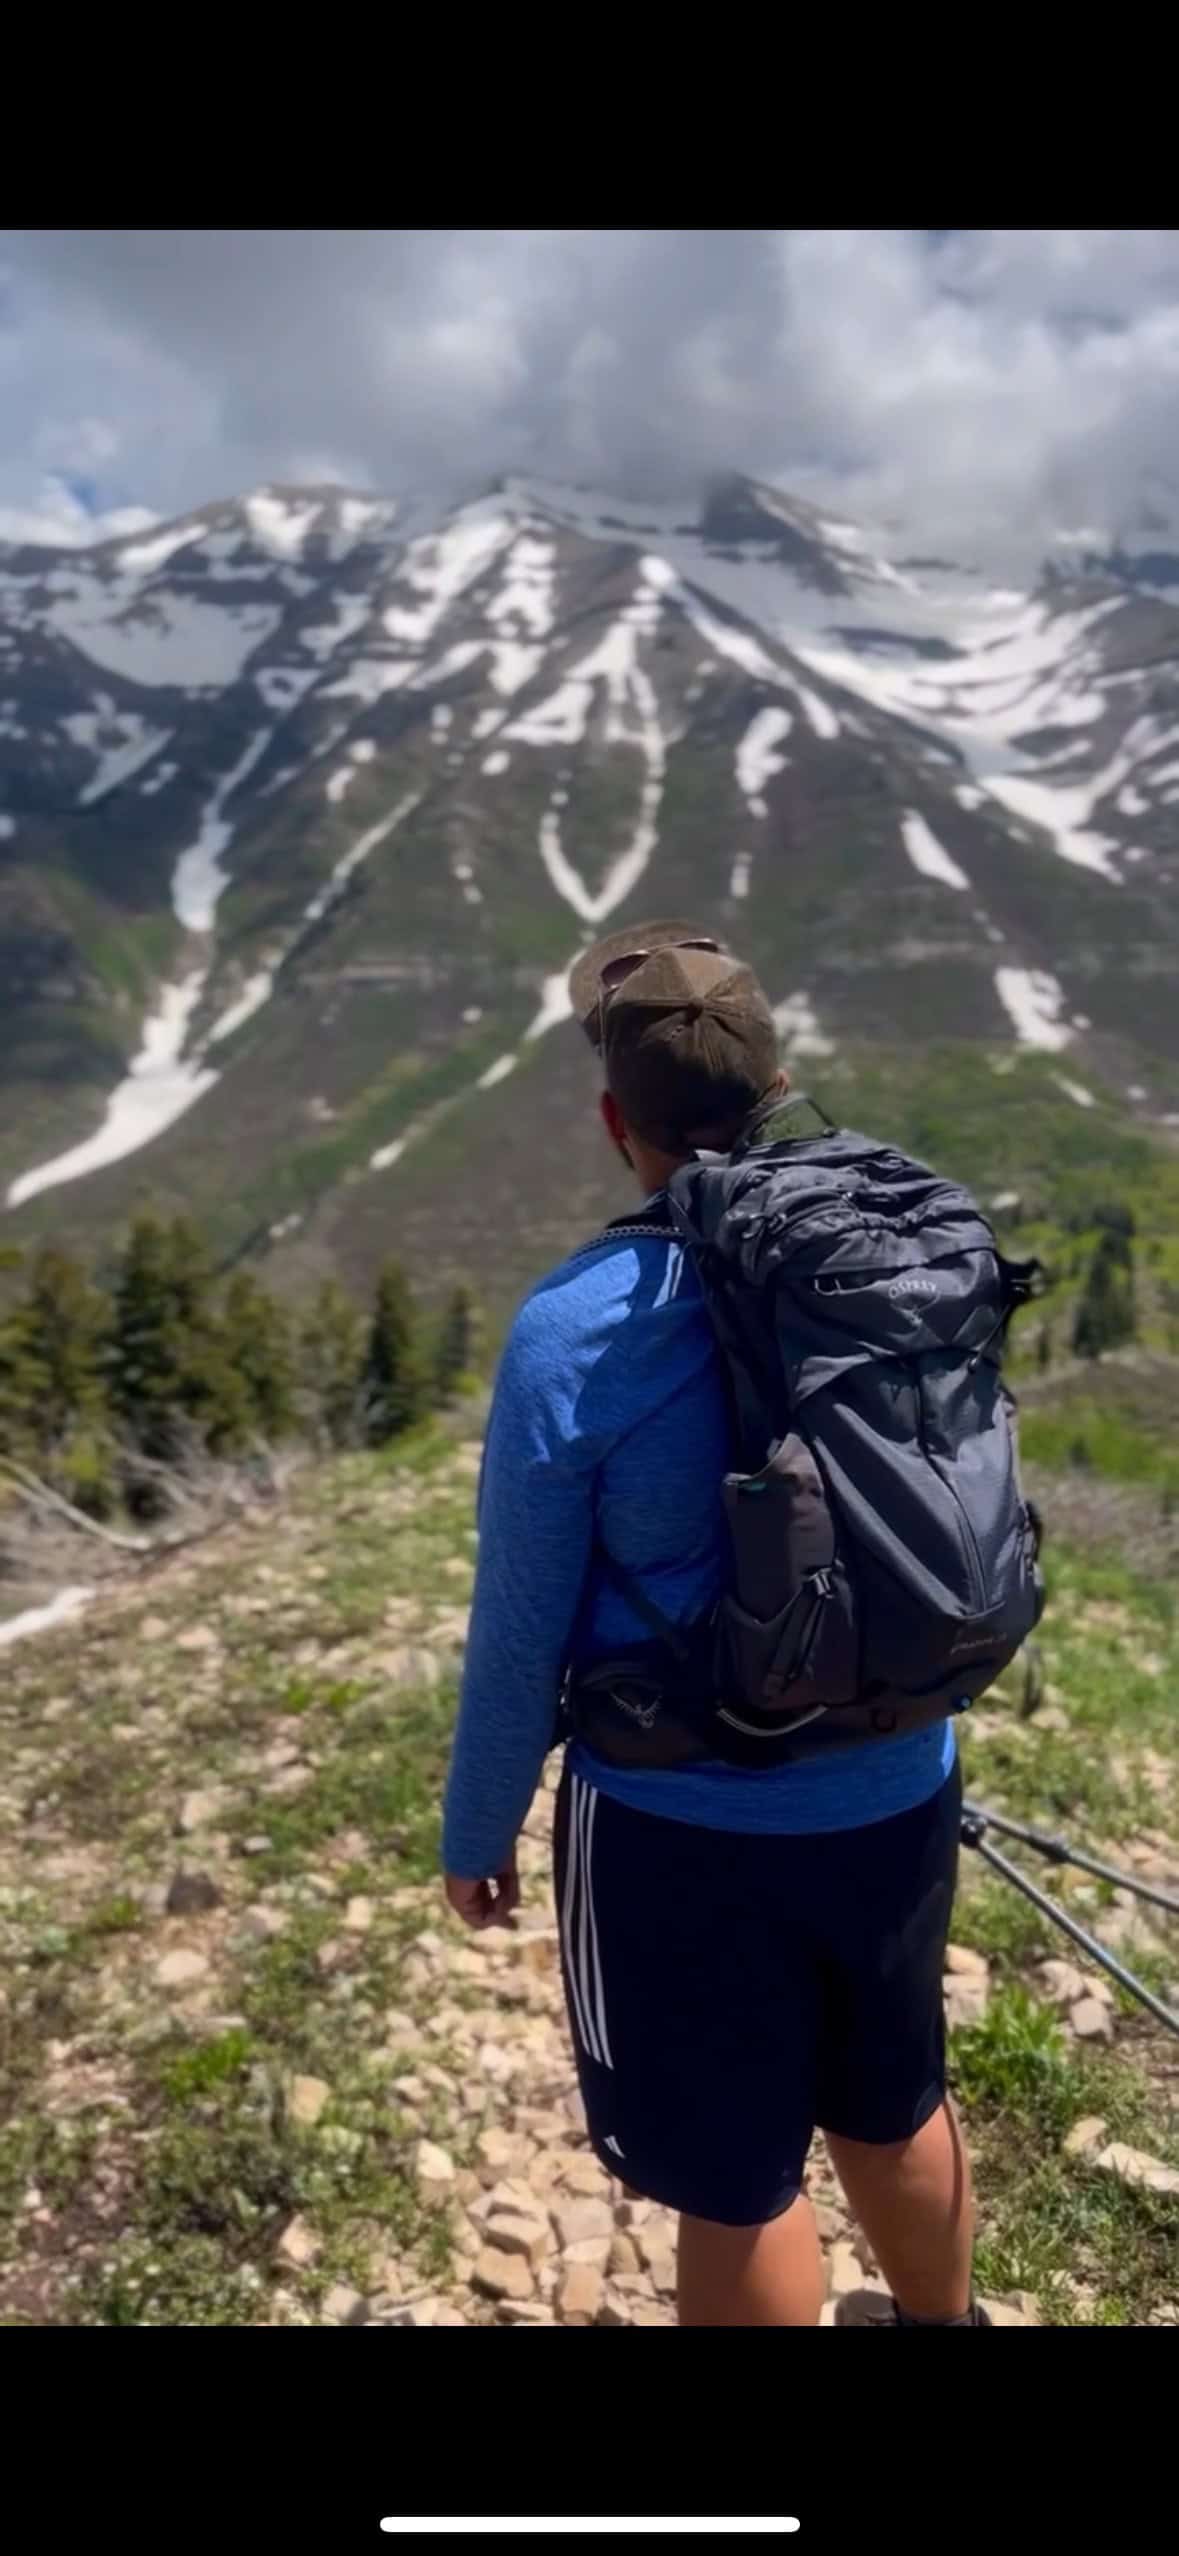
On April 25th, 2026, I brought a new friend on this hike (of his own accord), and his reaction when he got to the saddle was priceless. His jaw dropped. “Wow,” he exclaimed! He was so happy, he asked, “How could the view get better than this?” I replied, “Oh, it does, just you wait!”
The sudden reveal of the view here is quite breathtaking and one that gives me chills every time!
The Summit Push (The Scramble)
From the saddle, the trail continues steeply for about 100 feet before suddenly transitioning into a scrambling section. I find the scramble to be pretty straightforward, but people tend to get lost. I recommend sticking to the right side of the gulley initially for some class 3 scrambling before switching left.
The first two hundred feet in the gulley are the steepest and most technical part of the route. Once you clear that crux, turn right to find a trail again until you reach a large rock cairn, where you must turn left. Going straight will cliff you out and has led to rescues in the past.

After turning left, navigate another steep path with more class 3 moves around a tricky boulder. You will finally reach the summit ridge at the sight of an old juniper tree, where you will turn right onto the ridge.
Just a few boulder-hopping steps later, and you are standing on top of Mount Olympus.
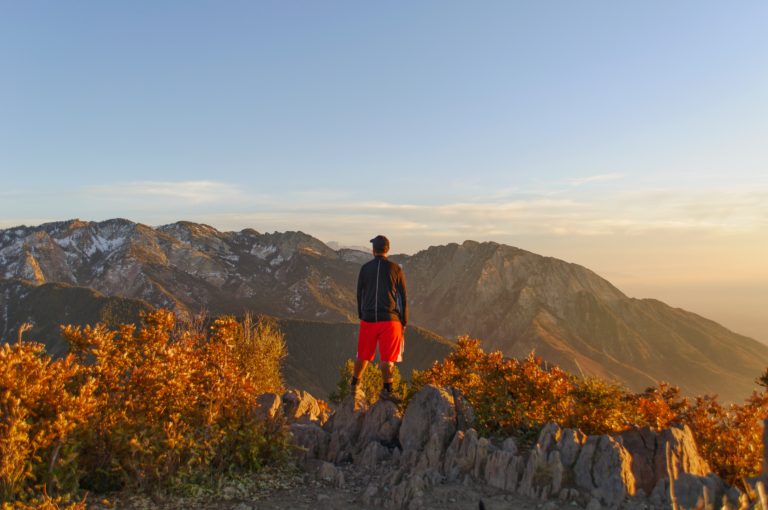
Views from the Top
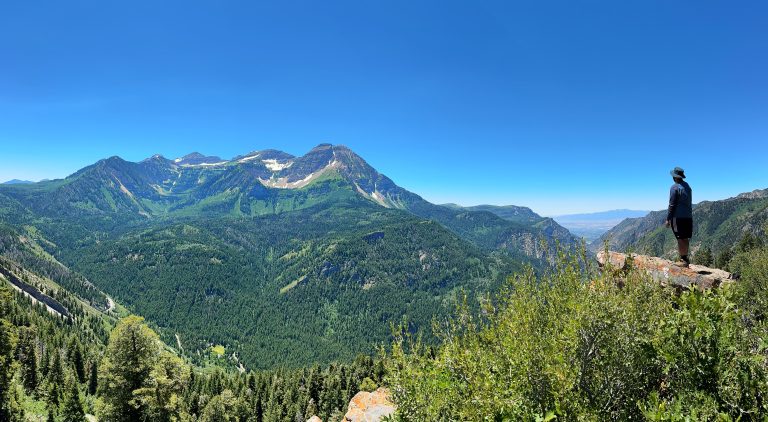
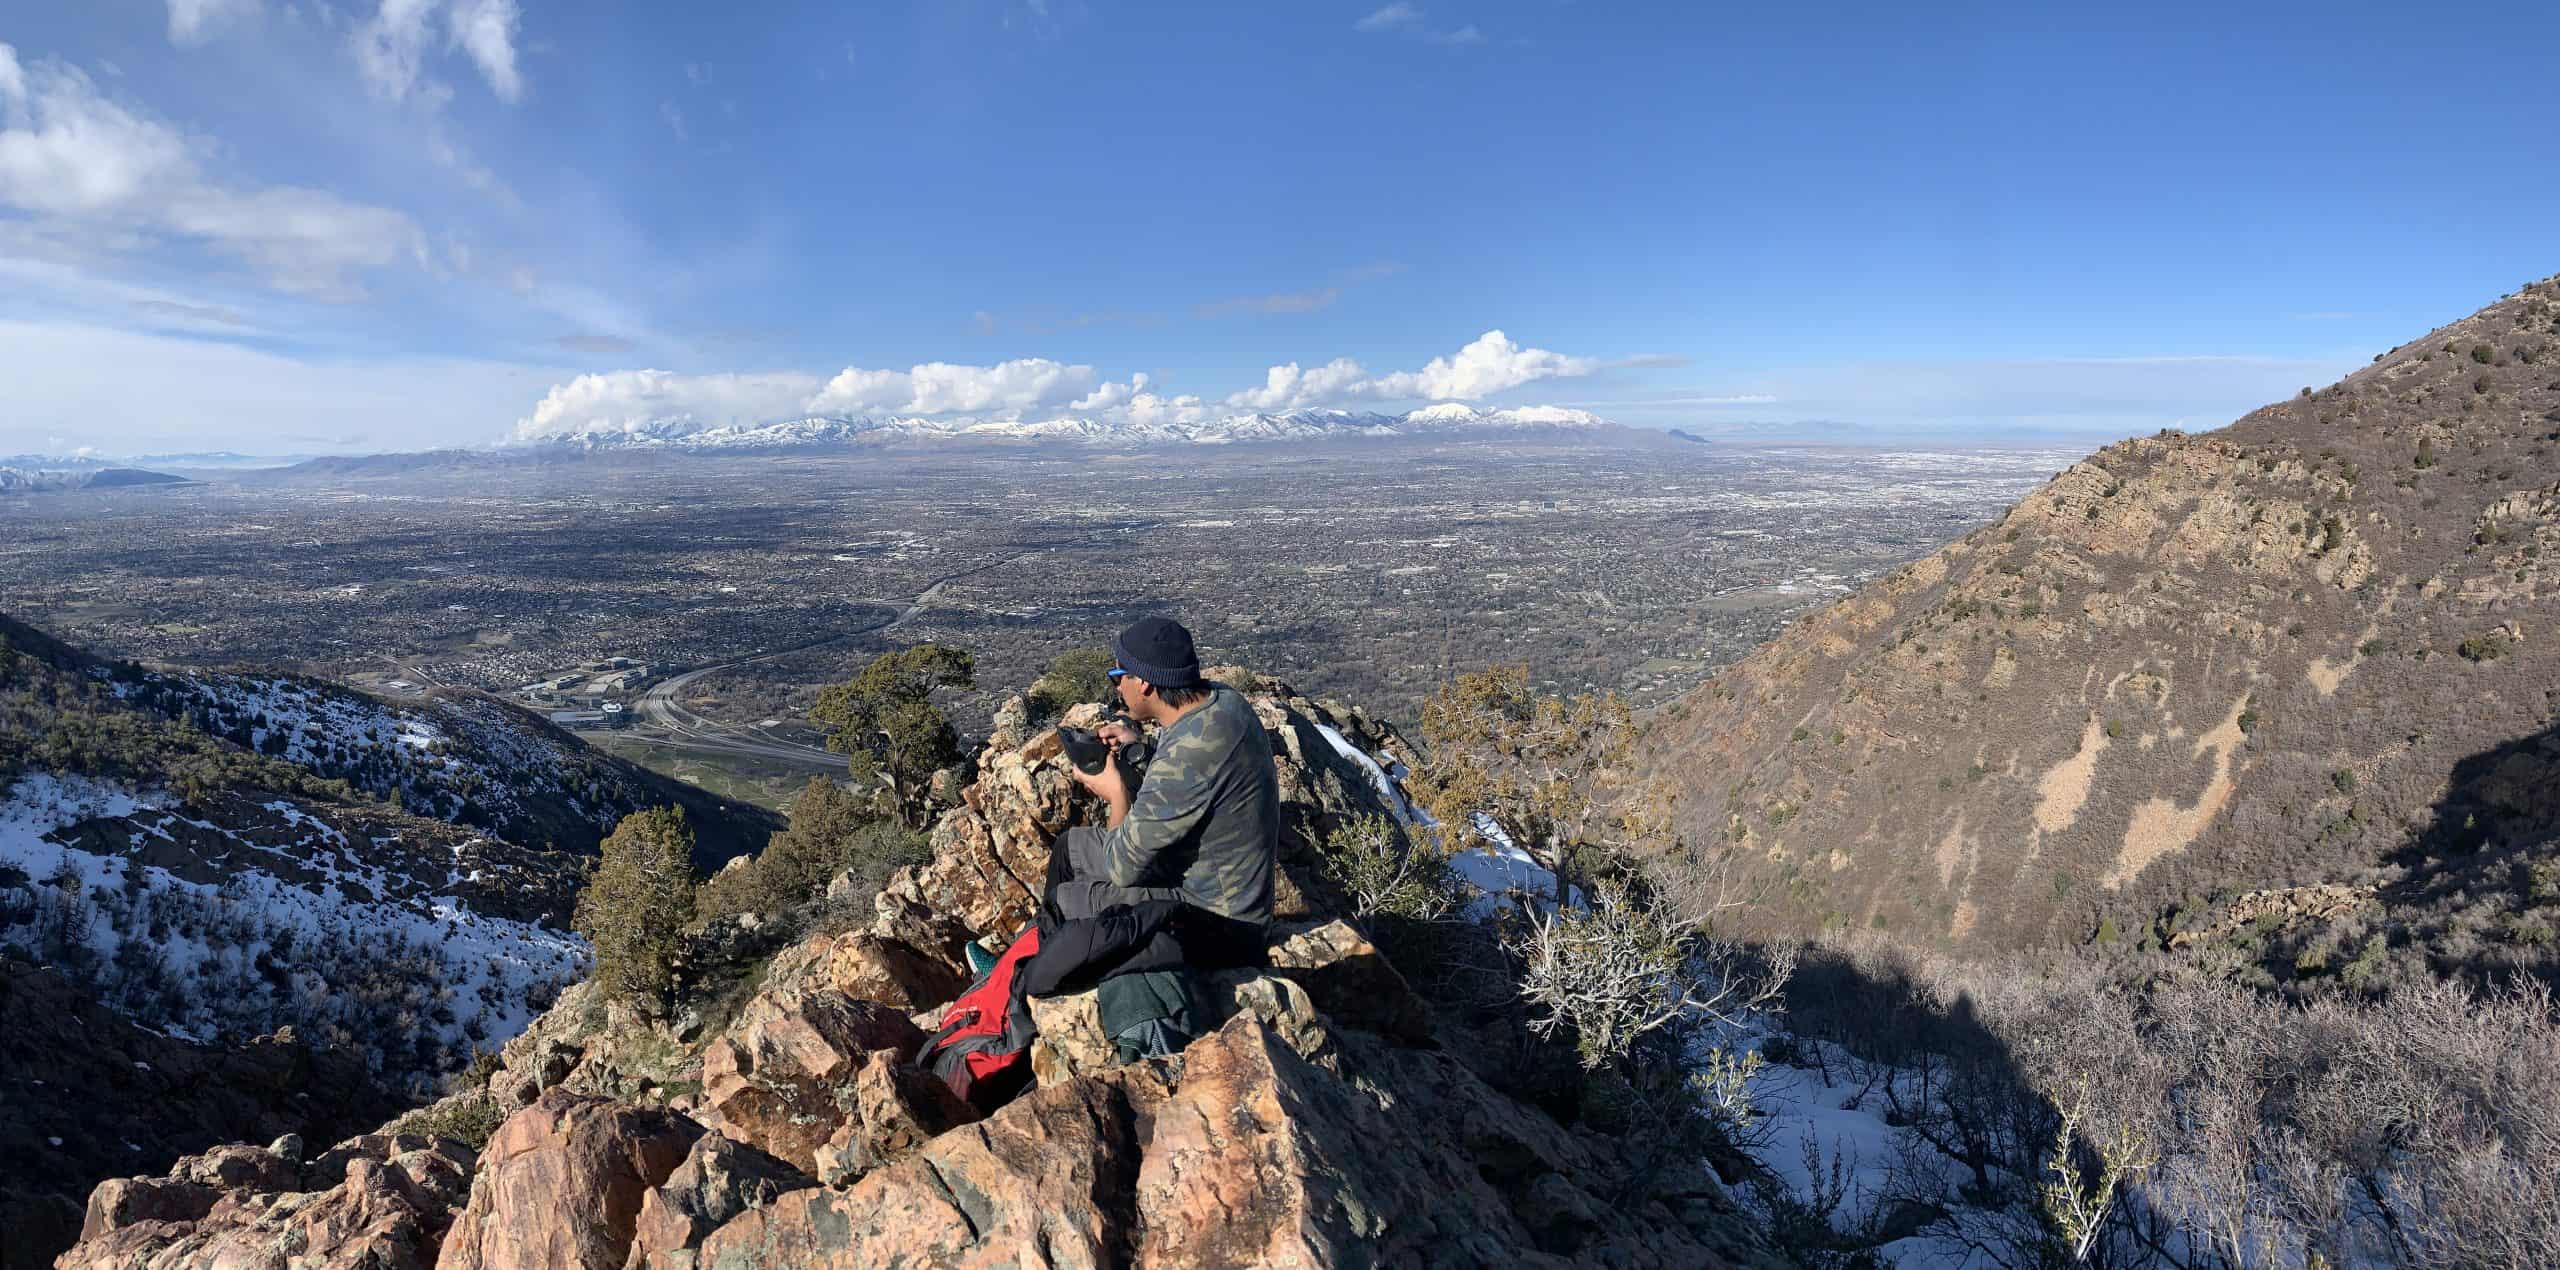
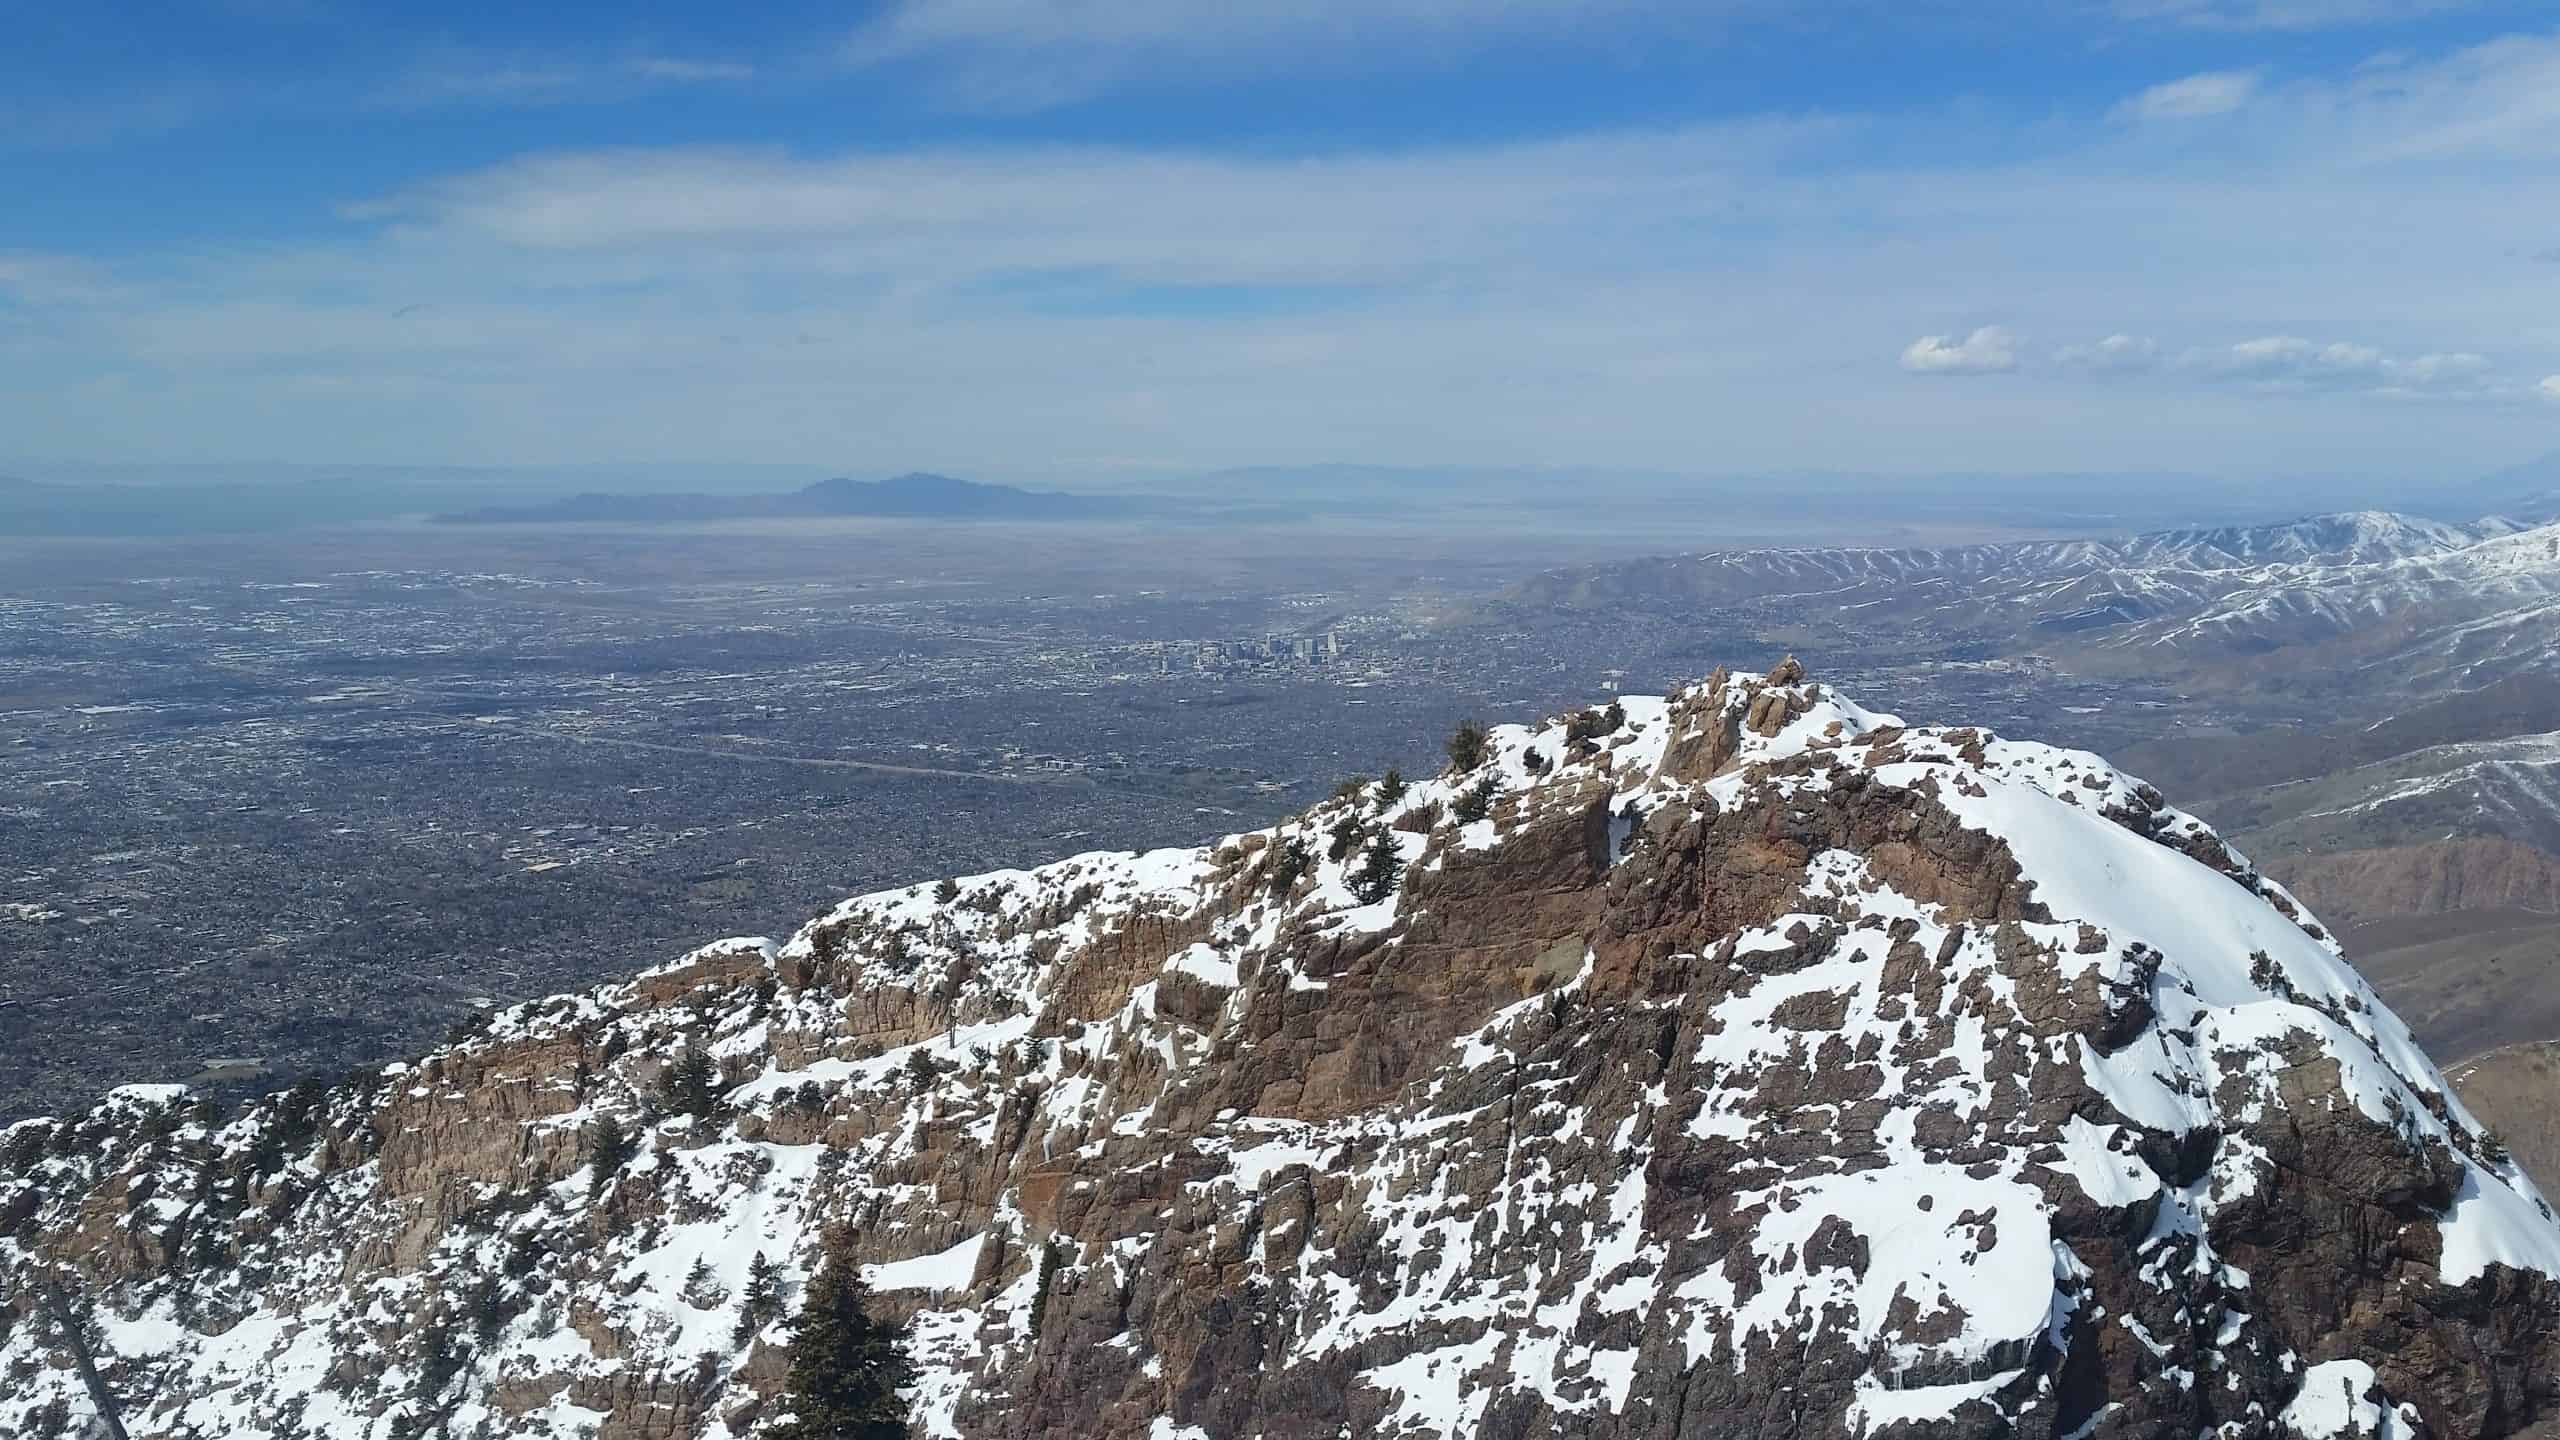
The summit delivers absolutely stunning 360-degree views that will take your breath away. You get a direct line of sight southward toward several 11,000-foot peaks in the Wasatch range while Grandeur Peak sits far below you to the north.
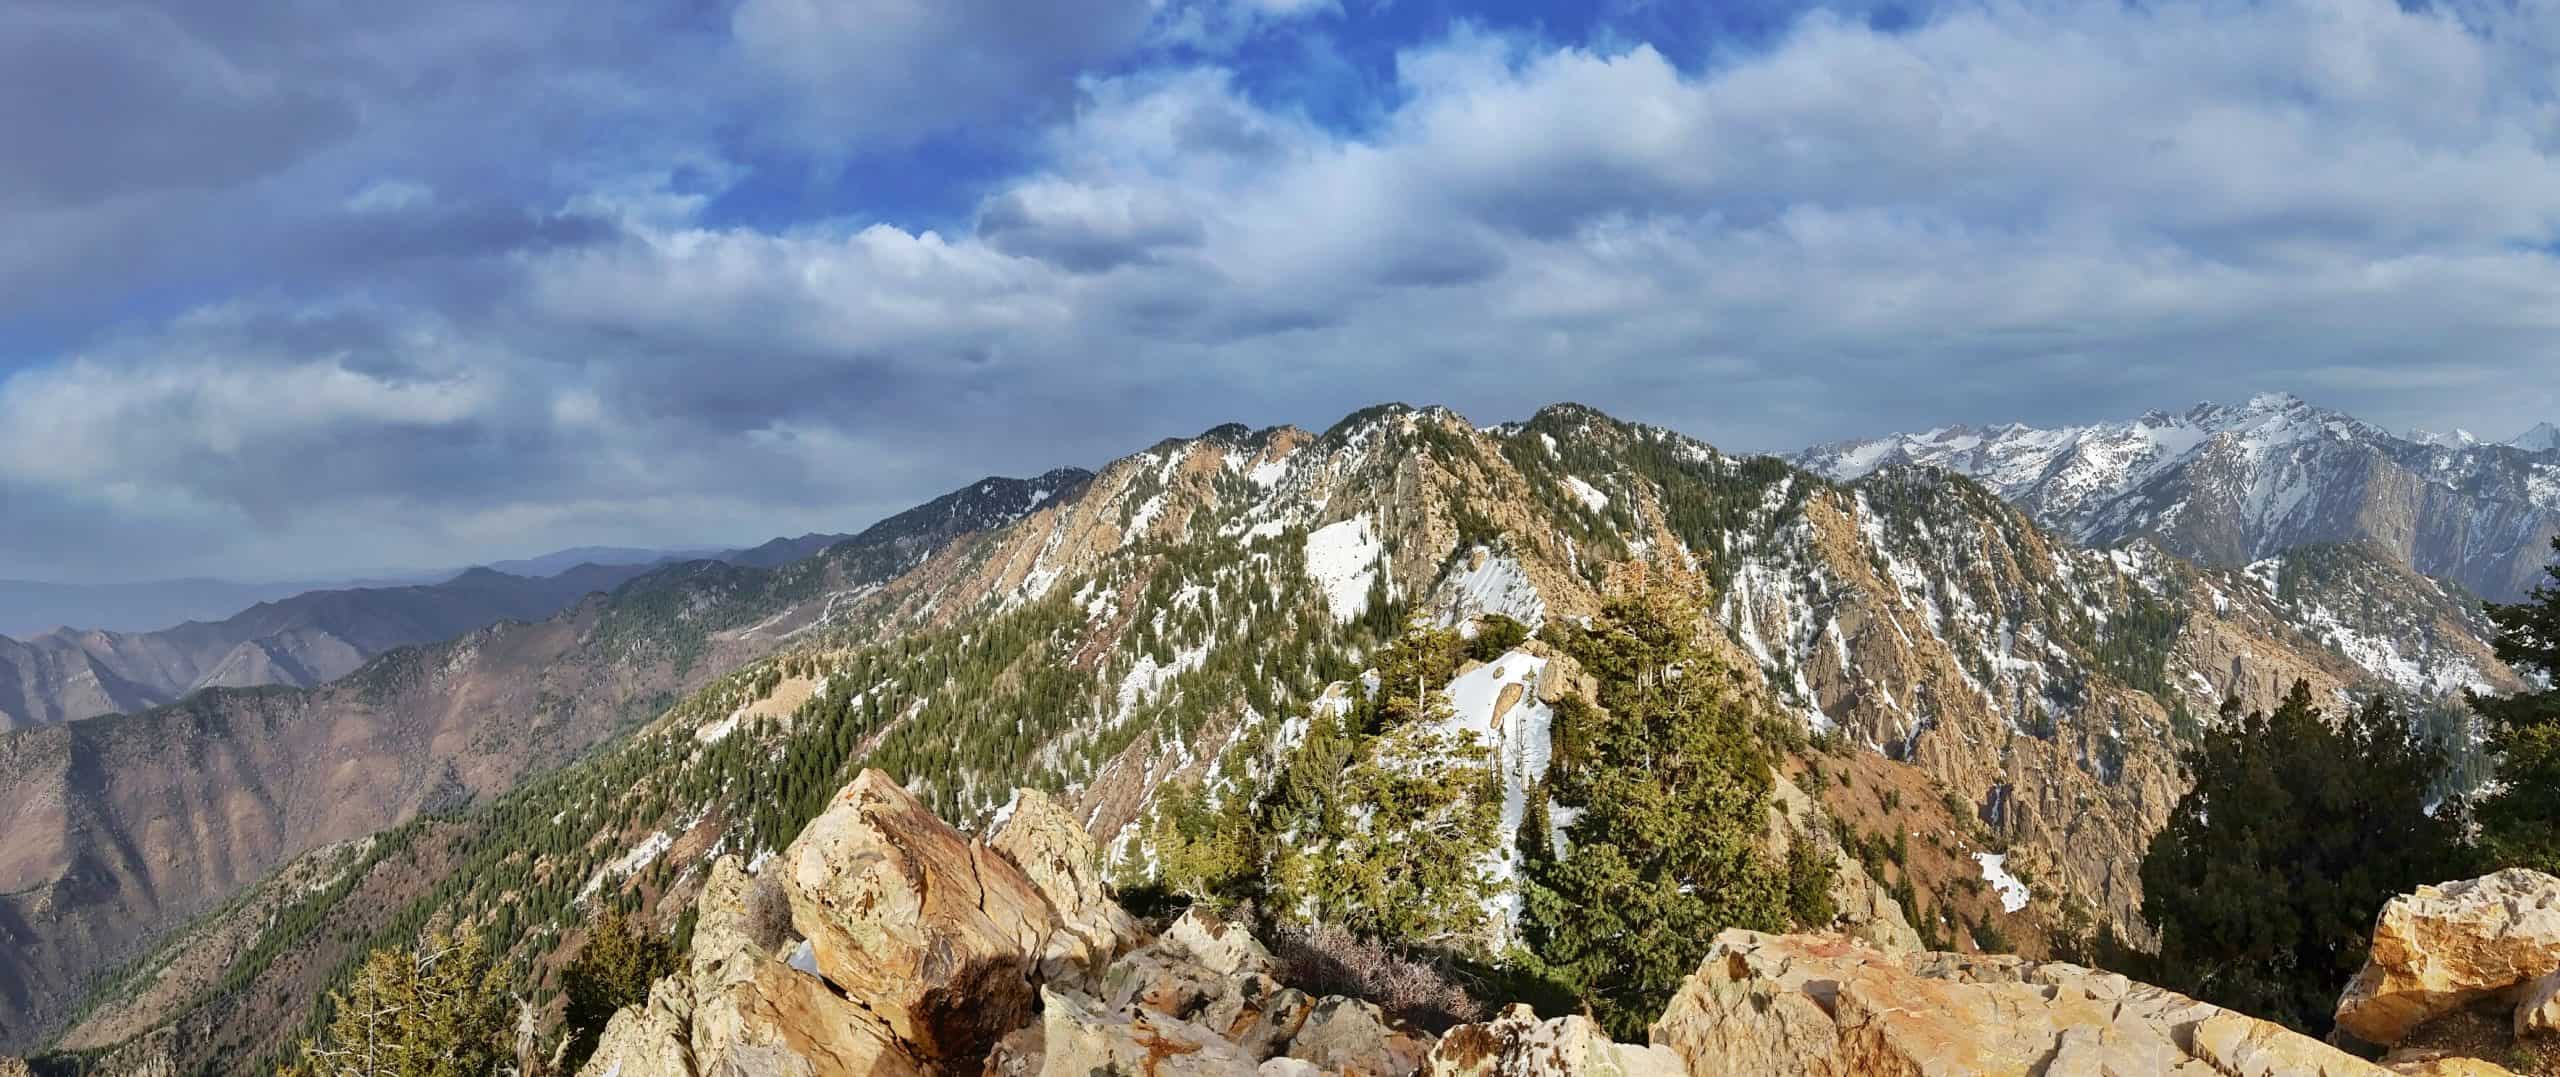
The valley stretches out across the rest of your vantage point and makes you feel like you are standing on top of the world. It is exactly why this hike remains one of the best mountain hikes in Salt Lake City, Utah, for anyone chasing epic scenery.
Tips for Hiking Mount Olympus
This hike is difficult but absolutely manageable if you prepare properly. Here are some tips to help you prepare for this beast of a hike!
- Start early in the summer months to beat the heat
- Wear sunscreen! Other than the Enchanted Forest, there is no shade on this hike
- Wear trail runners or hiking shoes with a solid grip because tennis shoes will cause you to slip and strain your muscles
- Watch out for rattlesnakes between March and October since they are pretty common on the lower sections of the trail.
- The scrambling section isn’t terrible (rated Class 3), especially with prior experience, but take your time and be courteous to others above you.
- Avoid hiking on Saturdays to escape massive crowds.
- Helmets aren’t required, but we had someone accidentally kick rocks loose above us on the scrambling section. They yelled out “rock!” and luckily it missed us, but very narrowly. This has never happened to me before on Olympus (I’ve climbed it 7 times).
- Lastly, have a positive attitude and enjoy the type-2 fun!
Best Time to Hike Mount Olympus
Summer brings the most reliable weather but requires an early start to avoid the afternoon heat. Spring and fall offer comfortable temperatures where a midday hike works perfectly (for those who aren’t fond of rising early!)
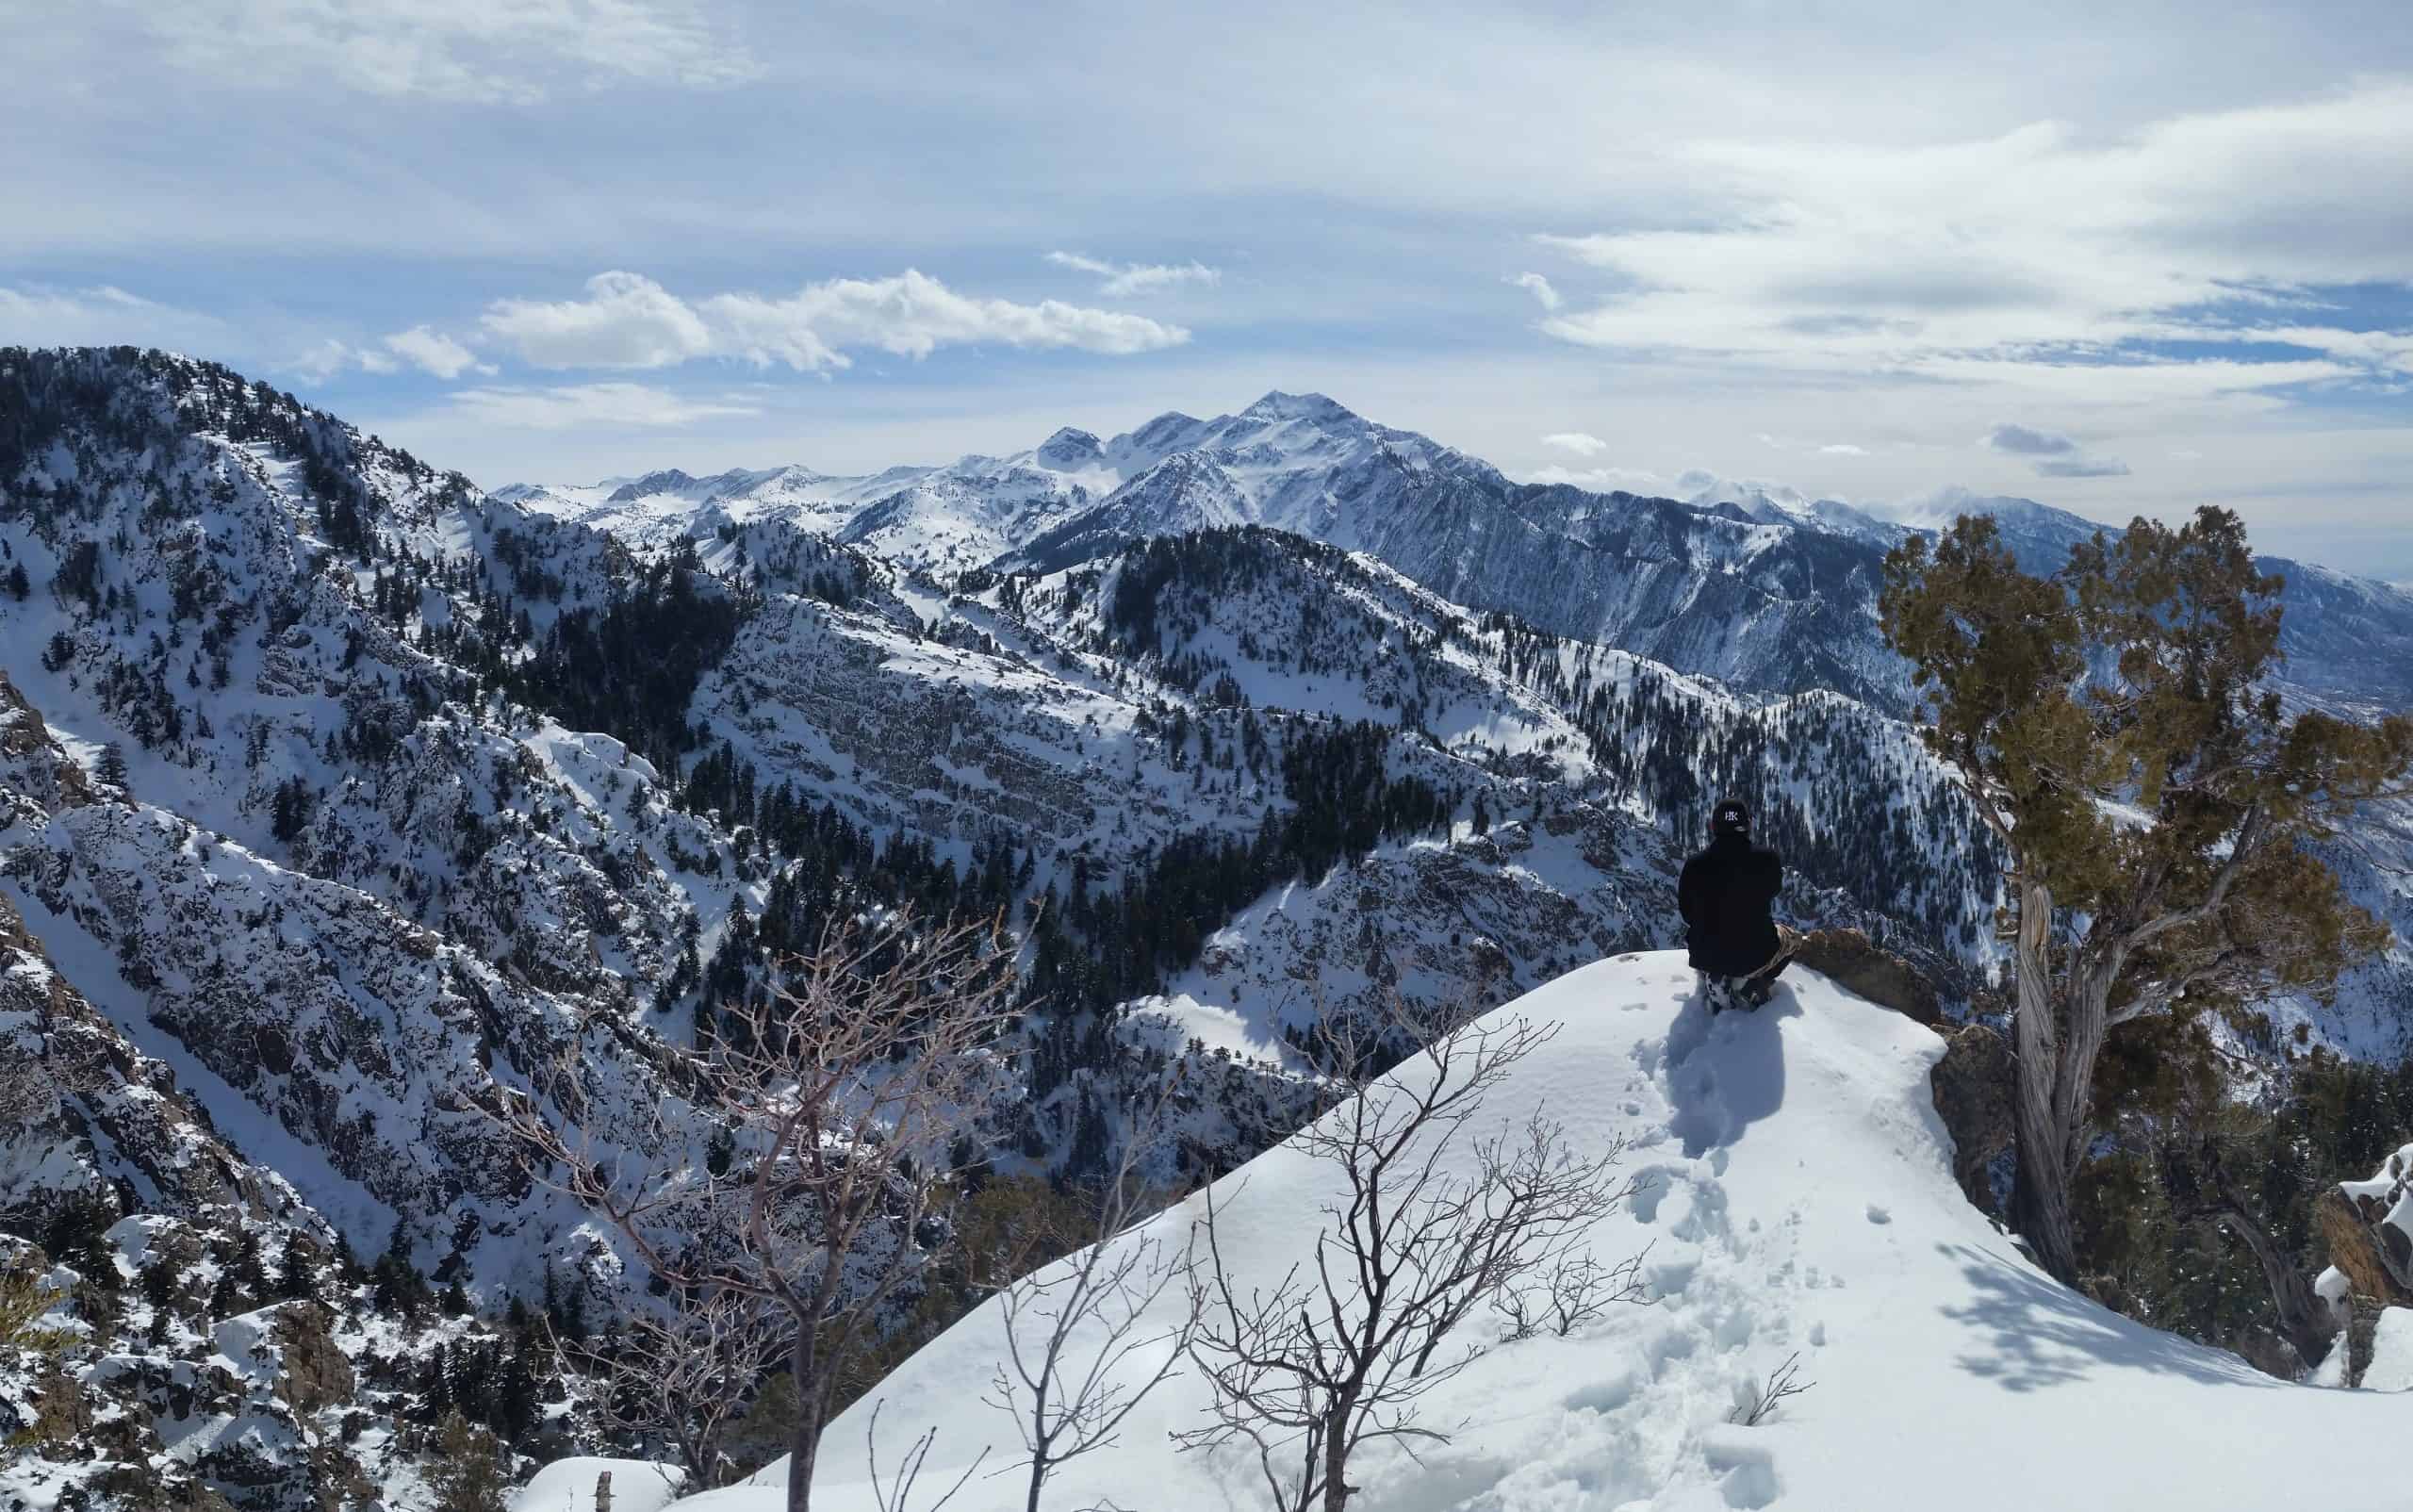
Personally, my favorite time to hike is late spring (usually in March-April) when the upper trail is covered in snow, but the scrambling section melts out since it’s a sunward-facing south slope. The snow-covered trail is much easier on the knees!
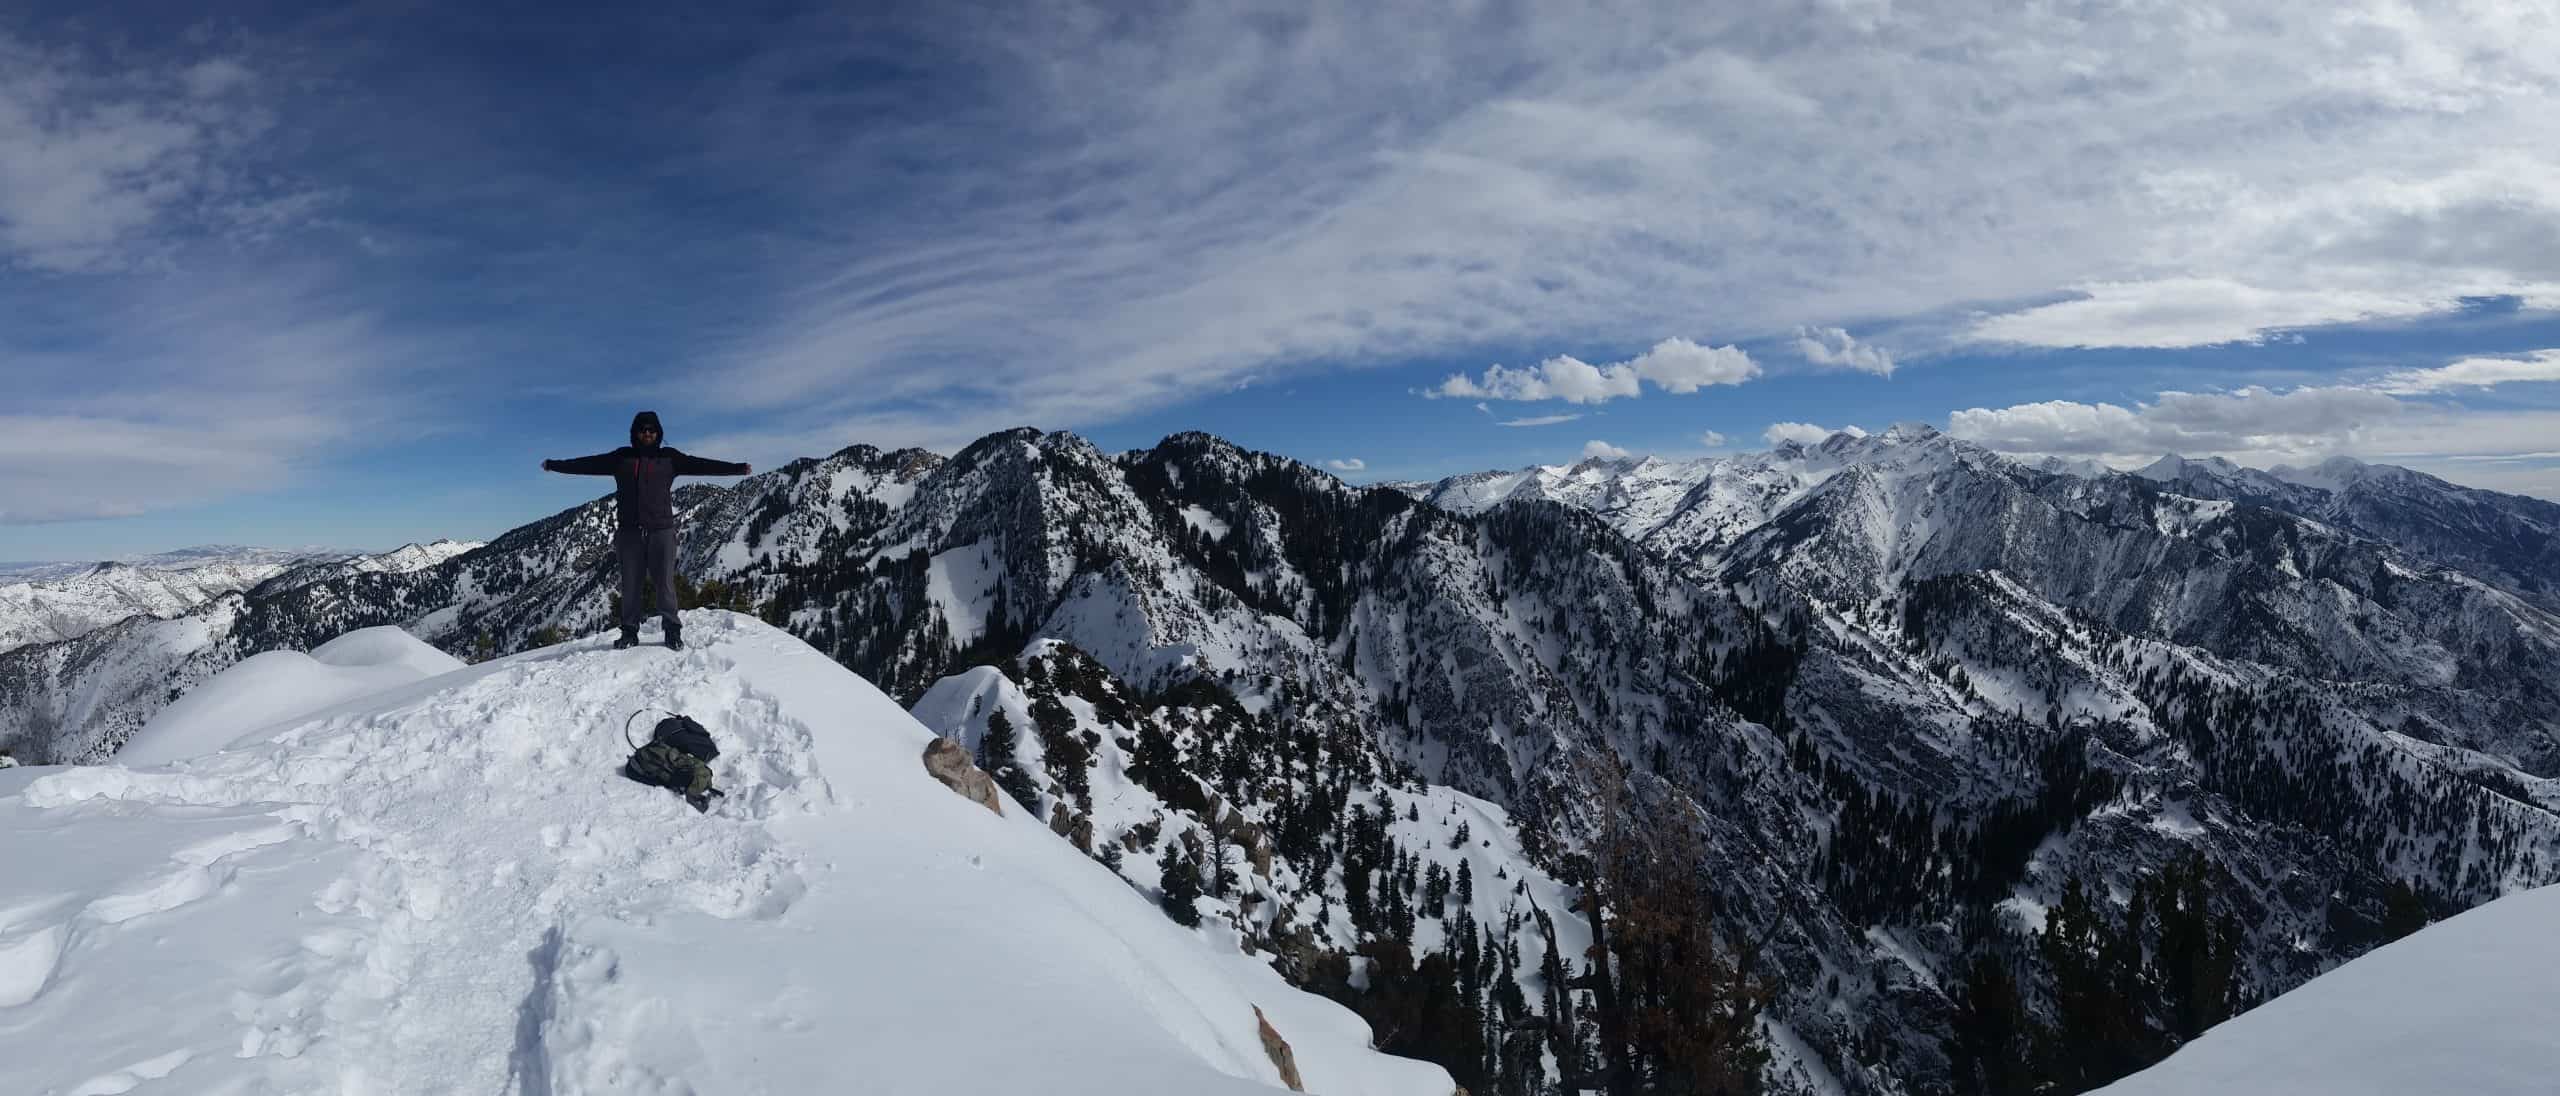
Winter hiking demands a bit more preparation since the final scramble gets covered in ice and often requires microspikes, crampons, or an ice axe. Check for the latest conditions on AllTrails carefully before heading out during colder months.
Recommended Gear for Mount Olympus
The following items are what I had on my most recent hike to Mount Olympus, and items I generally bring on pretty much all my hikes!
In Winter:
Final Thoughts
The hike to Mount Olympus in Utah is a must-do for peak baggers who love a steep workout and rock scrambling. Reaching the summit is grueling but extremely rewarding! The middle section is steep, rocky, and lacks scenic beauty, but the reward completely justifies the effort.
Preparation is key to a successful summit bid. Bring plenty of water, wear sturdy footwear, and seasonal gear like microspikes for winter conditions. If you are ready to push your limits, this iconic mountain near Salt Lake City is calling your name. Go get it! It’s very much worth your time!